S
StuartR
Guest
Hello all,
I got an M8 a few weeks ago and so far I have been very happy with it. I have not had any real problems. The magenta cast is often apparent without filters, but I received a 46mm and a 49mm filter from Tony Rose shortly after I bought the M8. As far as I can tell, they completely remove the IR problem. I have had two or three photos where they have caused problems -- 2 cases of flare, and one or two where an extreme highlight has been reflected into another part of the photo...these are situations where any filter can act up, but while annoying, it is not a deal breaker for me since it happens so rarely and it is preventable by removing the filter or changing the camera position.
Anyway, I have found the camera superb to work with and very similar to a film M in use.
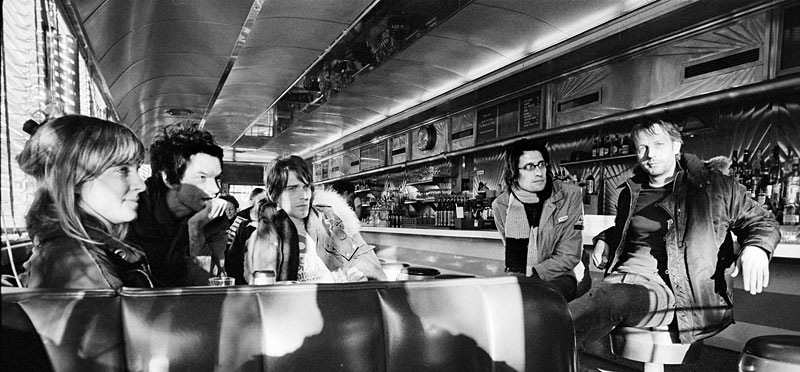
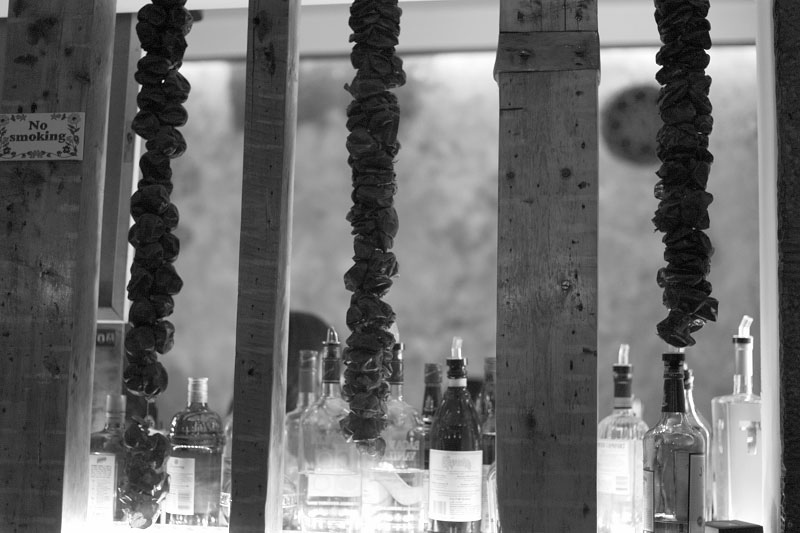
This image was taken at ISO 320, and the lack of grain and resolution are amazing to me.
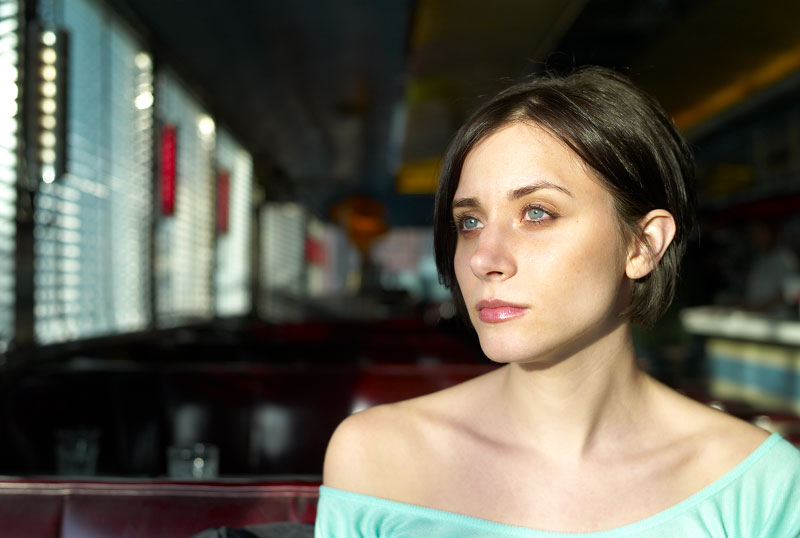
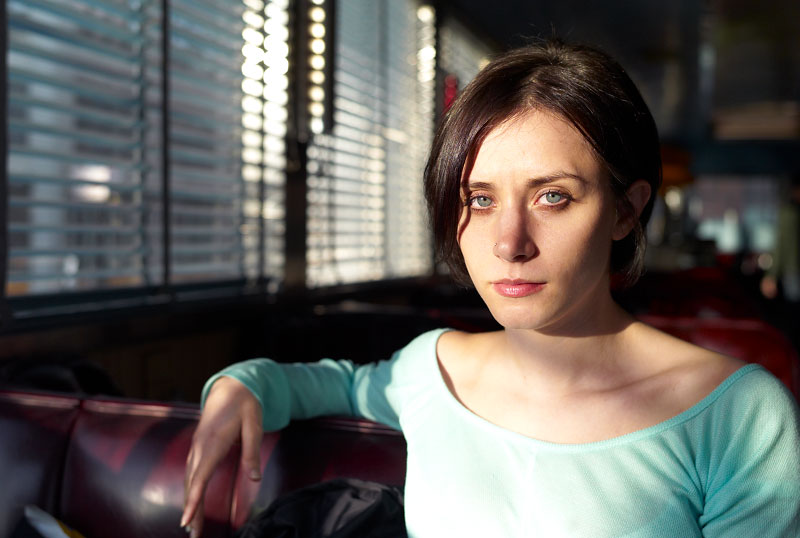
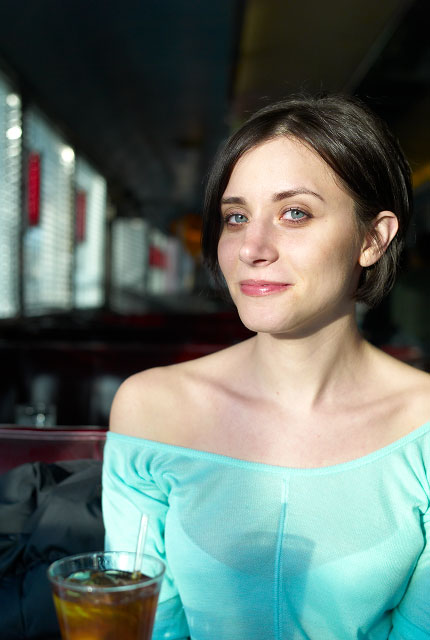
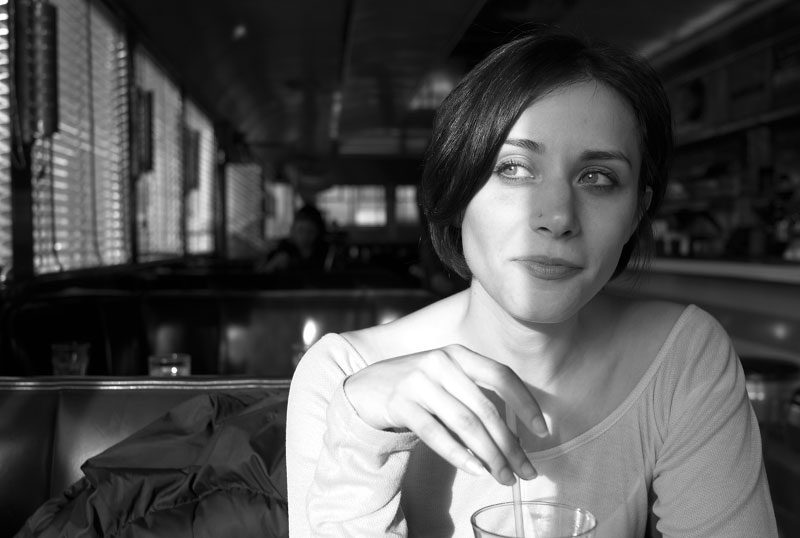
All those were ISO 320, with the coded 35mm f/1.4 Summilux ASPH and an 486 IR filter. I believe it was at f/2.8 for the first ones, and f/1.4 for the last one.
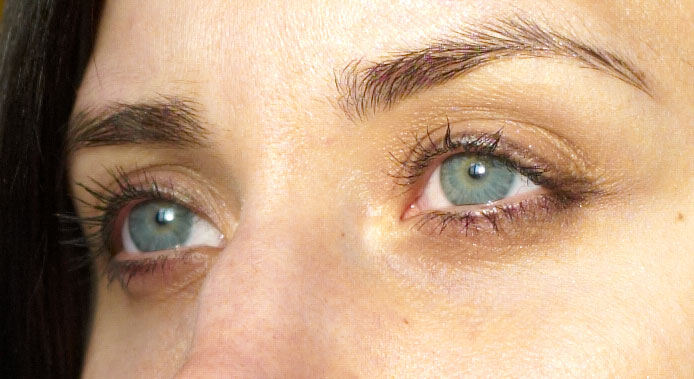
Here is a 100% crop from the first image:
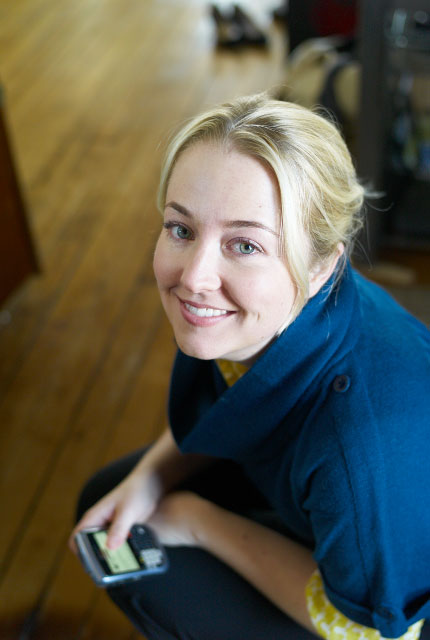
Here is an ISO 160 shot with the voigtlander 28/1.9 and no filter:
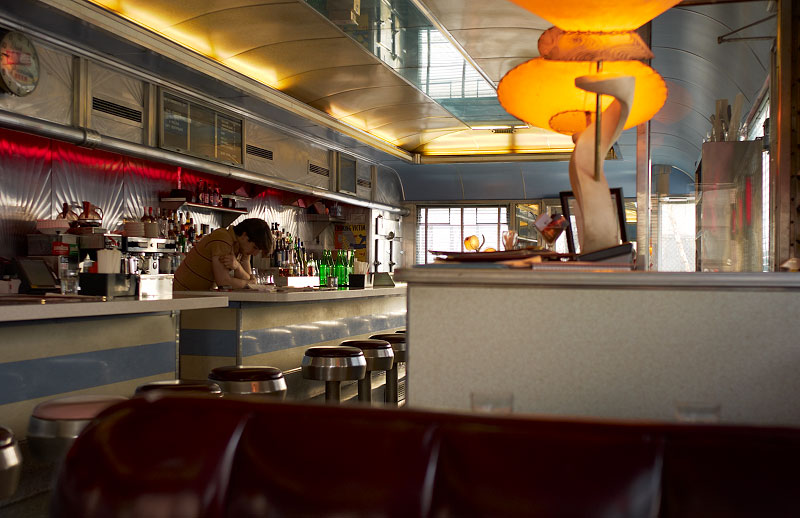
ISO 1250:
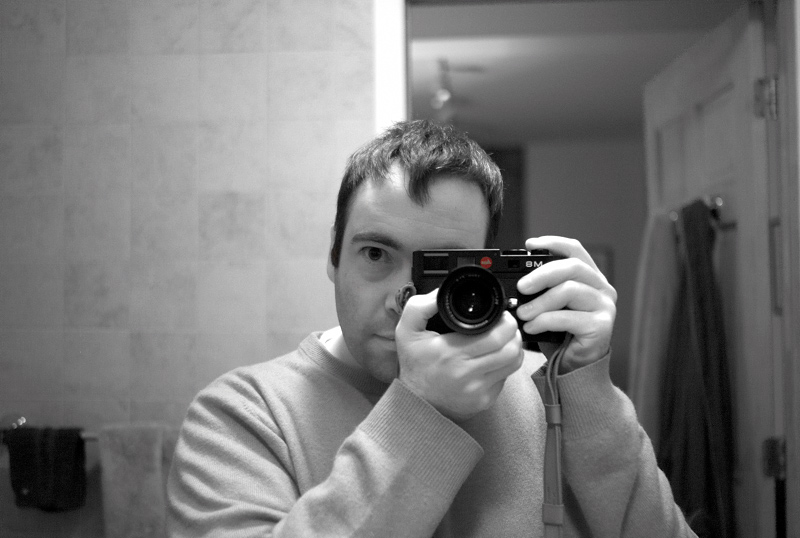
And the obligatory mirror self portrait. Also ISO 1250:
I got an M8 a few weeks ago and so far I have been very happy with it. I have not had any real problems. The magenta cast is often apparent without filters, but I received a 46mm and a 49mm filter from Tony Rose shortly after I bought the M8. As far as I can tell, they completely remove the IR problem. I have had two or three photos where they have caused problems -- 2 cases of flare, and one or two where an extreme highlight has been reflected into another part of the photo...these are situations where any filter can act up, but while annoying, it is not a deal breaker for me since it happens so rarely and it is preventable by removing the filter or changing the camera position.
Anyway, I have found the camera superb to work with and very similar to a film M in use.
This image was taken at ISO 320, and the lack of grain and resolution are amazing to me.
All those were ISO 320, with the coded 35mm f/1.4 Summilux ASPH and an 486 IR filter. I believe it was at f/2.8 for the first ones, and f/1.4 for the last one.
Here is a 100% crop from the first image:
Here is an ISO 160 shot with the voigtlander 28/1.9 and no filter:
ISO 1250:
And the obligatory mirror self portrait. Also ISO 1250: