
Tijmendal
Young photog
Hi,
I recently got an LS-5000 as a means to get better scans than my Pakon can give me and to scan chromes.
I 'hacked' the SA-21 film adapter to work as an SA-30, which is absolutely great! I used the little 'wire trick'; no fancy soldering for me.
Anyway, I'm trying to figure out what the best workflow is in regards to sides (B/W and print film I'll figure out at a later stage). I came home last month from a trip to Sri Lanka where I shot 15 rolls of Velvia 100 (unmounted).
I was wondering what the best way is to go about scanning. I've done some tests in Vuescan with different outputs: JPEG, RAW, RAW-DNG, TIFF, TIFF-DNG. The JPEG output is pretty bad, especially in tricky lighting situations it gives bad results.
I've read up on the difference between the 4 different uncompressed outputs and while most of the information out on the web is lost to me, I've got a general of idea what each is.
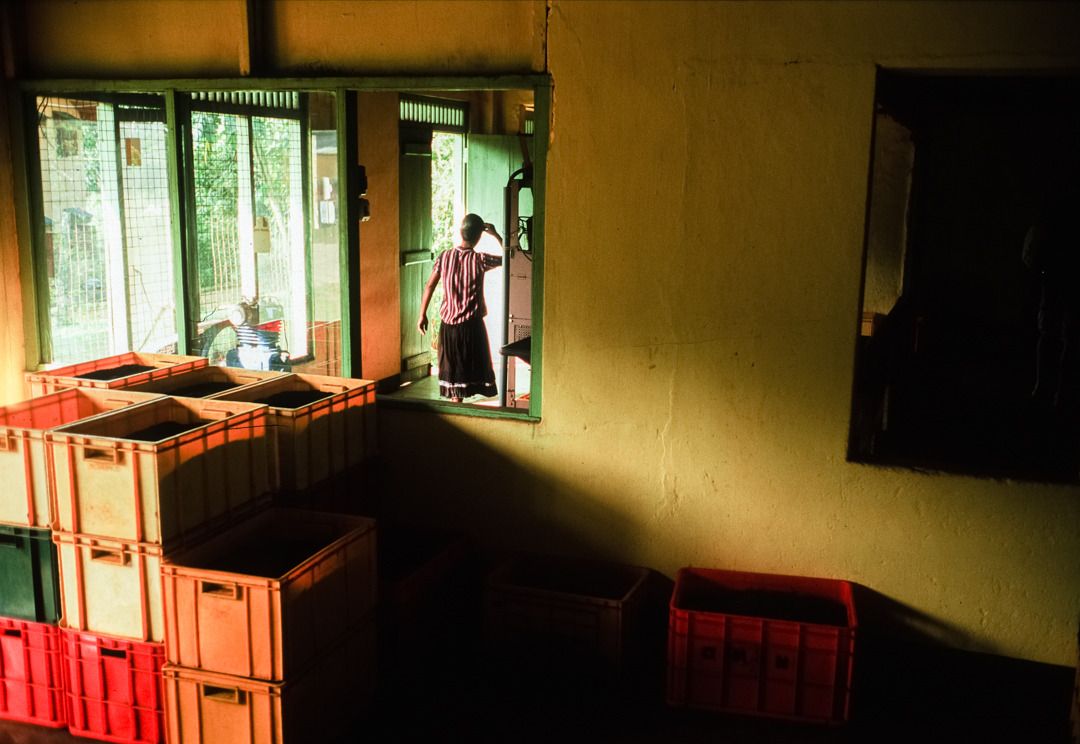
- The plain (non-DNG) RAW file gives me the best result (I think), but it's VERY dark (due to Gamma 1.0, right?); about 2-2.5-3 stops of exposure and a bunch of highlight compensation (think -75) gives me good results with the most pleasing colors and best highlight retention.
- The TIFF output files are very bland, lack contrast and (more often than not) give wonky colors.
- Both different DNG files are very similar. The TIFF-DNG just has a little more punch.
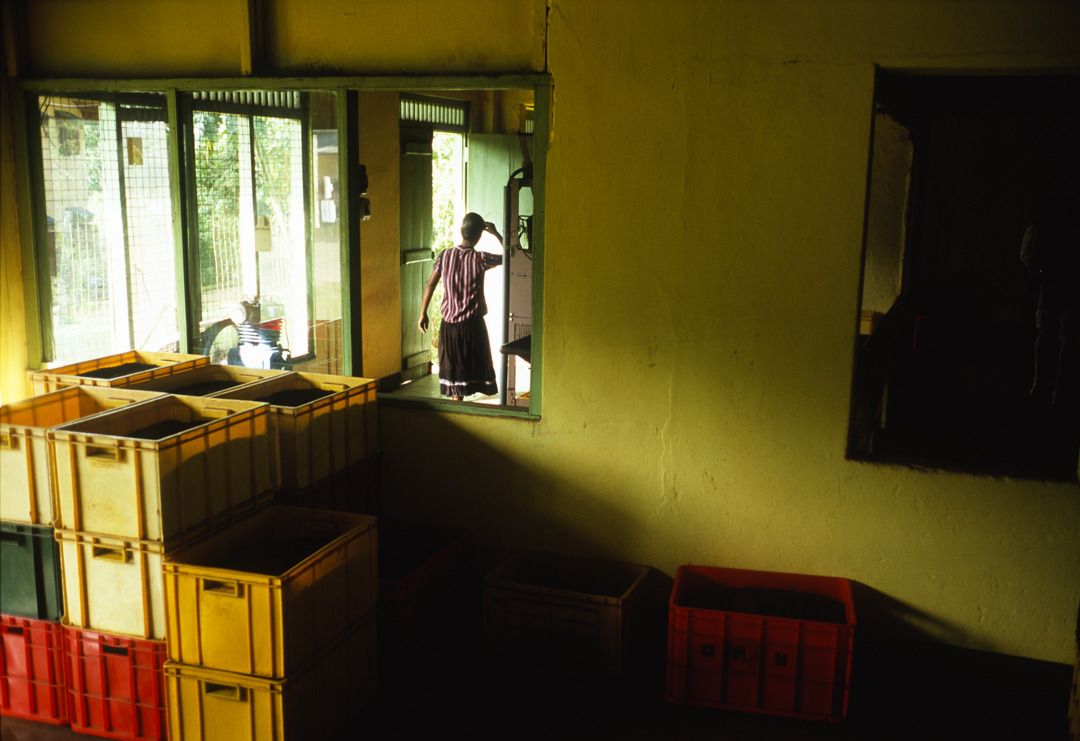
RAW-DNG:
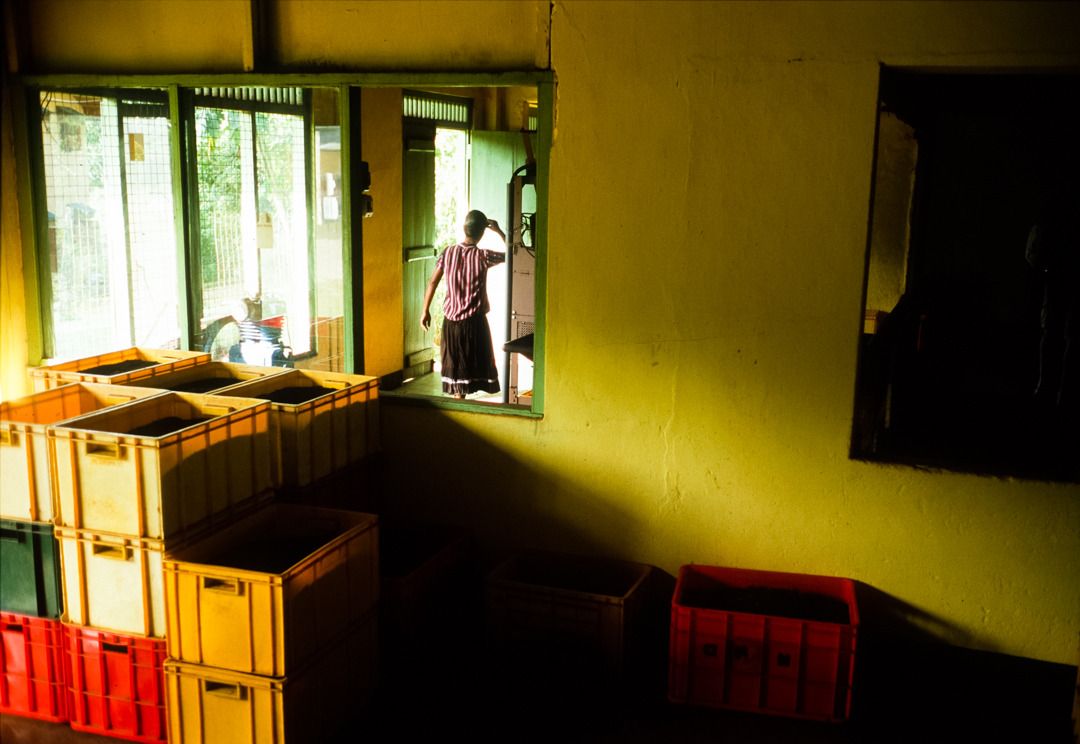
TIFF-DNG:

I tried using Nikon Scan (through a virtual Windows XP with VMWare; I'm on Mac) but can't figure out the software. When I do a preview it eats the whole roll, spits it out again and then only shows me the very first frame. Same goes with scanning. I've tried everything but it just keeps only looking at the first frame. However, that frame does look really good and I'd really like comparing Nikon Scan with Vuescan, but like this that won't work.
Lastly, I've heard many great things about ColorPerfect's ColorNeg/ColorPos. I've used the trial with Portra and got ok/good results, but decided to stick with ImageMagick/Negfix because that was working for me too (and at that time didn't feel I could warrant the purchase of the software). Has anyone got experience with ColorPos? I tried the trial version, but didn't see any film emulsions in the list like with ColorNeg, where there's basically any emulsion out there.
I use Lightroom btw.
Please share what works for you! Any information is much appreciated!
I recently got an LS-5000 as a means to get better scans than my Pakon can give me and to scan chromes.
I 'hacked' the SA-21 film adapter to work as an SA-30, which is absolutely great! I used the little 'wire trick'; no fancy soldering for me.
Anyway, I'm trying to figure out what the best workflow is in regards to sides (B/W and print film I'll figure out at a later stage). I came home last month from a trip to Sri Lanka where I shot 15 rolls of Velvia 100 (unmounted).
I was wondering what the best way is to go about scanning. I've done some tests in Vuescan with different outputs: JPEG, RAW, RAW-DNG, TIFF, TIFF-DNG. The JPEG output is pretty bad, especially in tricky lighting situations it gives bad results.
I've read up on the difference between the 4 different uncompressed outputs and while most of the information out on the web is lost to me, I've got a general of idea what each is.
- The plain (non-DNG) RAW file gives me the best result (I think), but it's VERY dark (due to Gamma 1.0, right?); about 2-2.5-3 stops of exposure and a bunch of highlight compensation (think -75) gives me good results with the most pleasing colors and best highlight retention.

- The TIFF output files are very bland, lack contrast and (more often than not) give wonky colors.

- Both different DNG files are very similar. The TIFF-DNG just has a little more punch.
RAW-DNG:

TIFF-DNG:

I tried using Nikon Scan (through a virtual Windows XP with VMWare; I'm on Mac) but can't figure out the software. When I do a preview it eats the whole roll, spits it out again and then only shows me the very first frame. Same goes with scanning. I've tried everything but it just keeps only looking at the first frame. However, that frame does look really good and I'd really like comparing Nikon Scan with Vuescan, but like this that won't work.
Lastly, I've heard many great things about ColorPerfect's ColorNeg/ColorPos. I've used the trial with Portra and got ok/good results, but decided to stick with ImageMagick/Negfix because that was working for me too (and at that time didn't feel I could warrant the purchase of the software). Has anyone got experience with ColorPos? I tried the trial version, but didn't see any film emulsions in the list like with ColorNeg, where there's basically any emulsion out there.
I use Lightroom btw.
Please share what works for you! Any information is much appreciated!
