scottyb70
Well-known
Here is a website and I really llke how this photographer converts his digital images to b&w. I am trying to figure out how I can do this with real b&w film. I have been experimenting with fuji 100 arcos, hp, rollei retro 100, rollei atp 1.1, tmax 400. I have yet to use the rollei retro 100, adox 100 art and efke kb 25. Most of my b&w films are medium format and I use the old vintage folders.
The developers I have been using are tmax and hc-110 with the kodak stop bath. I do have a sample of the Rollei ATp DC with Agefix that I haven't used on a film yet.
My rollei atp was sent out to be developed into positive slides and I can't wait to get them back.
I noticed when I scan these films with my epson 4990 I usually get the basic light gray look. I am pretty sure my negatives are coming out correctly. I am using the standard 1:63-64 dilution rate for the hc-110.
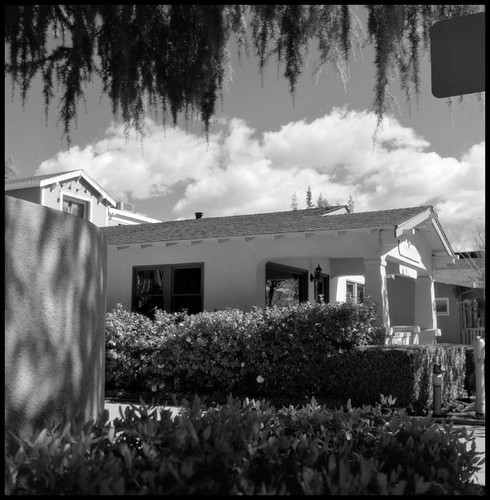
I really like the dark contrast look with fine grain and sharp details.
Here is a link to the website.
http://www.lonelywolf.pl/index.php?page=home
The developers I have been using are tmax and hc-110 with the kodak stop bath. I do have a sample of the Rollei ATp DC with Agefix that I haven't used on a film yet.
My rollei atp was sent out to be developed into positive slides and I can't wait to get them back.
I noticed when I scan these films with my epson 4990 I usually get the basic light gray look. I am pretty sure my negatives are coming out correctly. I am using the standard 1:63-64 dilution rate for the hc-110.
I really like the dark contrast look with fine grain and sharp details.
Here is a link to the website.
http://www.lonelywolf.pl/index.php?page=home