Stitch panoramas with MF RF ?

Matus

Well-known
Local time
8:46 PM
Joined
Jan 23, 2008
Messages
1,837
Hello,

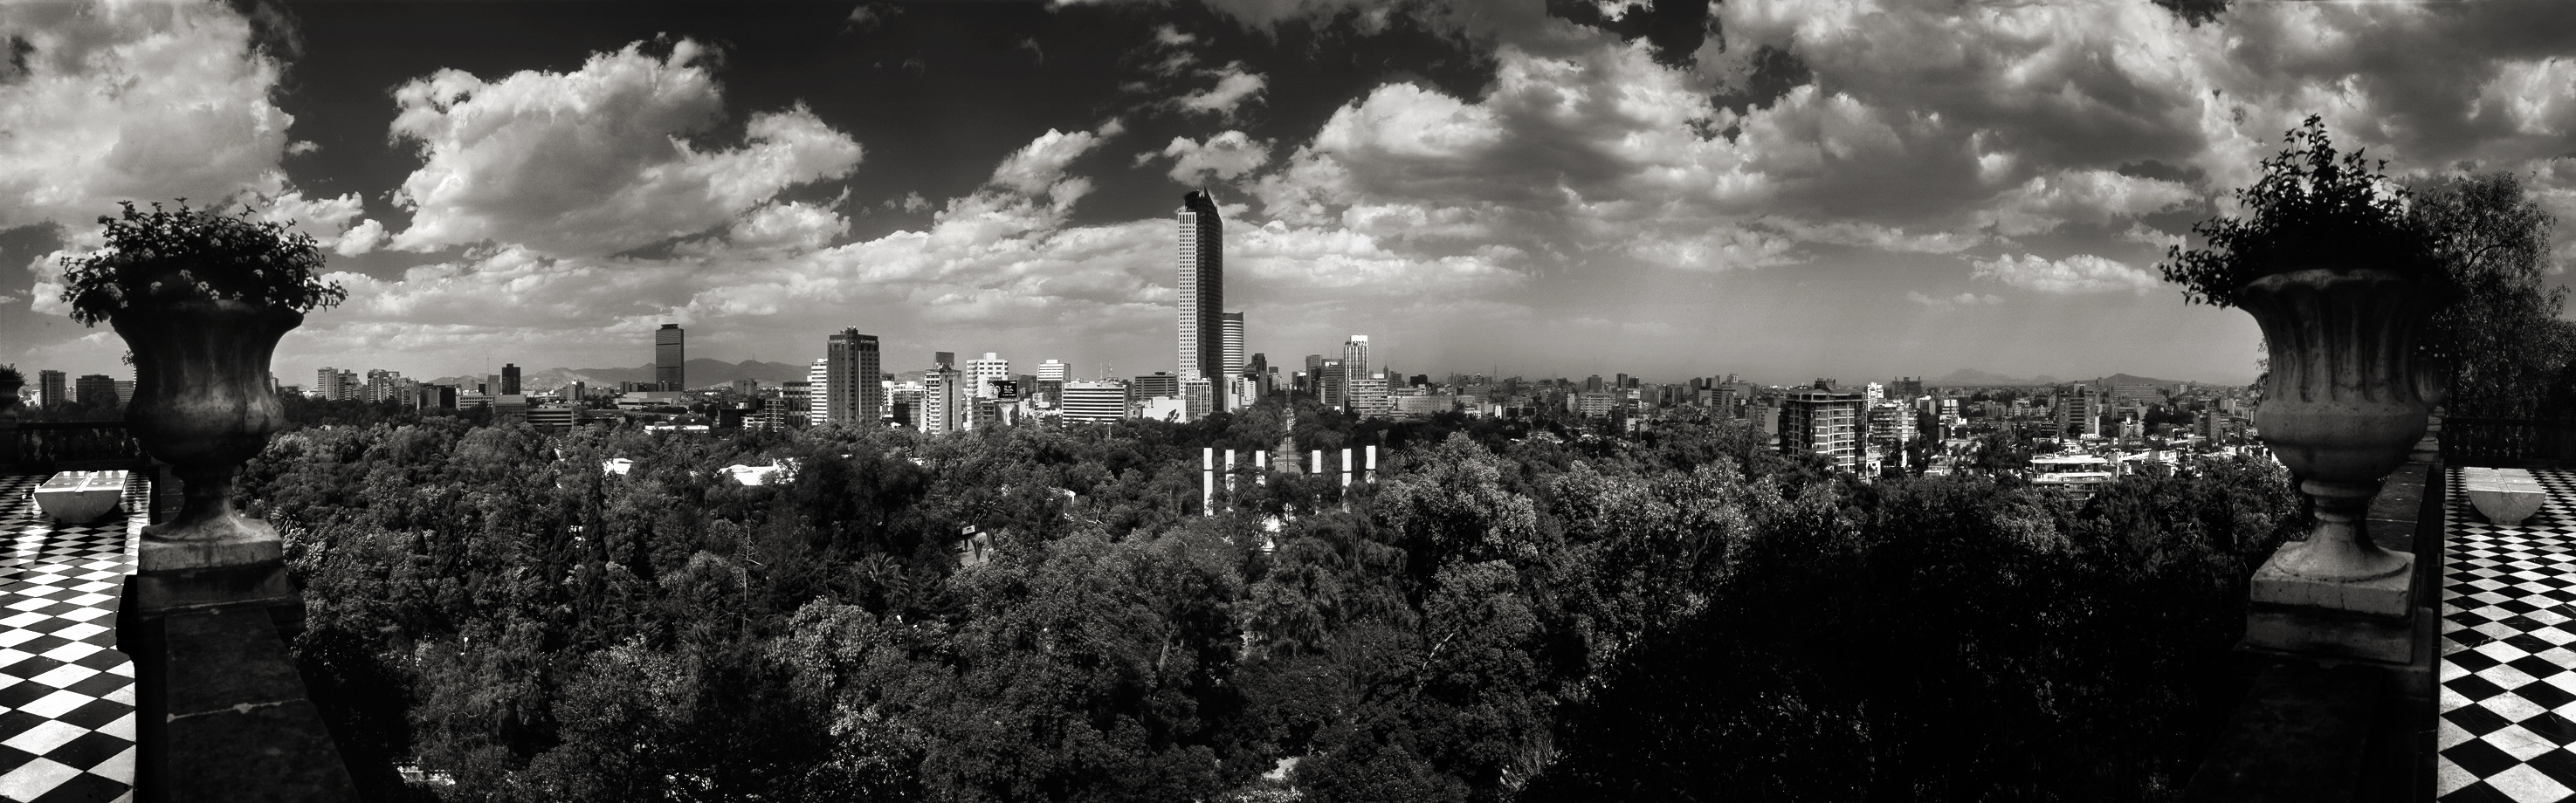
I am wondering whether any of you have made a panorama image via stitching several exposures - with a MF RF (RF645, Mamiya 6, Mamiya 7) if yes - how do you lock the exposure? Do you use manual setting of the camera? If yes - how do you get correct exposure with the Mamiyas as they show the shutter speed in 1 stop increments?

Also - as every lens tends to vignette a bit - at which f/stop (with a given lens) do you find the vignetting negligible enough for this purpose?
 
So, nobody? OK - then I will be the first ;)

Mamiya 6 should arrive to me around second half of August and then I goes with me for a summer vacation - I will try some panoramic images for sure.
 
This is a manually stitched panorama made from 6 separate shots using my Mamiya 6 and 50mm f/4L lens. Click on the image for a larger version.


I used the same shutter and aperture settings for each shot. I can't remember the f/stop but it was probably at least f/8. I can't remember any vignetting issues, although I suspect I removed the hood first.
 
Been a while but I was using my G690Bl and 100mm

Been a while but I was using my G690Bl and 100mm

Been a while but I was using my G690Bl and 100mm frequently to stitch two images together for 617. Have conferred with others who do this as well.

Use manual settings
Use a tripod leveled at the rotation plane of the tripod AND at the camera level (Both levels must be adhered to ... rotation of a leveled camera on a rotation plane that is NOT level will cause problems)

NO fancy gear is necessary, ie Panorama Heads, unless you are doing close studio tabletop work. Pano heads are a total waste of money if you simply attempt to understand the physics and geometry of the process.

A good tripod, with both levels set and eyeball the overlap works just fine.

Manual metering works... Any good panoramic software (even Photoshop Elements 6) will blend out any reasonable exposure differences.

I have been very happy with this setup, since it gave me a $500 solution (My G690 and a good tripod) to otherwise spending $3000 for 617 equipment. Again, I have had discussions with others who have been equally satisfied.

To get the two levels, I have a level on my camera and I have a disk that sticks out from between my tripod top and my tripod head which also has a level on it. That second level assures me that I am rotating the camera on a level plane, in addition to the camera being level at the start by it's own level fixture.

Exposure is the least of my concerns, since I don't use any auto exposure functions.
 
Last edited:
Nice images! In the second example I have somehow troubles to believe that it is a 180 degree panorama.

I did one panoramic shot with my Rolleiflex T and problems with vignetting because of filter (old bayonet 1) and maybe also the lens hood. So I would like to fare better next time:


I do not consider any fancy panoramic heads, but I can imagine that a simple macro rail that would allow to to get the nodal point of the lens closer to point of the head rotation.
 
I took one with my Fuji GL690, normal lens, at the Grand Canyon earlier this year. Then I stitched with software to create the panoramic. I think it worked out pretty well, except I didn't use a tripod so the end result could've been better had I used one, I think.

4501692318_d952dd294a.jpg
 
Last edited:
Matus - It is a 180 degree panoramic image, taken from Chapultepec Castle in Mexico City. It was taken hand-held, without any fancy equipment. I'm not sure why that is hard to believe.

Here are two panoramic shots from my Rolleiflex 6002 taken several years ago, again without a tripod...


Back
Top Bottom