
shadowfox
Darkroom printing lives
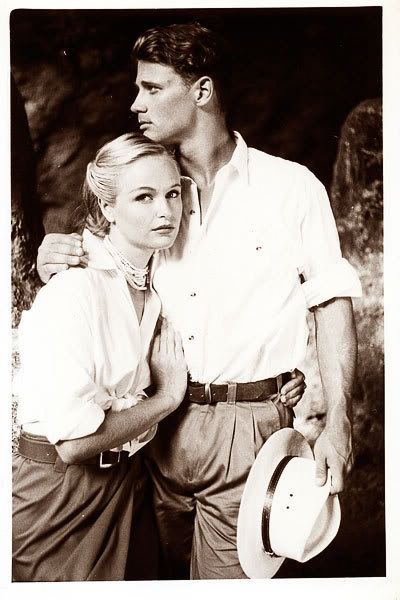
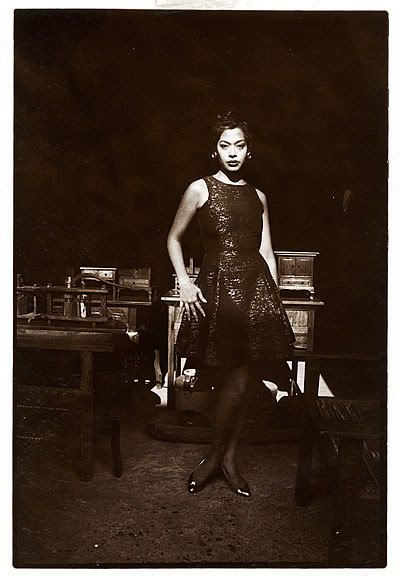
A little write up on sepia toning (click on the photo):

There has to be more than one person who are still interested in traditional way of toning 🙂
Have you experimented with how developer effects final color?
I'm interested but it is hard to find any toning chemical here. I once read toning using tea or coffee, but I still don't know how.
My favourite method is the Hot-Alum method- a single bath toning system which involves an alum thiosulphate bath with a bit of silver thrown in. No bleaching needed, and the prints don't even have to be thoroughly washed prior to toning. This single-step toning method though needs to be heated to 50 deg C to work. The browns it makes are more red than yellow.
That sounds interesting, do you happen to have a scan of the prints toned this way?
Nice! I was more of a selenium fan, with moderate toning (just shy of turning grays to browns).
Nice! I was more of a selenium fan, with moderate toning (just shy of turning grays to browns).
Wow! Very nice!
I have to keep this process in my notes.
You'd be interested that if you tone Fomatone MG (warm tone paper) in 1+20 Selenium, you'd get a dark chocolate tone similar to these. I didn't believe it until I tried it myself.