DrTebi
Slide Lover
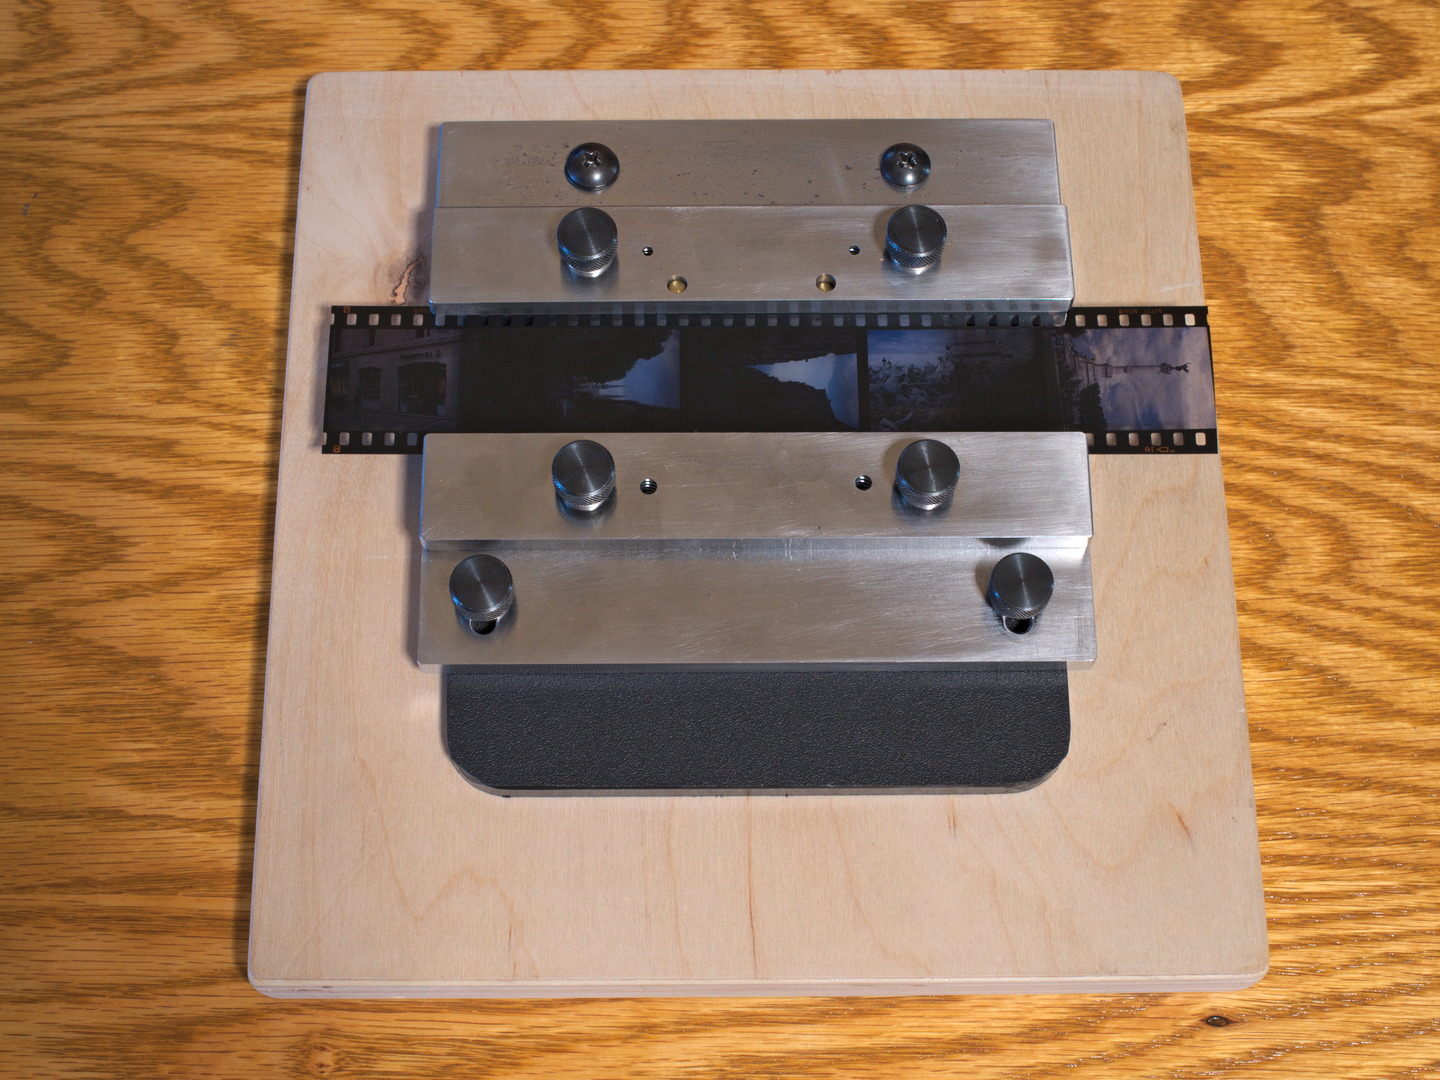
My current setup:Handles 35mm to 6x9 negative strips with the M-D.
- Leica M-D + Summicron-M 50mm + BEOON copy stand
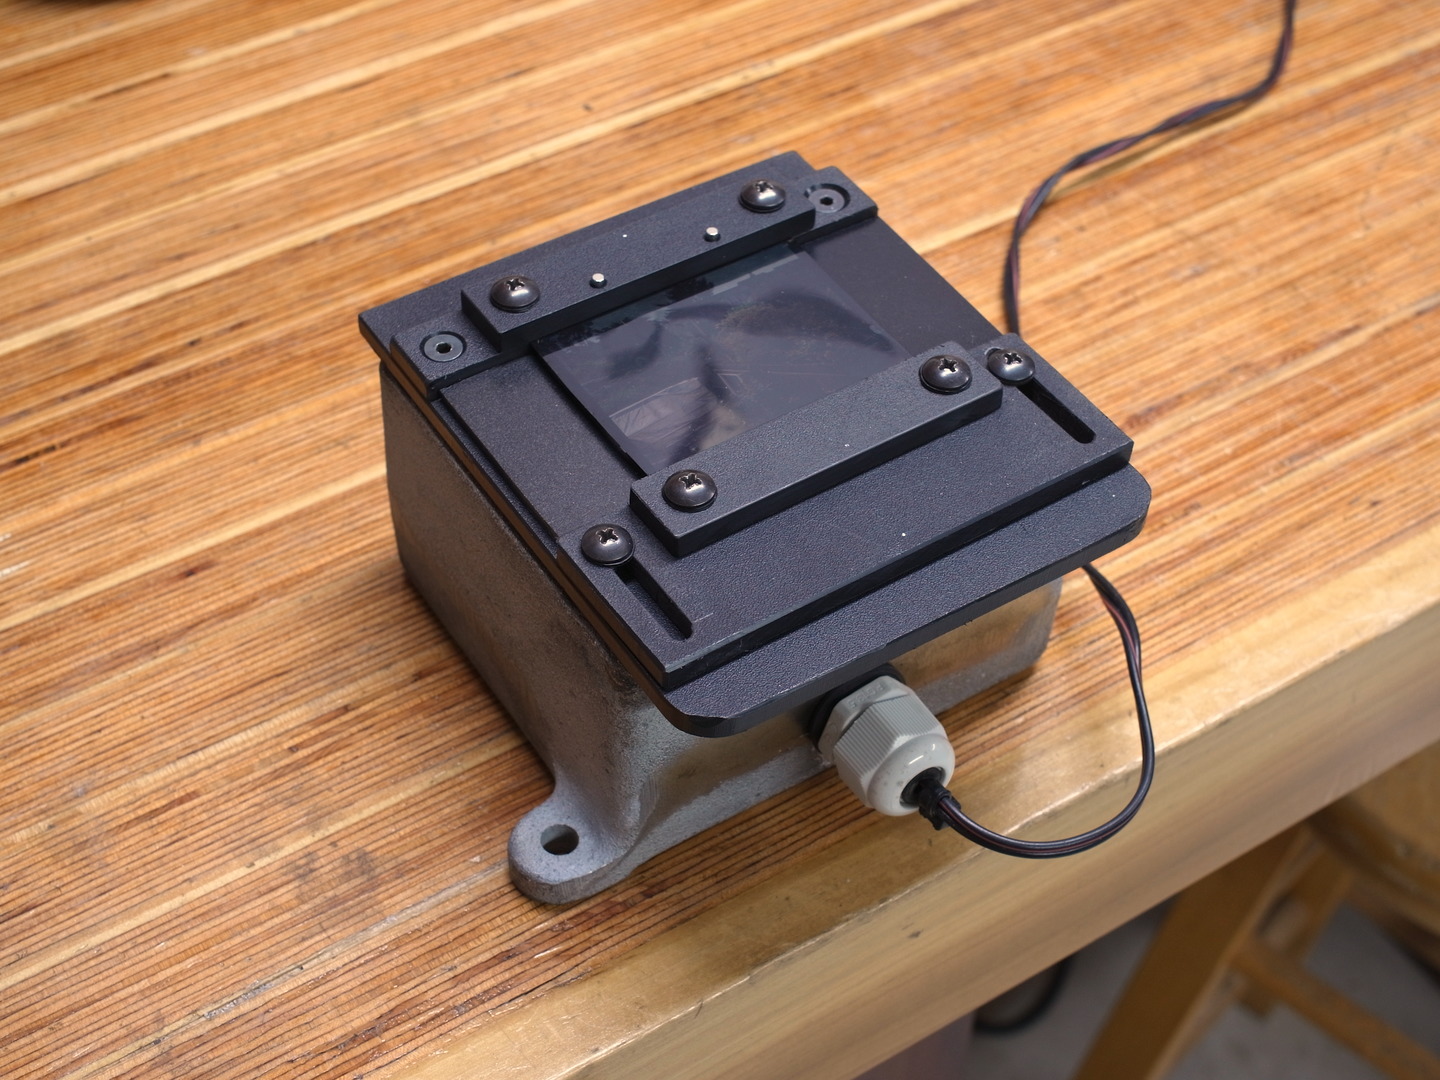
- Small color-balanced LED light box (about 5x7 inches in size)
- 1/4" thick piece of glass the size of the light box
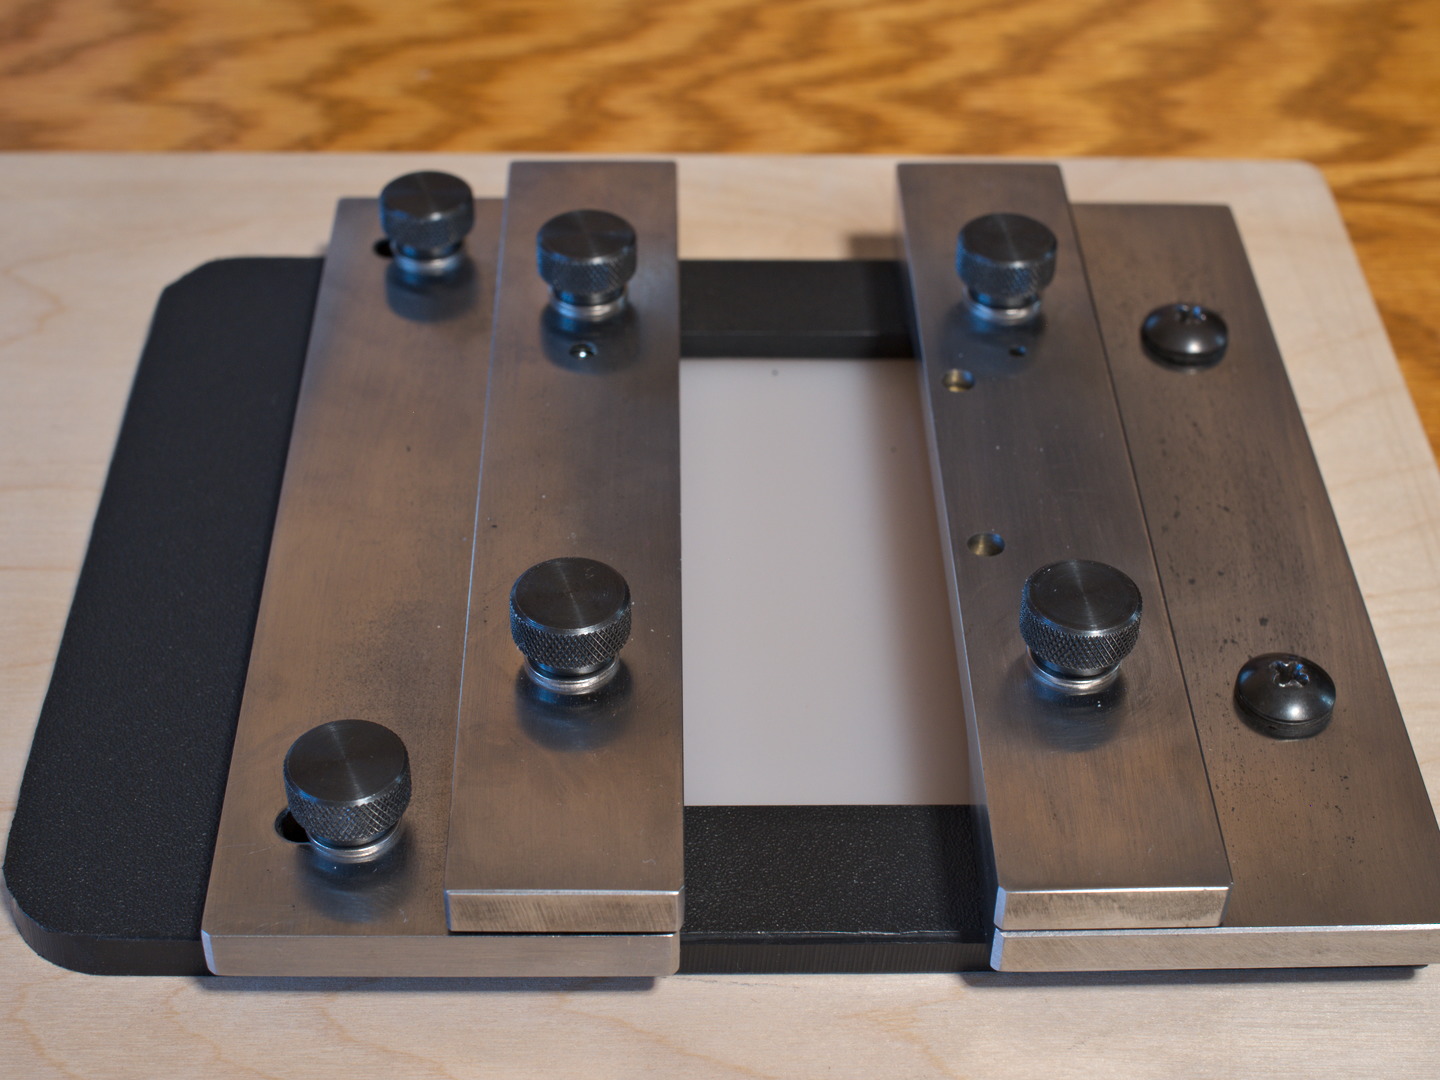
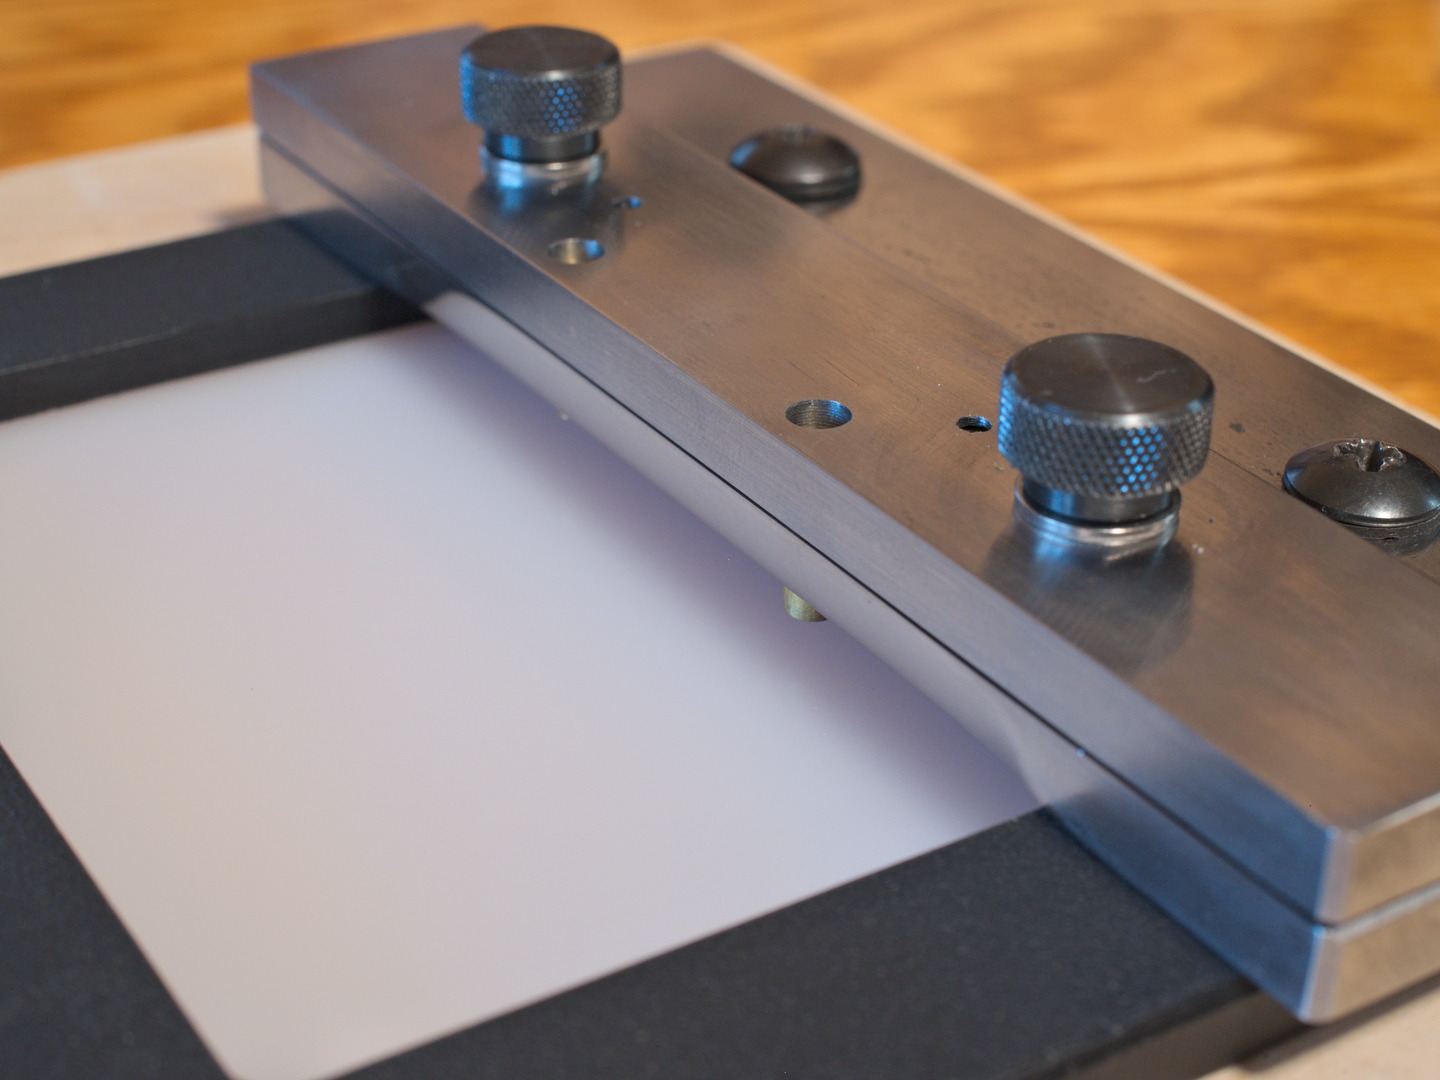
- 2 strips of 300gsm paper
- Black construction paper
- Artist's Tape
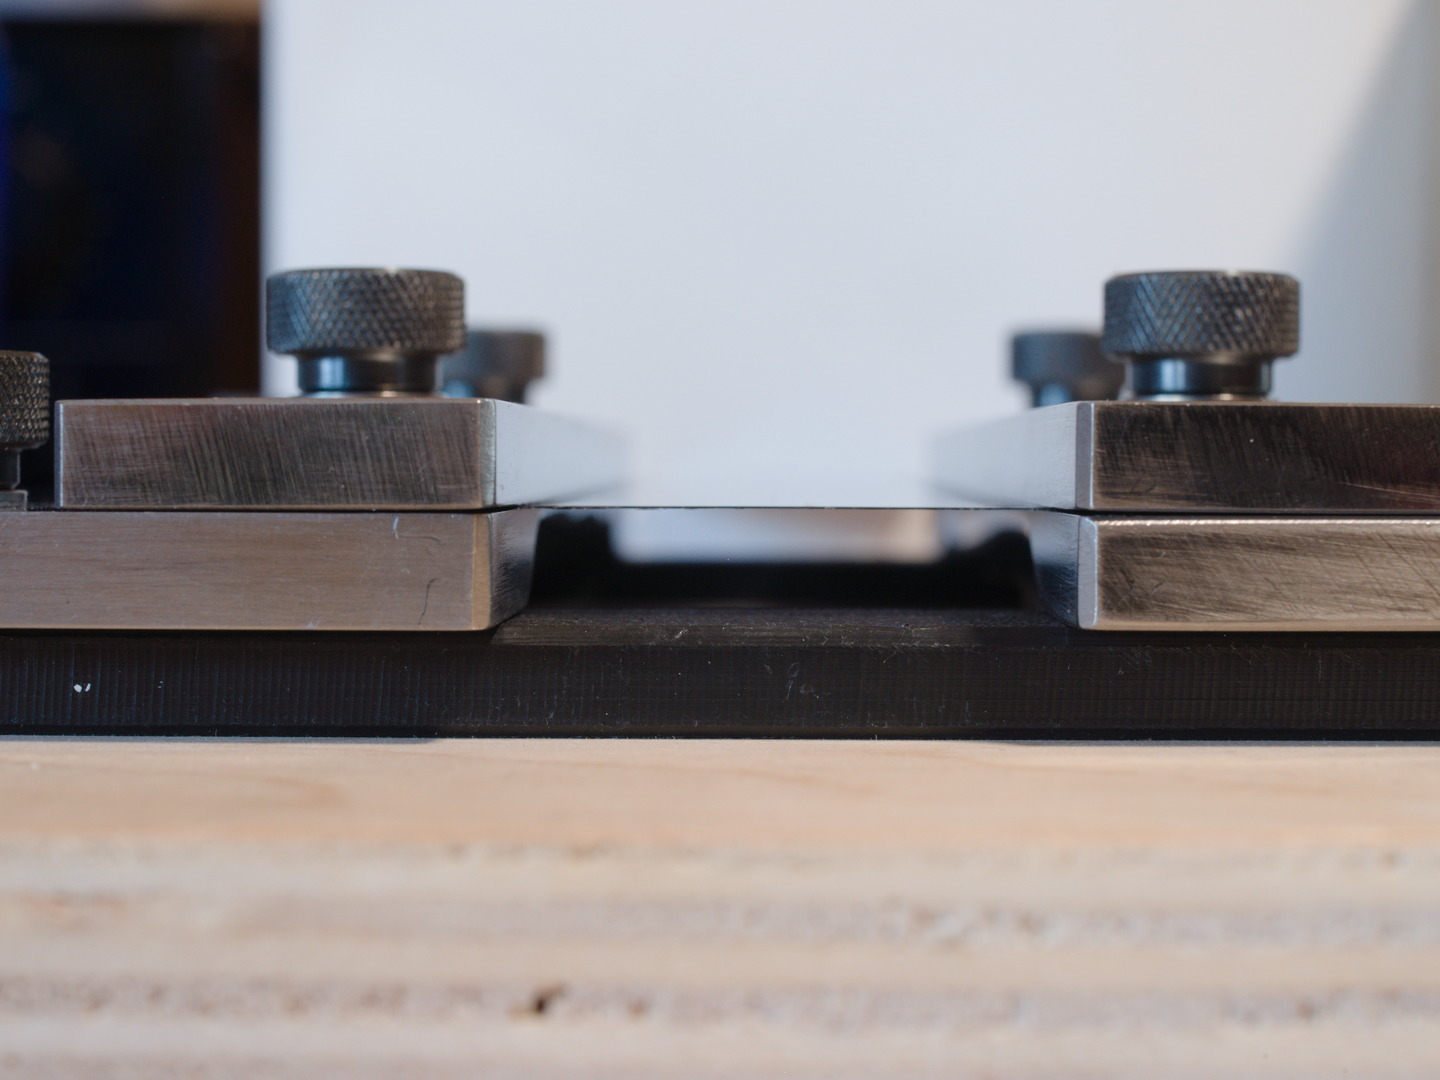
Now you have a jig and copy camera setup which is stable and negatives in strips can be fed through the channel, exposures made one after the other. Makes 16 Mpixel square scans of 6x6 and 24 Mpixel scans of 35mm.
- tape the light box onto my work table.
- carefully clean the light box's diffusing surface (ANR proven)
- tape two strips of 300gsm paper down on the light box at the right width to allow a film strip of the chosen film to move between them.
- tape black construction paper over the rest of the light box diffusing surface
- tape the glass to the light box
- slide a strip of negatives into the channel made by the paper strips sandwiched between light box and glass, and center a negative on the light box
- fit lens to the BEOON
- using the BEOON magnifying focus tool, focus and align the BEOON to the negative. Mark the edge of the frame on the glass with a bit of tape so you can slide negatives through the channel and align them accurately.
- tape the BEOON to the glass carefully, without moving it or changing the focus
- fit Leica M-D body and cable release
- stop lens down to f/11, set ISO to 200 and exposure on auto
Hint: Darken the room when making exposures to eliminate extraneous flare and light reflections. A construction paper tunnel surrounding the lens and negative stage is also helpful for this.Of course, I can substitute any other TTL viewing camera and lens, and any other nice, rigid, small copy stand to do the same thing. The BEOON simply makes it very easy to use a Leica M body, since I have one, and is delightfully compact and easy to store when the kit is not in use. The Summicron-M 50mm lens, although not specifically designed as a macro lens, produces amazingly good results when put to use this way ... as does a Color Skopar 50mm f/2.5 as well.
For example, I can also use a Leica CL body with an M-mount adapter on it, and set the capture to about 1:2 magnification for 35mm. However, with that format, I need about 1:3.5 magnification for 6x6 which is out of range of the BEOON. That's when a Novoflex Magic Studio Macro-Repro Stand and a bellows mount for a lens becomes a lot more flexible to use. It's not cheap, but it is similarly very precise, strong, and rigid, and packs down small enough to store away easily when not in use.
Thanks for the update!
I am pretty sure I have seen your BEOON setup. Just not your "jig" for the negatives. Could you post an image? It sounds interesting.
I have actually come up with a new solution to hold negatives as well, forgot to mention that above. I will post a picture later...