
Kozhe
Well-known
Hi everybody,
so I got this old scanner from my father who bought it for general use and is not using it anymore, and besides its quality it´s my current only option to scan film if I don´t want the guys in the office to get fed up with me there (there´s a V200 so not too much better I guess anyway...)
I´m scanning some films I develop myself, Arista Premium 400 with Tmax 1:4, 6 minutes at 20ºC, quite standard process. If I scan the images with any post processing done I get usually something like this:
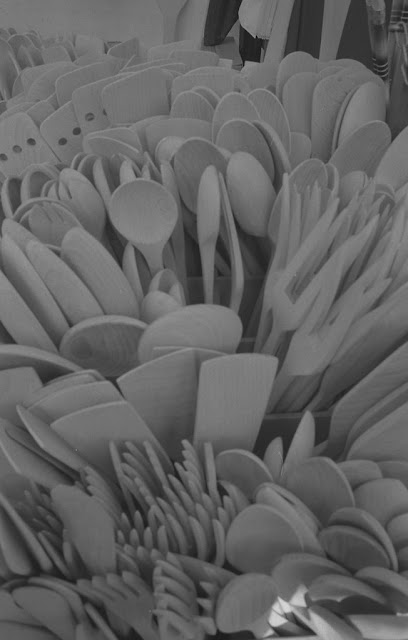
But if I keep the "auto exposure" set on as it is as default I get this:
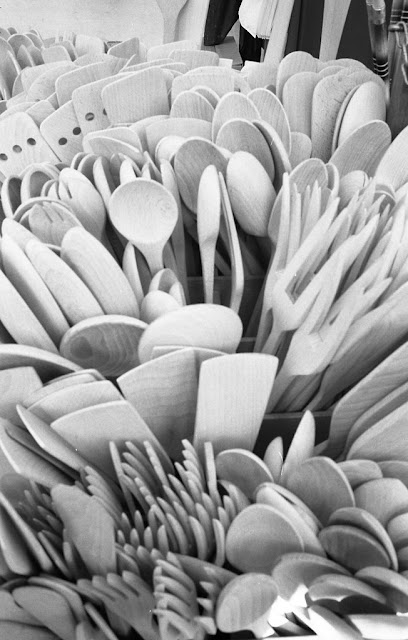
Could you please explain me what´s happening here?? I don´t really think I did nothing wrong with the shot, neither with the process, the first image looks too gray, with not dark enough areas not to be enough processed or exposed. The second one looks quite more like what I think the negative looks like.
Is just the way this scanner works (like keep the auto exposure because it´s so terrible that you need it) or am I doing something really really bad??
This is crazy, it´s like I´m taking pictures but I have no real way to know if it´s properly done. And of course if I bring it to a "professional" lab they do some auto adjustments anyway so no way to test it that way...
Thanks!
so I got this old scanner from my father who bought it for general use and is not using it anymore, and besides its quality it´s my current only option to scan film if I don´t want the guys in the office to get fed up with me there (there´s a V200 so not too much better I guess anyway...)
I´m scanning some films I develop myself, Arista Premium 400 with Tmax 1:4, 6 minutes at 20ºC, quite standard process. If I scan the images with any post processing done I get usually something like this:
But if I keep the "auto exposure" set on as it is as default I get this:
Could you please explain me what´s happening here?? I don´t really think I did nothing wrong with the shot, neither with the process, the first image looks too gray, with not dark enough areas not to be enough processed or exposed. The second one looks quite more like what I think the negative looks like.
Is just the way this scanner works (like keep the auto exposure because it´s so terrible that you need it) or am I doing something really really bad??
This is crazy, it´s like I´m taking pictures but I have no real way to know if it´s properly done. And of course if I bring it to a "professional" lab they do some auto adjustments anyway so no way to test it that way...
Thanks!