Mosasaurus2
Member
Hello,
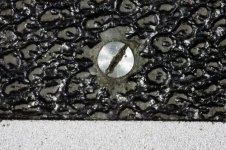
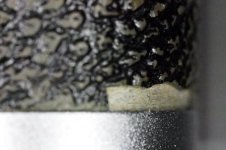
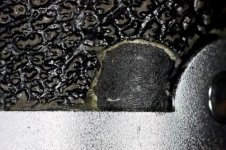
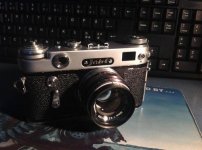
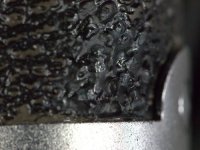
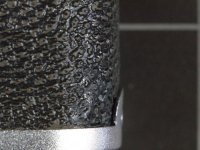
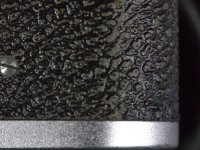
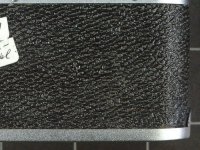
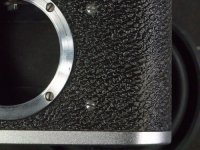
Last weekend I bought on a fair here in the Netherlands a FED 1d (NKVD, Nr. 164150). Unfortunately I didn’t notice that two pieces/patches of the “leather” were lost. So I planned renewing the leather…..
On the internet I saw some difficult instructions removing the vulcanite with a special agressive gel, that is supposed to remove/dissolve paint. Here on RFF someone else suggested to yo use a chisel (that sounds logical) and perhaps some lighter fluid.
My question is if someone of you has experience removing the vulcanite/ leather of the FED 1d and replacing it by new leather(ette)? What kind of leatherette would you recommend? Dividing/partition line of the leatherette under the lens?
Thanks for answering in advance.
Regards,
Ad