newfilm
Well-known
Hey guys,
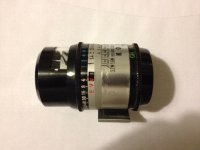
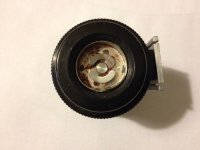
I've got funny looking Kopil lightmeter, while open up the battery compartment there is some brown rubbery thing inside, so I scrap it out, I pop a battery in, and there is no needle movement, so I take out my multi-meter to probe the battery compartment, it appear that the "S" shape metal contact (see picture) is short with the round metal surrounding, makes no sense to me, I suspect the brown rubbery thing I scrap out might be some kind of padding to prevent short circuit.
1) Does anyone know how to take this thing apart?
2) If you have a similar kopil meter can you show me how your battery compartment looks like?
any pointer are welcome, many thanks guys.