Konica Auto S2 ... success!!

Thanks Greyscale. Perhaps it is this small nut that I havn't taken off because it resisted. As can I remove it without making a mess?
 
Last edited:
Yes you can. Use a pair of needle-nose pliers if you need to, and perhaps a small drop of penetrating oil. If it still resists, you could try heating the nut up with a soldering iron for a minute or so, then remove with the pliers.
 
Oh, and to honor Greyscale's innovative vibrational cleaning method, I offer this photographic testimony of its efficacy.

_A155070.jpg
Wow, I think yours was even dirtier than mine.:eek:

The amount of dirt and gunk is a little misleading, I'm sure a large portion comes from the knurls on the focus, aperture, and shutter-speed rings, but enough comes from the shutter and aperture blades to be effective.

Gravity and vibration are our friends. :)
 
Thanks again Greyscale. Tomorrow I try to do as you suggested and... I hope to clean the viewfinder of this great KAS2!
 
Jack, you can adjust the horizontal rf without removing the cover at all, I think. There is a tiny plug to the bottom right of the viewfinder on the rear of the camera, remove that to access the adjustment screw for the rf. Vertical adjustment would require removal of the top, though. Or maybe its vice-versa...


Yeah, that little port screw adjusts the side to side movement of the patch, but the patch still sits a little bit higher than the object being focused on. That's what I can't figure out. It's annoying but I don't think it'll prevent me from being able to focus.

There must be an adjustment screw somewhere in there but it wasn't obvious enough for me to screw with.

I'll have to test the focus once I install light seals and put some film through this bad boy.

The price we pay for $20 cameras... :bang:
 
Jack, if you use a thin piece of rubber, like from a dishwashing glove, you should be able to get enough grip to remove the knob on top of the advance arm. If you don't get enough grip that way, gentle use of a pair of padded pliers may be necessary.

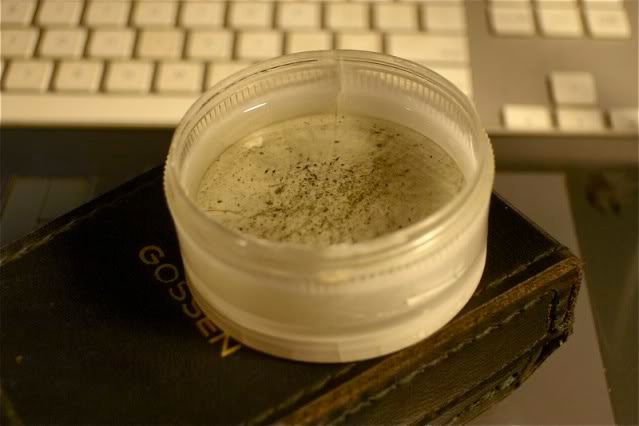
My unconventional method for cleaning the gunk was to place the camera lens-barrel down in the custard cup seen in the photo above, with the cup filled with enough naphtha (lighter fluid) to completely immerse the entire shutter assembly (remove the front element first, and de-solder the connections to the light meter sensor). Then I put the camera ontop of my stereo speakers and tuned in a techno pop/electronica station on my digital cable box and turned the bass to max. Even at low volume, this caused a constant, gentle agitation of the solvent, and gravity allowed the debris to drift to the bottom. I would exercise the shutter and aperture every know and then, and gently swab dry the shutter and aperture blades to loosen any remaining gunk, then repeat the process several times.

Once the shutter is clean, you will want to remove and clean the rear lens element as well.

Down in TX, they would call that an "Aggie Ultrasonic Cleaner". Aggies are TX A & M students/ graduates and the butt of a million jokes--the current one being their football team.
 
Recap.... in case anyone is interested.

On the Konica Auto S, the vertical(side to side) rf adjustment is the screw accessed from the outside port next to the viewfinder window. No need to remove the top cover for vertical adjustment.

The horizontal adjustment(up down) is adjusted by a screw behind the little mirror on the far right of the rf unit that raises and lowers the "little" mirror, which requires removal of the top.

I don't know why the horizontal would even get out of whack, but it did on my camera. Fortunately it's an easy adjustment that only requires a small turn of the adjustment screw.
 
Back
Top Bottom