FallisPhoto
Veteran
Cleaned, lubricated, adjusted and polished and spiffed up to within an inch of its life -- a Kodak Retina Ib:
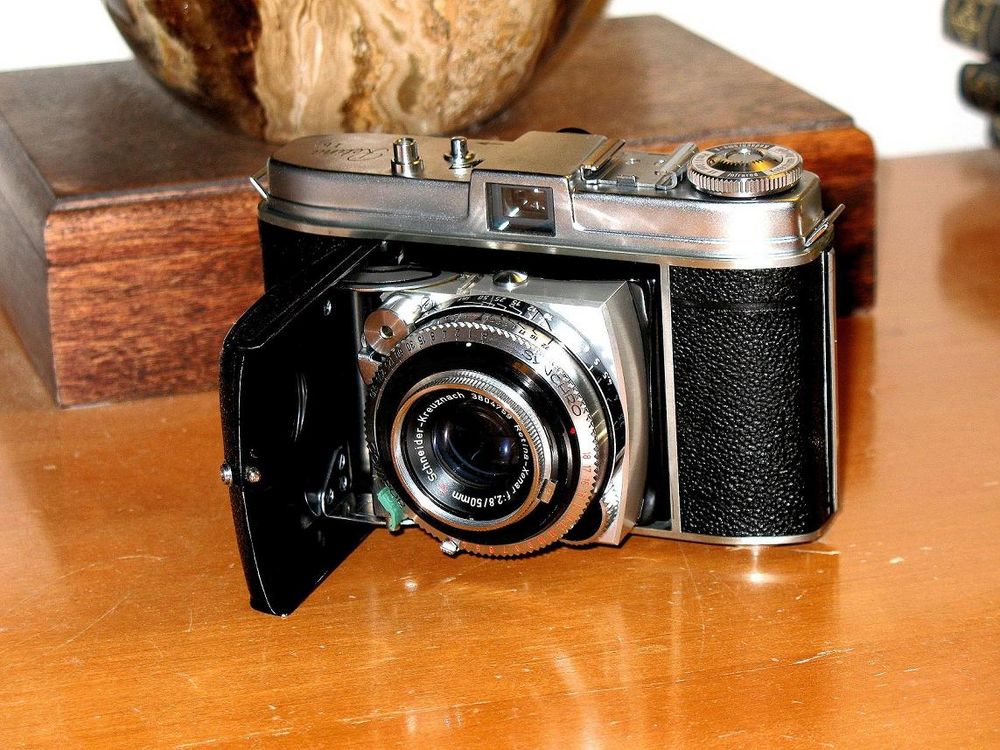
Except for a thin line of worn paint along the leading edge of the lens cover/door, I think it is just about perfect.
Except for a thin line of worn paint along the leading edge of the lens cover/door, I think it is just about perfect.
cweg
Well-known
Wow, what a beauty!! Good job.
bmattock
Veteran
It really does look wonderful! I'd love to have something like that done to my Karat IV.
bucks11
Established
Sure is perdy. Nice work!
Cale Arthur
---- ------
Lookin' good - like new/old stock!
Just curious: what's the level of difficulty in accessing the shutter and aperture blades? I've had one of these for years, and have never been able to use it due to fact that these parts have been marinating in oil for an eternity.. The shutter cocking rack seems to be fine (shocker!), as it does actually perform it's duties!
Just curious: what's the level of difficulty in accessing the shutter and aperture blades? I've had one of these for years, and have never been able to use it due to fact that these parts have been marinating in oil for an eternity.. The shutter cocking rack seems to be fine (shocker!), as it does actually perform it's duties!
FallisPhoto
Veteran
Lookin' good - like new/old stock!
Just curious: what's the level of difficulty in accessing the shutter and aperture blades? I've had one of these for years, and have never been able to use it due to fact that these parts have been marinating in oil for an eternity.. The shutter cocking rack seems to be fine (shocker!), as it does actually perform it's duties!
On the Ib, you unscrew the lens (it is attached via a bayonet mount) and the shutter blades are right there. To take it down further, you will see a really tiny screw (smallest I've ever seen and very easy to lose) over a nut, just above the opening for the shutter blades. If you remove that, and unscrew the nut, you can lift the front off of the shutter and there are the works, right in front of you. Only trouble is getting that tiny screw lined up to go back in when you're done. My eyes are not perfect and I had to use a magnifying glass.
BTW, I've owned five Retinas and only one of them had a bad cocking rack.
FallisPhoto
Veteran
It really does look wonderful! I'd love to have something like that done to my Karat IV.
I could get to it pretty soon, if you're serious. I have a Voigtlander Bessa II and two Agfa Isolette IIs to do first though. The guy who wants the Bessa done says he wants the works.
Cale Arthur
---- ------
Ok, i'm on it.. You're right, that screw is extra-small. Thanks much for the tip(s)!On the Ib, you unscrew the lens (it is attached via a bayonet mount) and the shutter blades are right there. To take it down further, you will see a really tiny screw (smallest I've ever seen and very easy to lose) over a nut, just above the opening for the shutter blades. If you remove that, and unscrew the nut, you can lift the front off of the shutter and there are the works, right in front of you. Only trouble is getting that tiny screw lined up to go back in when you're done. My eyes are not perfect and I had to use a magnifying glass.
BTW, I've owned five Retinas and only one of them had a bad cocking rack.
FallisPhoto
Veteran
Ok, i'm on it.. You're right, that screw is extra-small. Thanks much for the tip(s)!
You're welcome. Have you ever CLAd a shutter before? If not, the easy way to do it is to get a small artist's watercolor brush and use that to work lighter fluid into the gearing. Just work the shutter a few times to get the lighter fuid into any parts you can't reach, and then rinse the whole thing with clean lighter fluid and drain it a couple of times. It isn't as good as a total disassembly, but it is head and shoulders above what you'd get most places. I just did a camera that had been done by somebody famous (yeah, you know who) and it turned half a bottle of lighter fluid black.
Cale Arthur
---- ------
Only on an 'as necessary' basis, pin-pointing a problem, and solving that issue specifically. I've never performed a full tear-down, so this is certainly useful info!Have you ever CLAd a shutter before?
The shutter mech. itself appears to be quite clean, and quite complicated as well. Don't know how far i can travel in before i reach the dreaded point of no return! Looks like it's going to be a journey to get the blades removed - doesn't seem like flooding them in place will work for me, as there's a lens element directly behind them.
Thanks again for the assist on this! I'll keep staring at it for a bit..
Muggins
Junk magnet
You may find the article here on dismantling a Compur handy. Fallis will tell you how similar the two models are, I'm sure.
http://pheugo.com/cameras/index.php?WEBMGR=6bffe4daf25db821b67424c00f5915f5
Adrian
http://pheugo.com/cameras/index.php?WEBMGR=6bffe4daf25db821b67424c00f5915f5
Adrian
FallisPhoto
Veteran
Only on an 'as necessary' basis, pin-pointing a problem, and solving that issue specifically. I've never performed a full tear-down, so this is certainly useful info!
The shutter mech. itself appears to be quite clean, and quite complicated as well. Don't know how far i can travel in before i reach the dreaded point of no return! Looks like it's going to be a journey to get the blades removed - doesn't seem like flooding them in place will work for me, as there's a lens element directly behind them.
Thanks again for the assist on this! I'll keep staring at it for a bit..
Uh... you do know you can remove that lens element from the back, don't you?
FallisPhoto
Veteran
You may find the article here on dismantling a Compur handy. Fallis will tell you how similar the two models are, I'm sure.
http://pheugo.com/cameras/index.php?WEBMGR=6bffe4daf25db821b67424c00f5915f5
Adrian
They're a little different, but not enough to panic over.
Cale Arthur
---- ------
I do now!Uh... you do know you can remove that lens element from the back, don't you?
") Will report the progress as it.. progresses.
Will report the progress as it.. progresses. That's a good site, Adrian - i remember consulting the Copal section when i was working on the shutter from my Pen S.You may find the article here on dismantling a Compur handy. Fallis will tell you how similar the two models are, I'm sure.
Thanks again!
FallisPhoto
Veteran
I do now!
That's a good site, Adrian - i remember consulting the Copal section when i was working on the shutter from my Pen S.
Thanks again!
So how'd it go? Personally, I'm tied up repairing a Bessa RF that passed through the two left hands of a certain infamous camera restorer.
Cale Arthur
---- ------
Haven't had a chance to dive back in yet, unfortunately. Got a request for a few prints, so i figured it would be a good time to reacquaint myself with the darkroom!So how'd it go? Personally, I'm tied up repairing a Bessa RF that passed through the two left hands of a certain infamous camera restorer.
Looks like rain all weekend, so there's a good chance i'll have some time on my hands to break out the screwdrivers, and get crackin' on it..FallisPhoto
Veteran
Haven't had a chance to dive back in yet, unfortunately. Got a request for a few prints, so i figured it would be a good time to reacquaint myself with the darkroom!
I finished off the Bessa and am now working on a Yashica D that apparently had a bad day at a beach somewhere. The Bessa:

Share:
-
This site uses cookies to help personalise content, tailor your experience and to keep you logged in if you register.
By continuing to use this site, you are consenting to our use of cookies.