bensyverson
Well-known
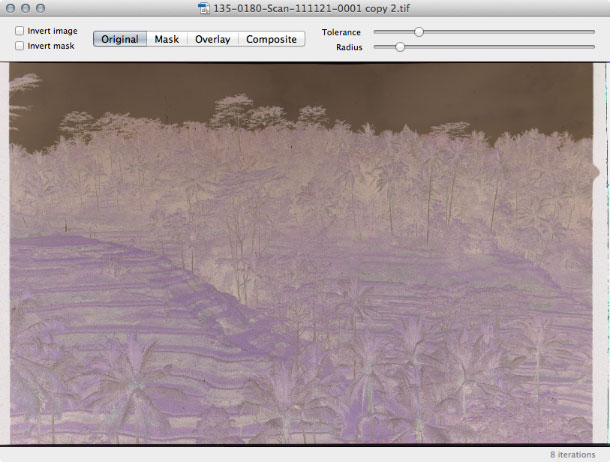
I switched to VueScan a while back for my Coolscan, and started to want a little more control over the infrared dust removal. So I built a little tool to help out! I scan the negative as a slide, and have VueScan save it as "64 bit RGBI" TIFFs. Basically, a TIFF with the infrared in the alpha channel.
If you're interested, you can download an early beta of the app (Mac 10.6 or above). I'd love to hear your feedback!
Keep in mind this is BETA software. Use at your own risk. Always back up your data, and only run this on COPIES of your images. Choosing "Save" WILL write over the original, as designed.
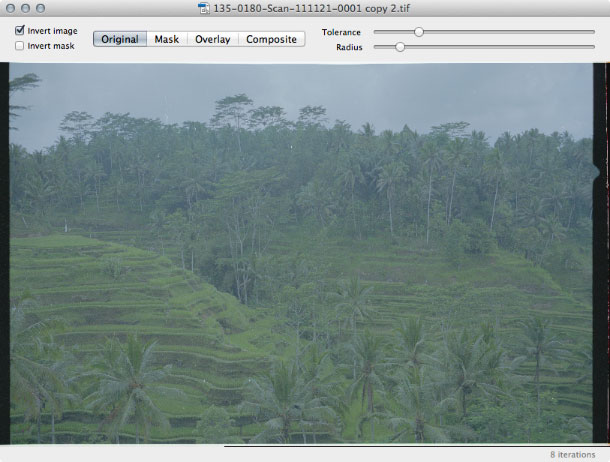
The results have been pretty promising. Before:
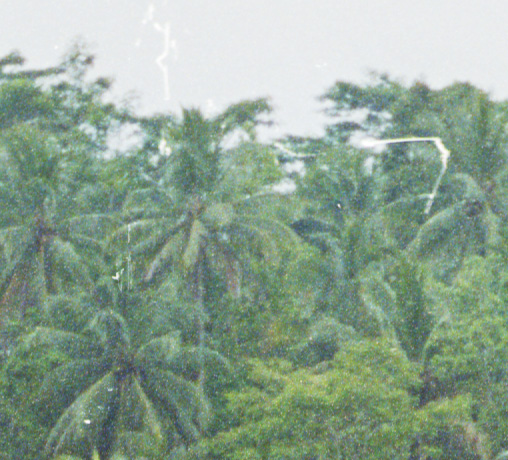
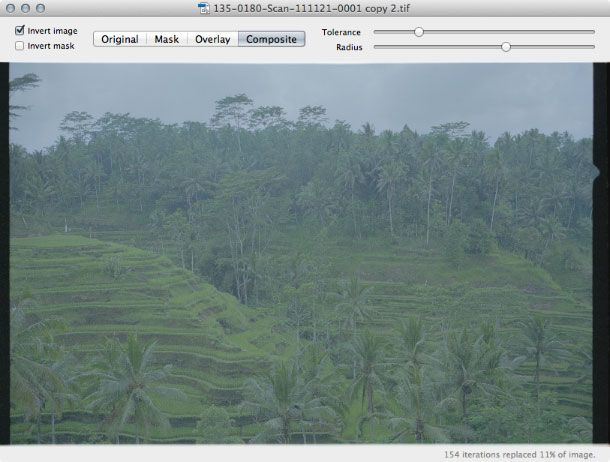
After:
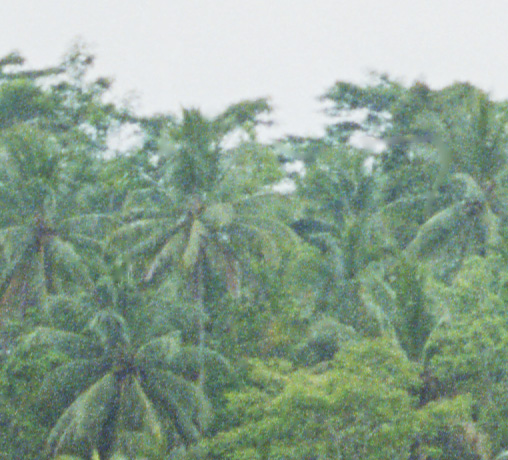
Before:
After:

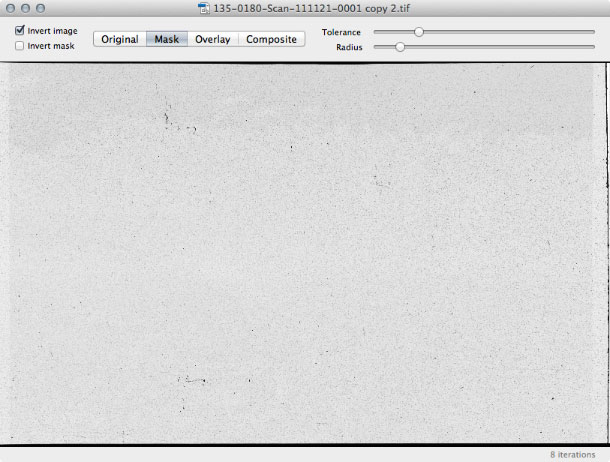
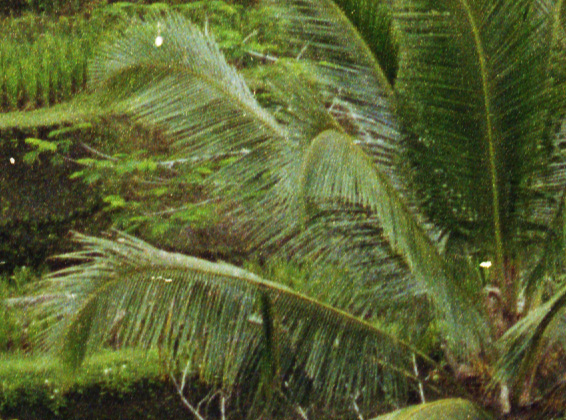
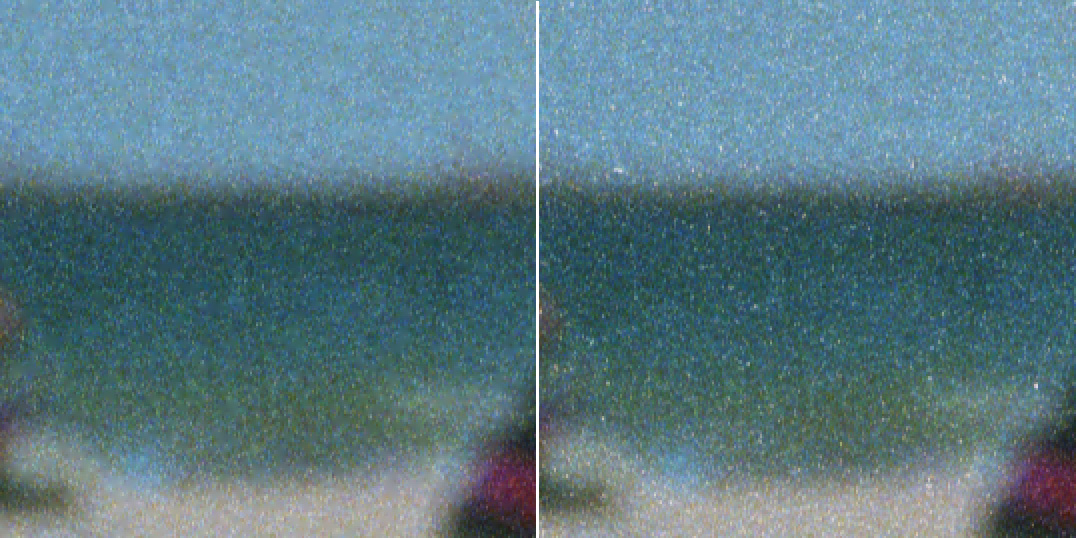
Not only can you remove the dust, you can also remove the "pepper grain." Pepper grain is actually the result of tiny air bubbles trapped in the plastic base of the film. It shows up as dark specks on slide scans, or faint white specks on negative scans.
Being able to remove the pepper grain makes the scan smoother, less grainy and more like what you'd expect from making a wet print. Cleaned on the left, original on the right:
If you're interested, you can download an early beta of the app (Mac 10.6 or above). I'd love to hear your feedback!
Keep in mind this is BETA software. Use at your own risk. Always back up your data, and only run this on COPIES of your images. Choosing "Save" WILL write over the original, as designed.
The results have been pretty promising. Before:
After:
Before:
After:
Not only can you remove the dust, you can also remove the "pepper grain." Pepper grain is actually the result of tiny air bubbles trapped in the plastic base of the film. It shows up as dark specks on slide scans, or faint white specks on negative scans.
Being able to remove the pepper grain makes the scan smoother, less grainy and more like what you'd expect from making a wet print. Cleaned on the left, original on the right:
Last edited: