Blind_spark
Established
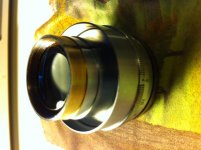
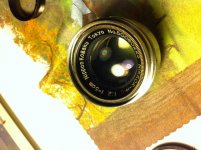
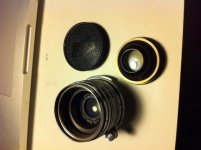
I have an early (1950) example of a 5cm ƒ2.0 Nikkor-HC that I am hoping to clean up. I want to clean the aperture blades and maybe, more importantly, clean up some haze. I sort of doubt this last part, but I can hope...anyways.
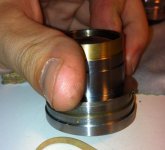
I can't figure out how to get into the optical module. I can remove the lens from the focusing helical, but I can't see how to remove the rear or front groups. I can see a spanner screw deep inside where the rear element is - I don't have a spanner (nor can I imagine that one could be both thin and strong enough) to reach it. Conversely, I'm not sure how the front would come out - it isn't like a Summicron or the 1.4 Nikkor where the front simply unscrews.
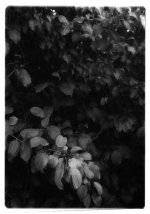
This lens is a bit of a dog - plenty of scratches up front along with the aforementioned haze. I'd just like to free up the sticky aperture and maybe take away the fuzzy wuzzys. It certainly works though, and I do enjoy the images it can make. I'd like to see if I can improve it; I don't have any intention to send it in just now...
If anyone can offer some insight as to how I proceed and any tips/tools, I would appreciate it. 🙄
***I'm not sure how to rotate the pictures...sorry!
I can't figure out how to get into the optical module. I can remove the lens from the focusing helical, but I can't see how to remove the rear or front groups. I can see a spanner screw deep inside where the rear element is - I don't have a spanner (nor can I imagine that one could be both thin and strong enough) to reach it. Conversely, I'm not sure how the front would come out - it isn't like a Summicron or the 1.4 Nikkor where the front simply unscrews.
This lens is a bit of a dog - plenty of scratches up front along with the aforementioned haze. I'd just like to free up the sticky aperture and maybe take away the fuzzy wuzzys. It certainly works though, and I do enjoy the images it can make. I'd like to see if I can improve it; I don't have any intention to send it in just now...
If anyone can offer some insight as to how I proceed and any tips/tools, I would appreciate it. 🙄
***I'm not sure how to rotate the pictures...sorry!