Do you mean you would shape the tool out of a piece of hardwood down to such a small size as to work on those 0.3 mm holes in a 3 mm diameter spanner screw? Please explain it in some more detail.
No I don't, this would require special tools to make it. I was meaning small stock wood picks (likely from some very good quality toothpicks - the toothpicks you can buy out there are all from different qualities, some will resist, some will break immediatly) which you harden yourself with a lighter (try-error process) before you put them in a kind of homemade spanner. In case of medium sized holes, the hard plastic option is sometimes more valid than the wood option. Anyway the wood or plastic ends of the homemade tool will likely break during the operation, but if, as a result, the screw head had budged, then you're done. To lock the screw back when you reassemble, using a small round rubber eraser will be enough.
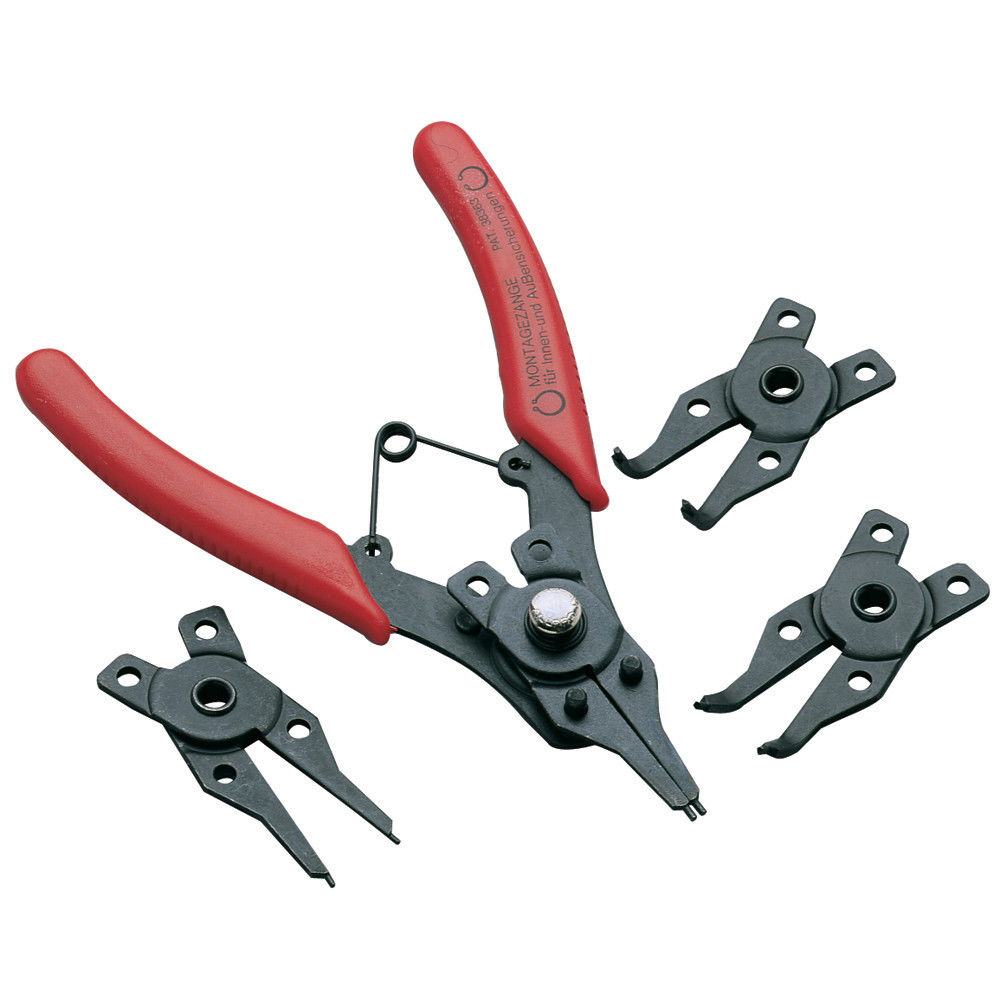
Regarding the other option, a 'pharmacy metal splinter removing clamp'. Are you talking about these? : <see photo above>
Yes I am exactly (the straight one). You then have to adjust (for parallelism) and file down and smoothen the ends of the clamp (or plier, whatever you call them) so that it perfectly fits.
Another trick is to cover the screw head with some cloth adhesive tape, then punching holes in it when you fit the homemade tool into the screw head holes. This will improve the grip of the tool ends and will lower the risk of scratching the screw head surface if the tool skates off by accident.
The depth of the holes of the part to unscrew is quite often the key. If the holes aren't deep enough, this may require lots of care and patience. Definitely marring the screw head can occur quite quickly, especially if made of chromed soft brass.
Back in the old days, those fragile parts, even on some high-end cameras, were designed to be replaced on each service requiring they were removed. Now for instance the number of screws of the selftimers and frames selectors of old Leica M film cameras which exhibit some ugly tool marks seems to increase.