@Zuiko85: Thanks for the compliment.
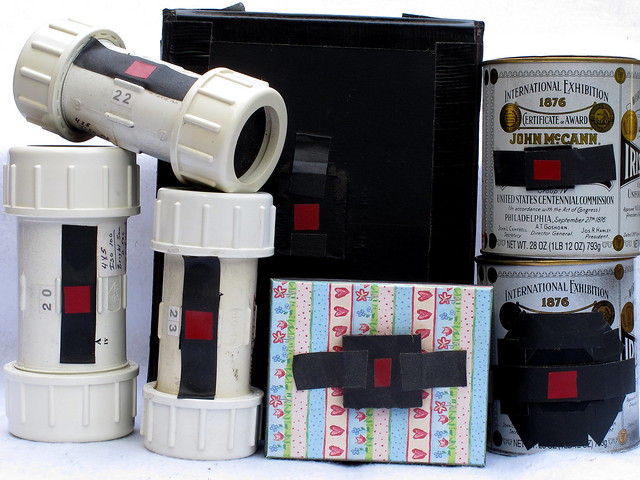
I use 2mil (.002" thick) sheet brass. I make a small, round dimple in the brass using a metal punch with a rounded (i.e. not sharp) tip. The center of the dimple will be much thinner than the rest of the sheet. You don't yet want a hole in the dimple.
Then, with dimple side pointing down, i press while rotating the tip of a thin sewing needle into the center of the dimple, just enough to make an even smaller dimple in the middle of the larger dimple.
Then use a careful, circular sanding motion and very little pressure against a sheet of 400-600 grit emory paper, dimple side down. Just to sand off the smaller dimple and form a narrow hole maybe 1/10 mm wide. Continue to sand, to widen the hole a bit, and make the edges of the hole thinner and sharper.
Then inspect under a loupe and carefully clean up the hole with the very tip of the sewing needle, if needed. You want a very uniformly circular hole with no burrs or other oddities, at the optimal size for your camera's focal length.
To measure the diameter, place the piece of brass behind a millimeter scale, with half the pinhole showing along the edge of the scale. Backlight the pinhole if needed. Then use your loupe and line up the left edge of the pinhole with a millimeter mark and estimate how many diameters will fit into 1 millimeter.
If you're targeting a specific diameter for a specific camera focal length, start with the hole smaller than needed and continue to sand against the emory, clean up the hole with the tip of the needle and inspect/measure until you get the right size.
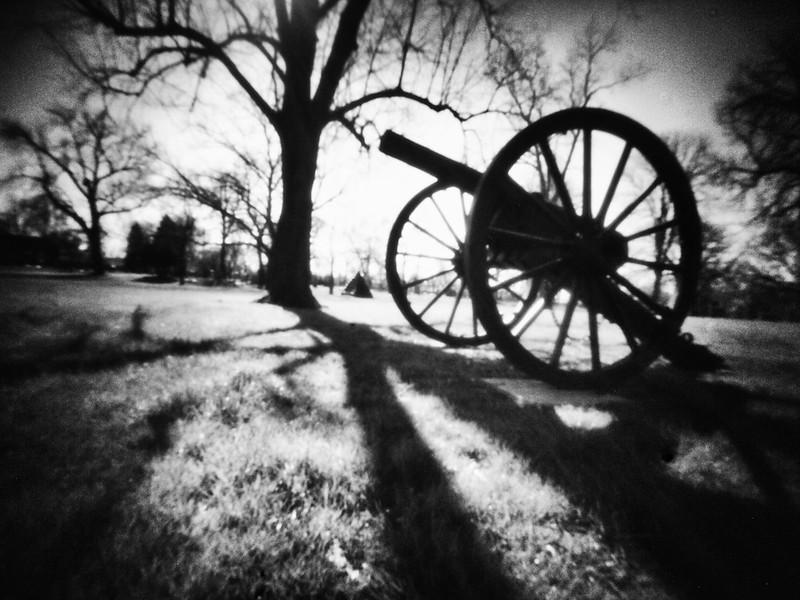
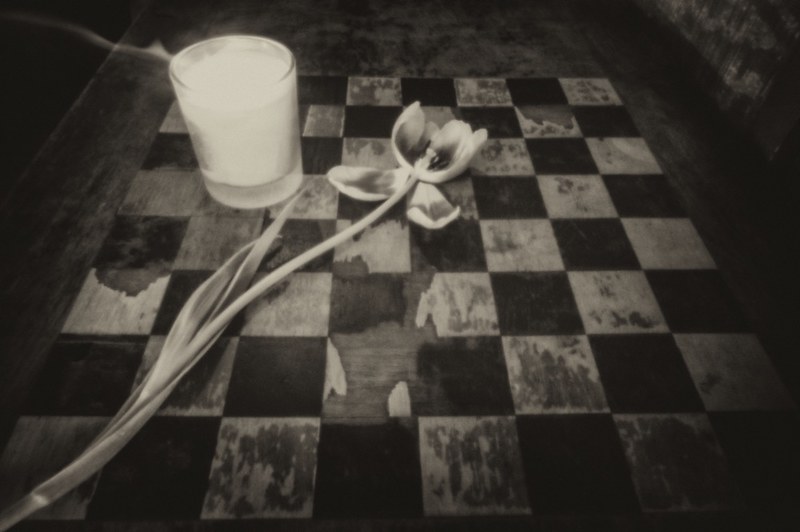
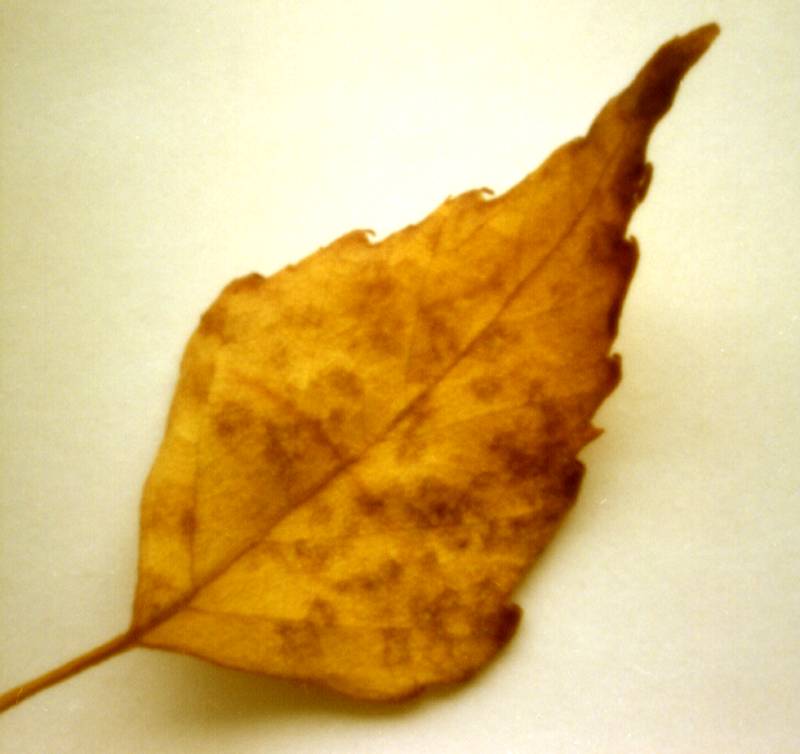
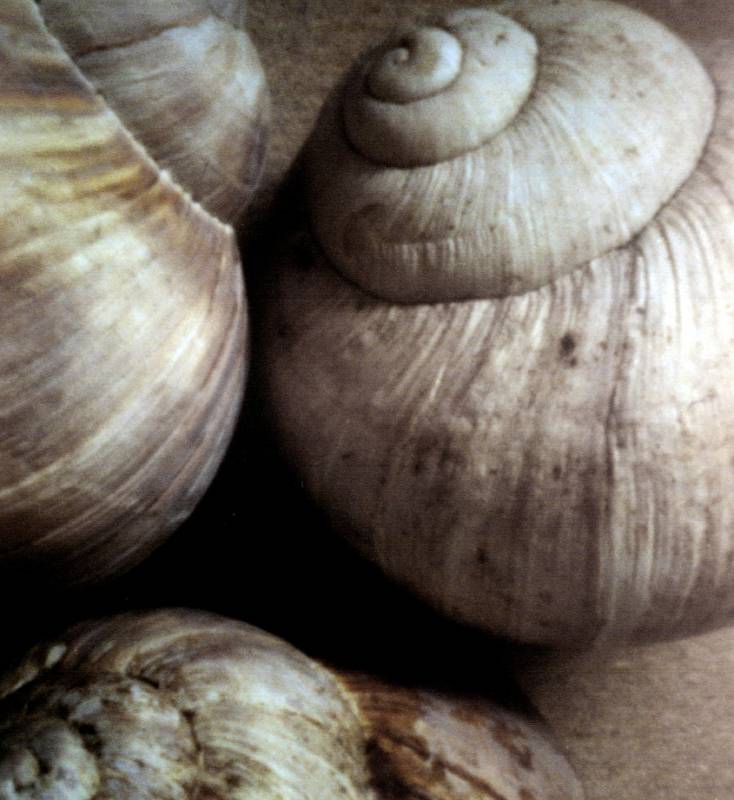
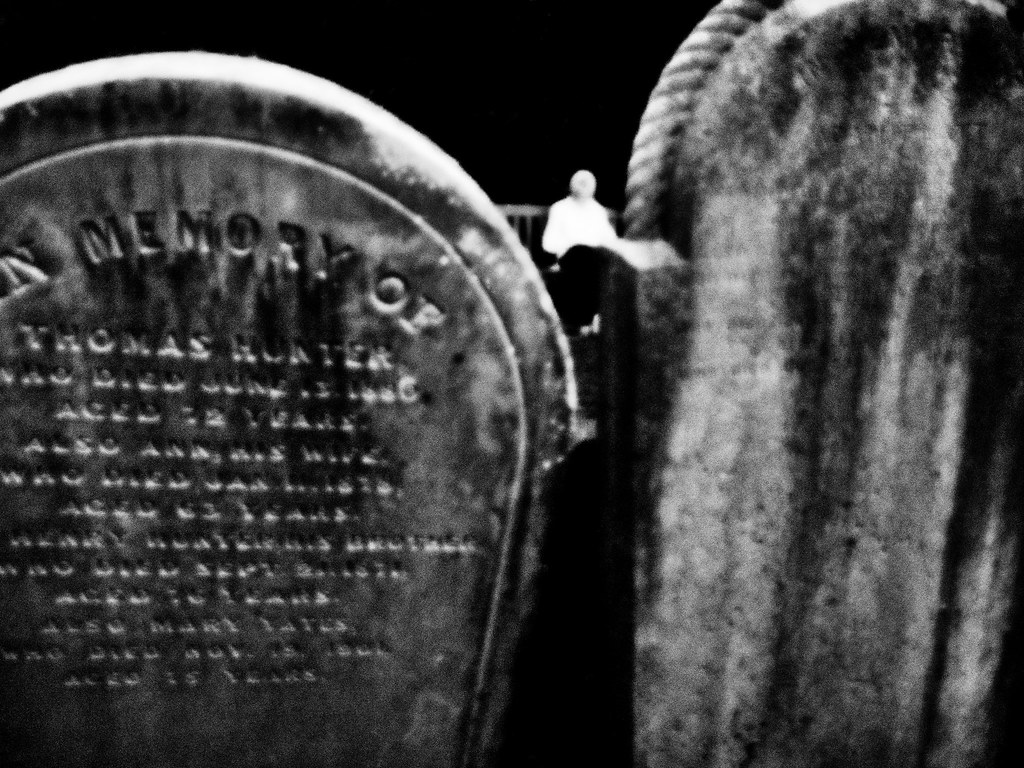
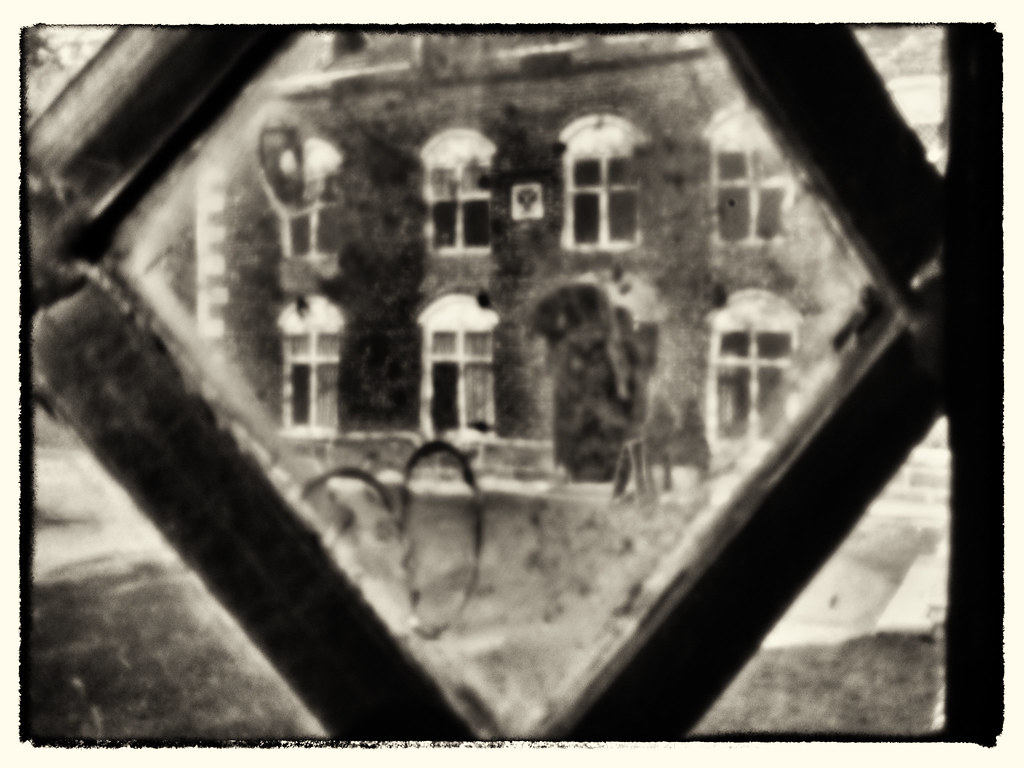
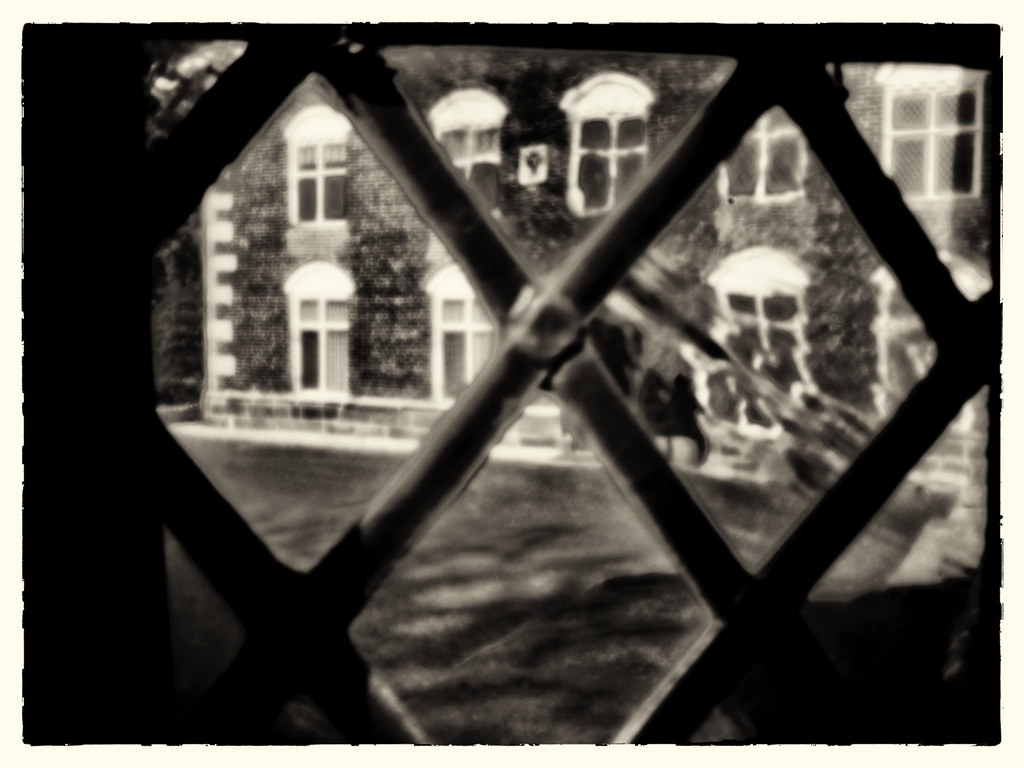
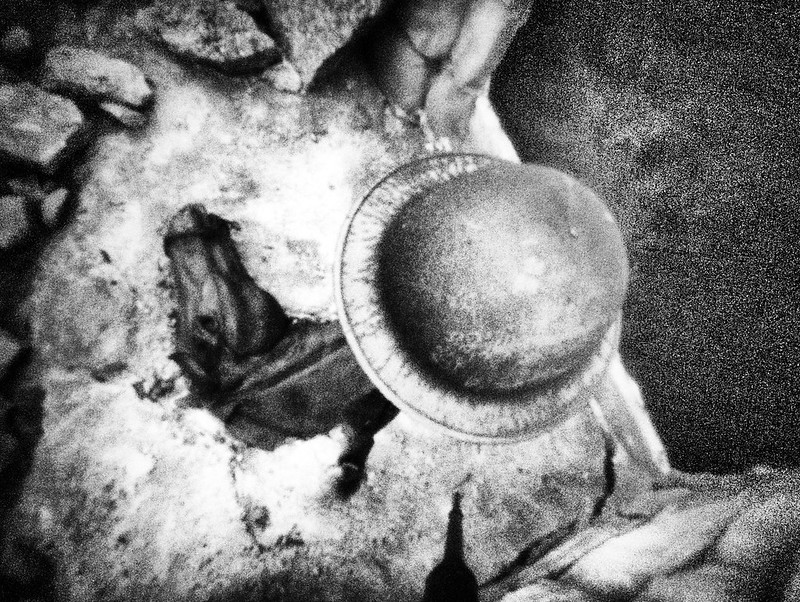
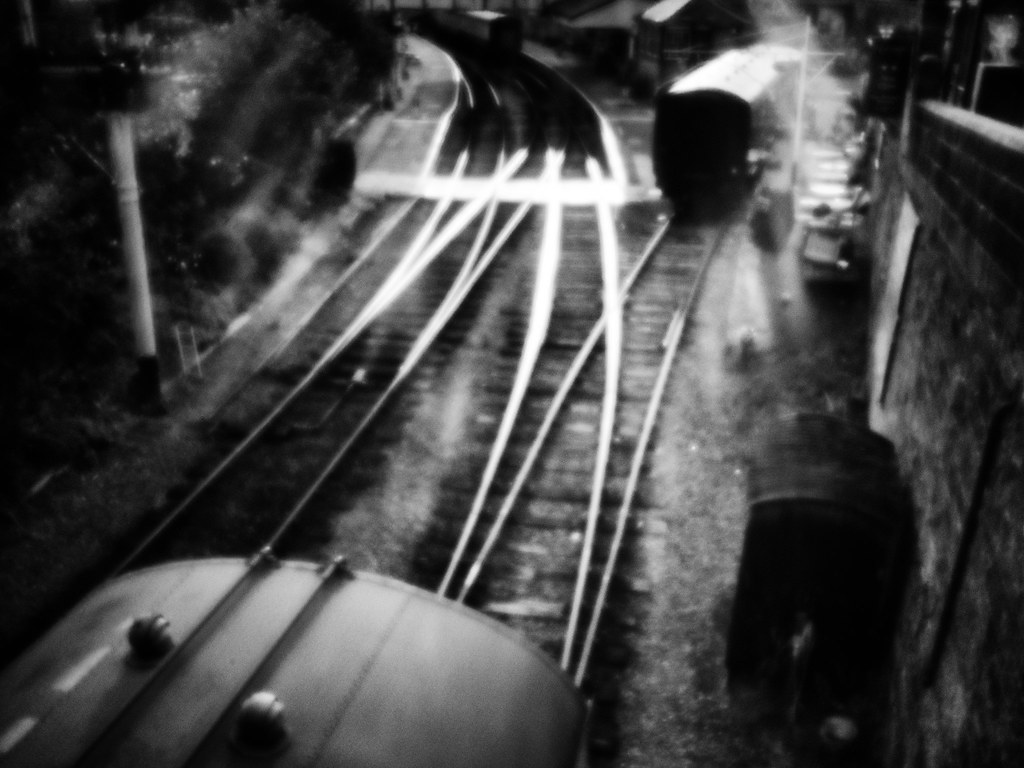
Also, for sharper images use a larger film/paper format size; the images you mentioned were 4"-by-5" format. But too large of a format results in diminishing returns, since for a larger format the focal length, and optimal f-ratio, will be bigger, requiring extended exposure times, reciprocity failure and potential camera shake-induced blurring. I find 5"-by-7" is a pretty optimal format size.
~Joe