shawn
Veteran
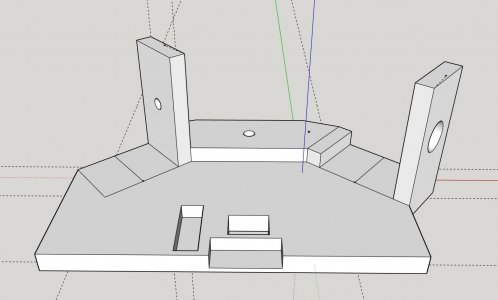
Starting a new version of a Sony RX0 multi-camera setup. This is my older version with USB power bank powered and the cameras shutters synced through the control ports.
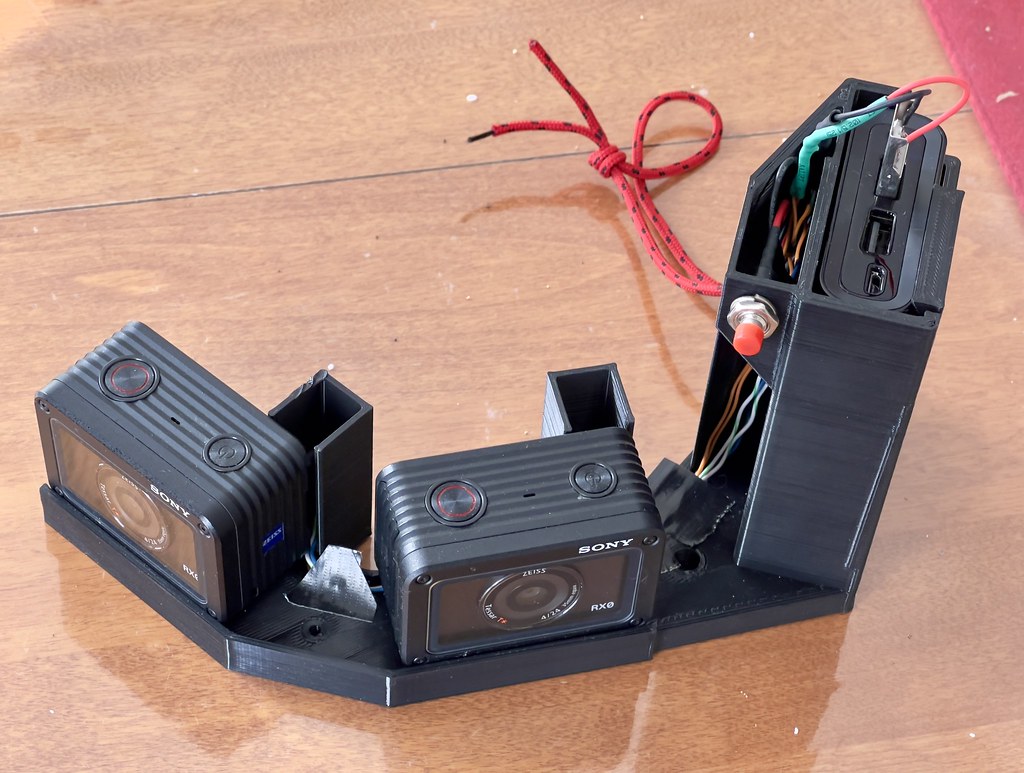
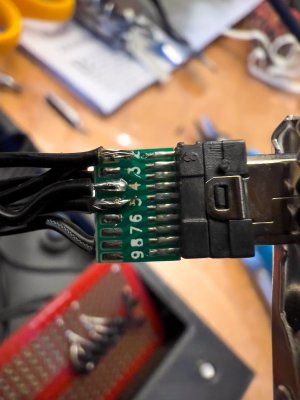
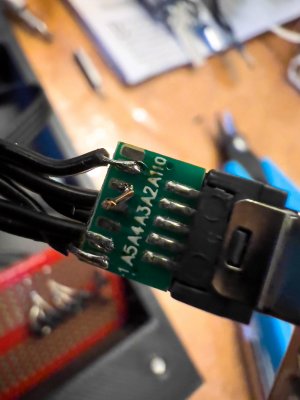
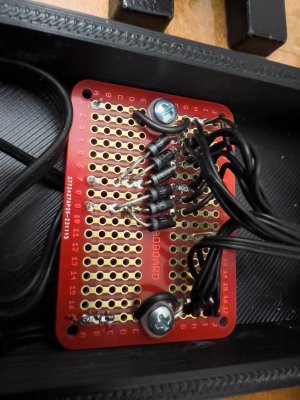
Keeping USB power bank, integrating the wiring more cleanly, a space for a breadboard for diode isolation between the synced controls of the cameras th shutter release, AF and power on/off.
Did some testing between bodies to work toward a good blend area between them.


On those there are 30 degrees between bodies and they are blending together easily.
Keeping USB power bank, integrating the wiring more cleanly, a space for a breadboard for diode isolation between the synced controls of the cameras th shutter release, AF and power on/off.
Did some testing between bodies to work toward a good blend area between them.
On those there are 30 degrees between bodies and they are blending together easily.