Kamph
Established
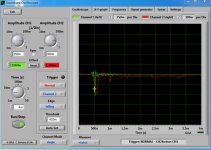
Quickest way to see if the calibration worked, is to do a preview.. the new white balance should show up on the preview. Some masks are darker, so it might not work on every film. I dont know, has worked fine on all films i have tested it so far.
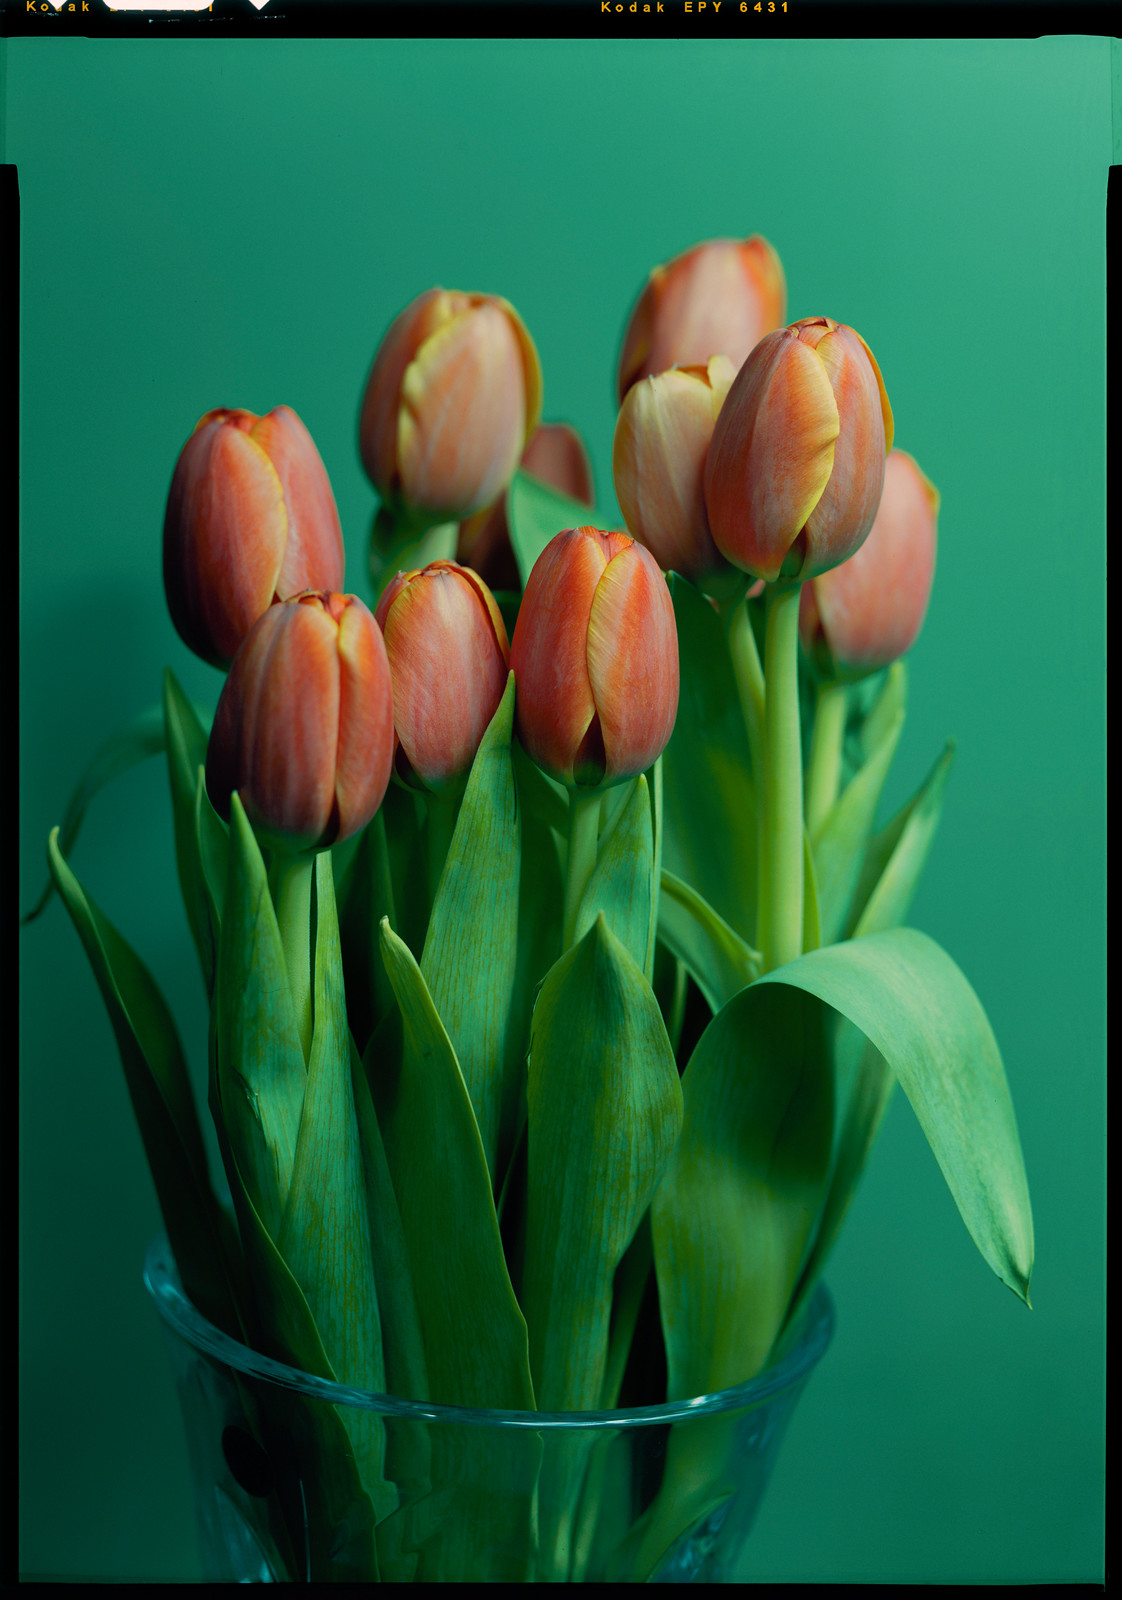
If you are scanning positives also, i would recommend calibrating the color profile even if the film target you have is not for the exact film. It's still better than nothing, or at least as a test.
I'll give it a go, thanks!
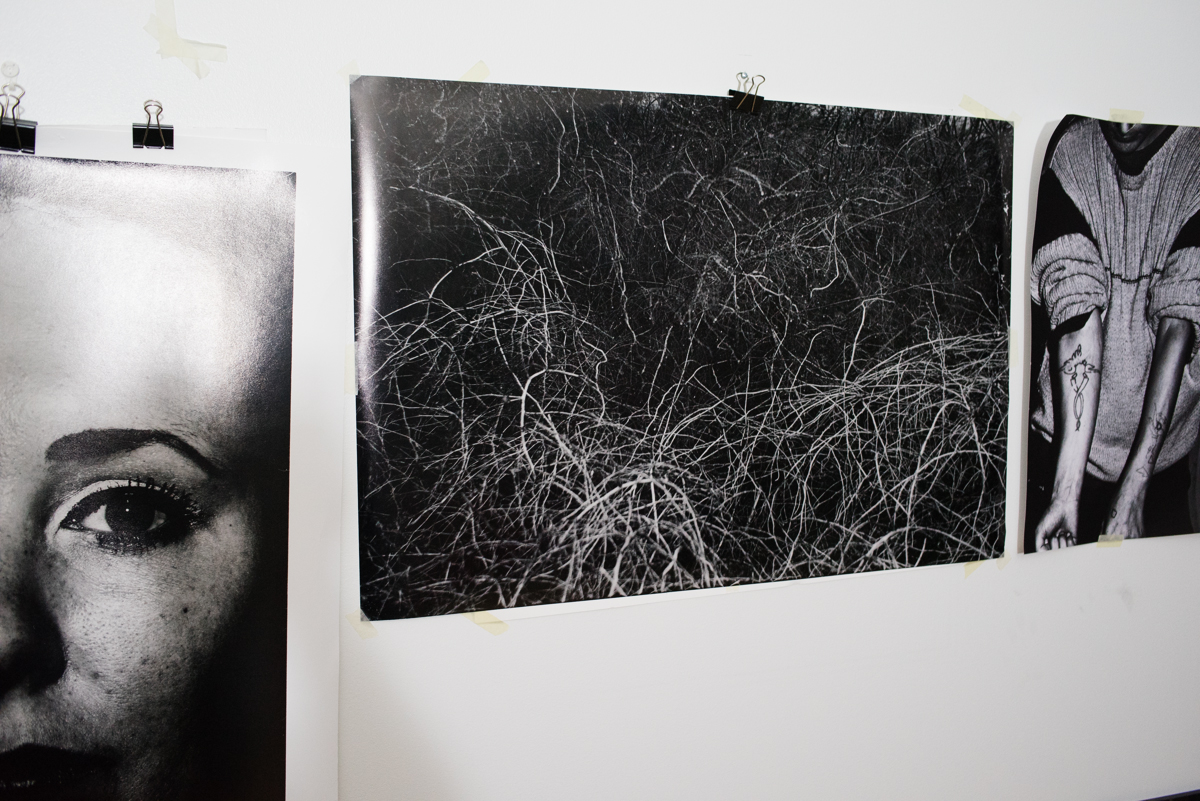
I think I'm getting good (not necessarily ideal) scans with just 8bits, I uploaded some in the drumscanner thread - all negatives. They don't look nearly as bad as the comparison picture you posted. When scanning BW negs, however, using just one channel is out of the picture - it does indeed have an impact on the tonality.