mdarnton
Well-known
Lukitas, those look SO much better than the first ones you were doing a few months ago!
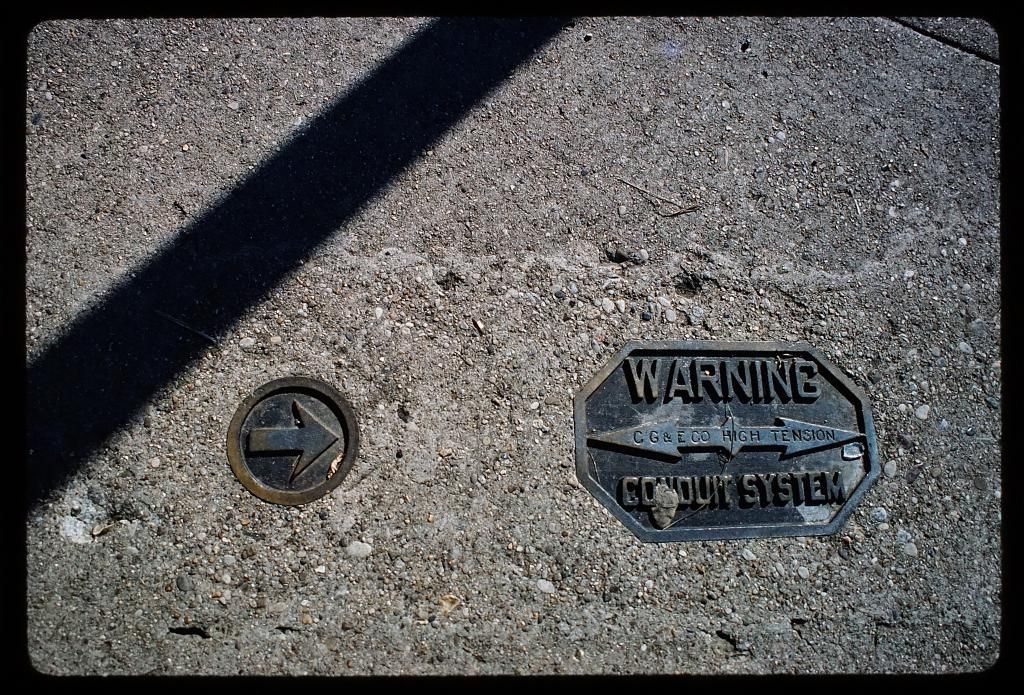
 Citroën by robsomogyi, on Flickr
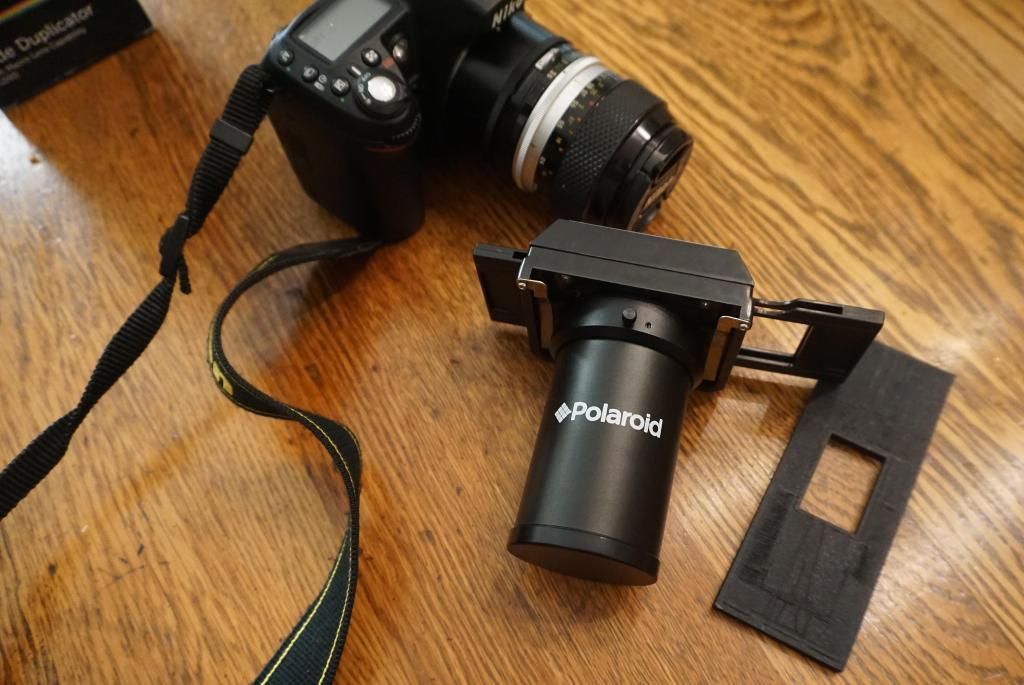
My camera scanning is done with a Polaroid slide scanner and a separately purchased film holder. The results seem very acceptable with the copier mounted on my D90 and Nikkor 55/3.5 + PK-13 extension tube. I usually point the unit out the window though I sometimes use a flash bounced off a white wall.
http://www.ebay.com/itm/Polaroid-HD...-Cameras-/201081258349?_trksid=p2054897.l5660
http://www.ebay.com/itm/like/281418348541?lpid=82

Not that you asked me, but I deal with orange mask by scanning in raw and using the eye dropper to get a decent white balance (that mostly cures the mask), then making some extra tweaks to individual colour curves.
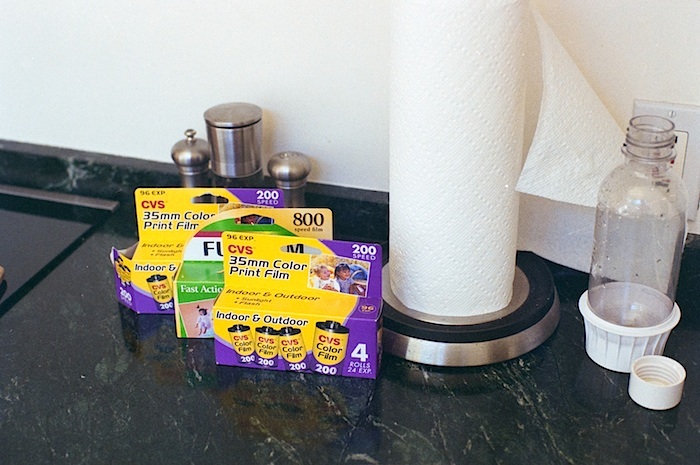
It works ok - I was reasonably satisfied with the last effort but it's definitely not perfect. Here's the only example I have to hand, which is from APS film in the 90s from a crappy little camera (ie, the scanning isn't entirely to blame). The band at the top is white before inversion and changing the colours!
I found Nex7 best for shooting med. format 6/4.5 film, over a tablet for backlight. Using a pvc pipe cut to the length to jive w/camera lens. Sharpest lens is the Nikon 55 2.8
What film is this in your sample? How do you deal with the orange mask of colour negative? Black and white would be a simple inversion but what about colour? Your set-up seems very effective and affordable, I'd like to try it out.
What are you using to fix the negative to the tablet to keep it flat? Are you simply taping the edge?

How do you deal with the orange mask of colour negative?
My camera scanning is done with a Polaroid slide scanner and a separately purchased film holder. The results seem very acceptable with the copier mounted on my D90 and Nikkor 55/3.5 + PK-13 extension tube. I usually point the unit out the window though I sometimes use a flash bounced off a white wall.