michaelwj
----------------
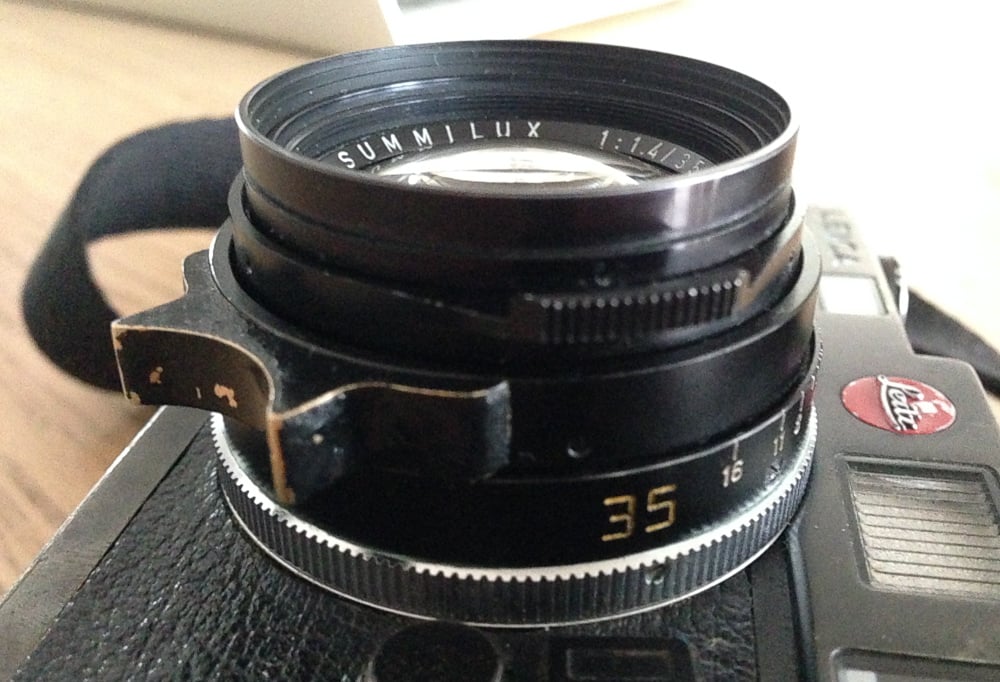
A quick tutorial on how to change over the original plastic focus tab for my printed brass one. See my post on the process here.
1. Get the focus tab from shapeways. It cost US$35.

1a. Painting. I painted mine but did a bad job - any tips?
2. Glue in a nut. I made it so that it is completely removable. On the back side there is space to glue an M1.6 hex nut to secure it. The screw to go with it is M1.6x3mm. It needs to be 3mm, too long or too short it won't fit. The head of the standard bolt is too big though. The rough dimensions it needs to be is 2.2mm diameter and 1mm high - I filed it down slowly so it fits, but screws are available with smaller heads, I just couldn't get any shipped here is small quantities at a decent price.
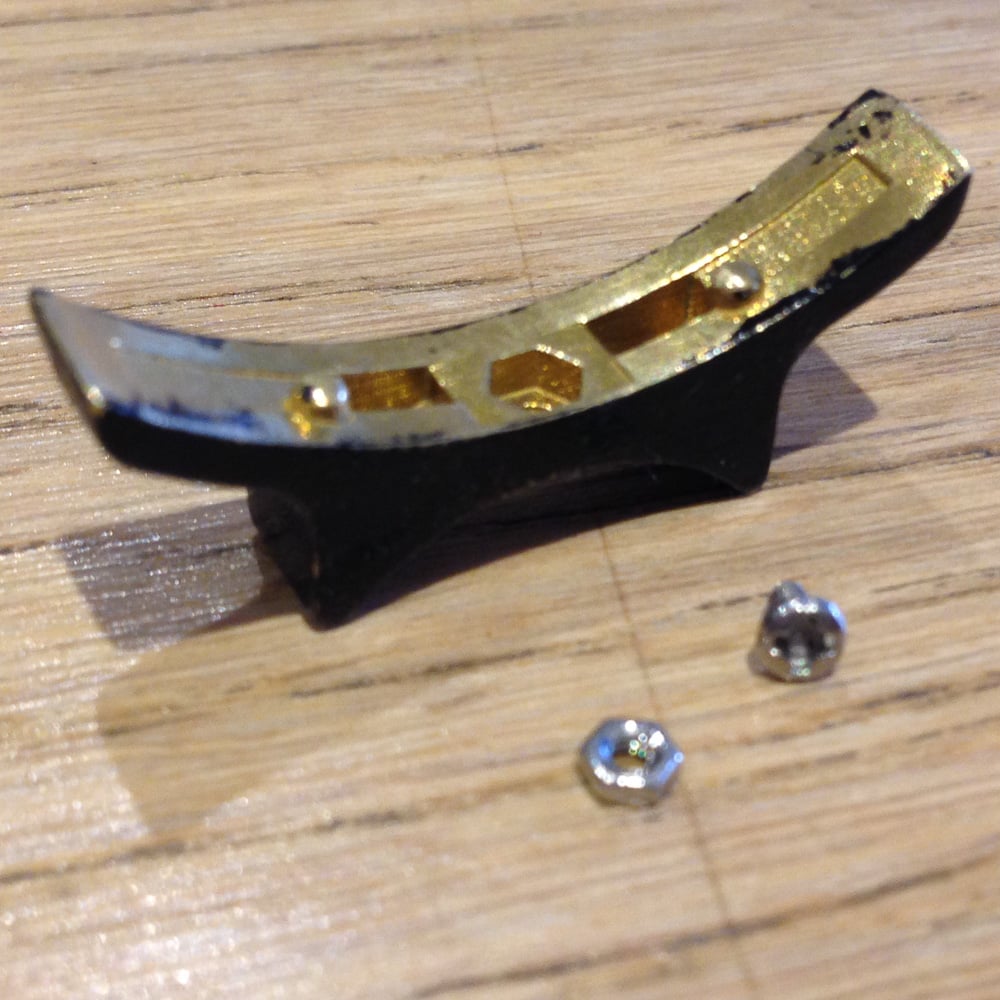
I used standard superglue to fix it. If it's going to fail, I want this to be the weak point so it doesn't ruin the lens.

3. Now it's time to take the old one off. To do this you first need to take the optical cell out of the focusing mount. Hold the front of the lens - NOT the aperture ring, but the part where the hood attaches - and the rear chrome part with the red dot and unscrew it. It is a standard direction thread, and it might be tight if it hasn't been opened recently. Persevere with the usual cravats.
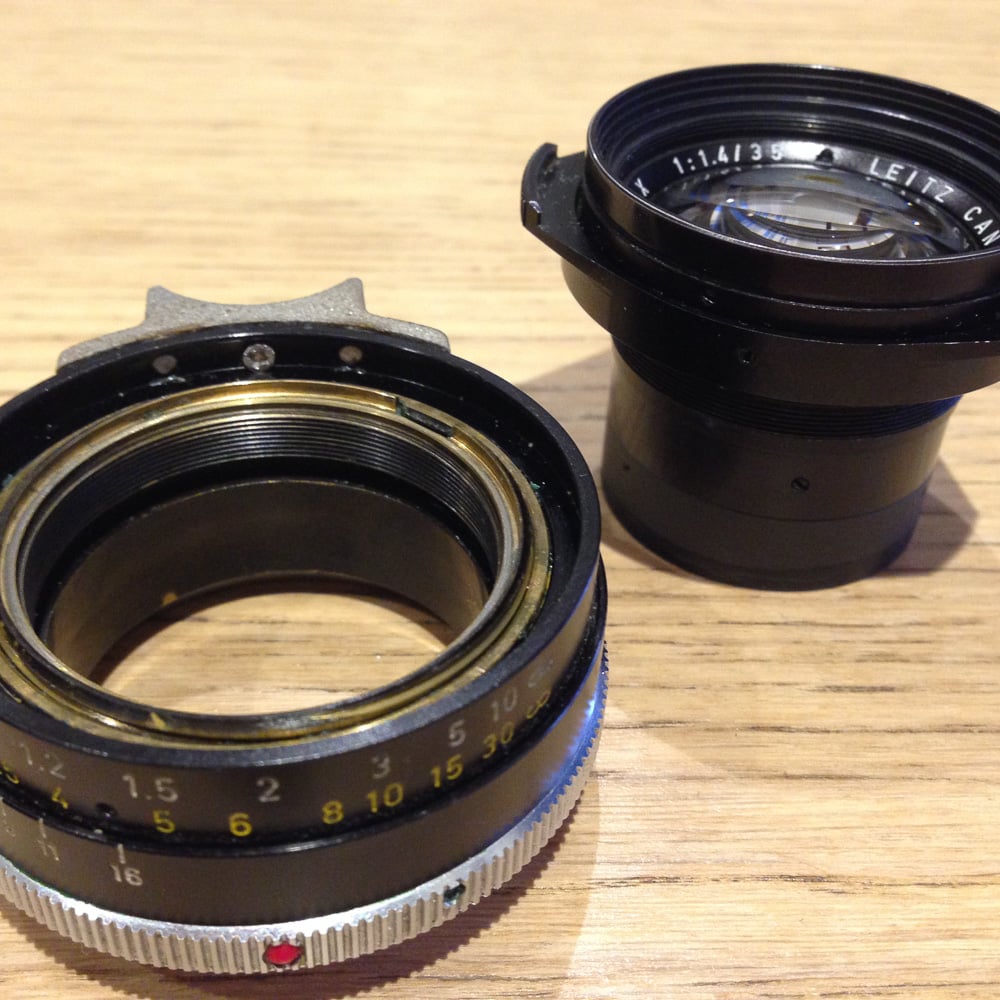
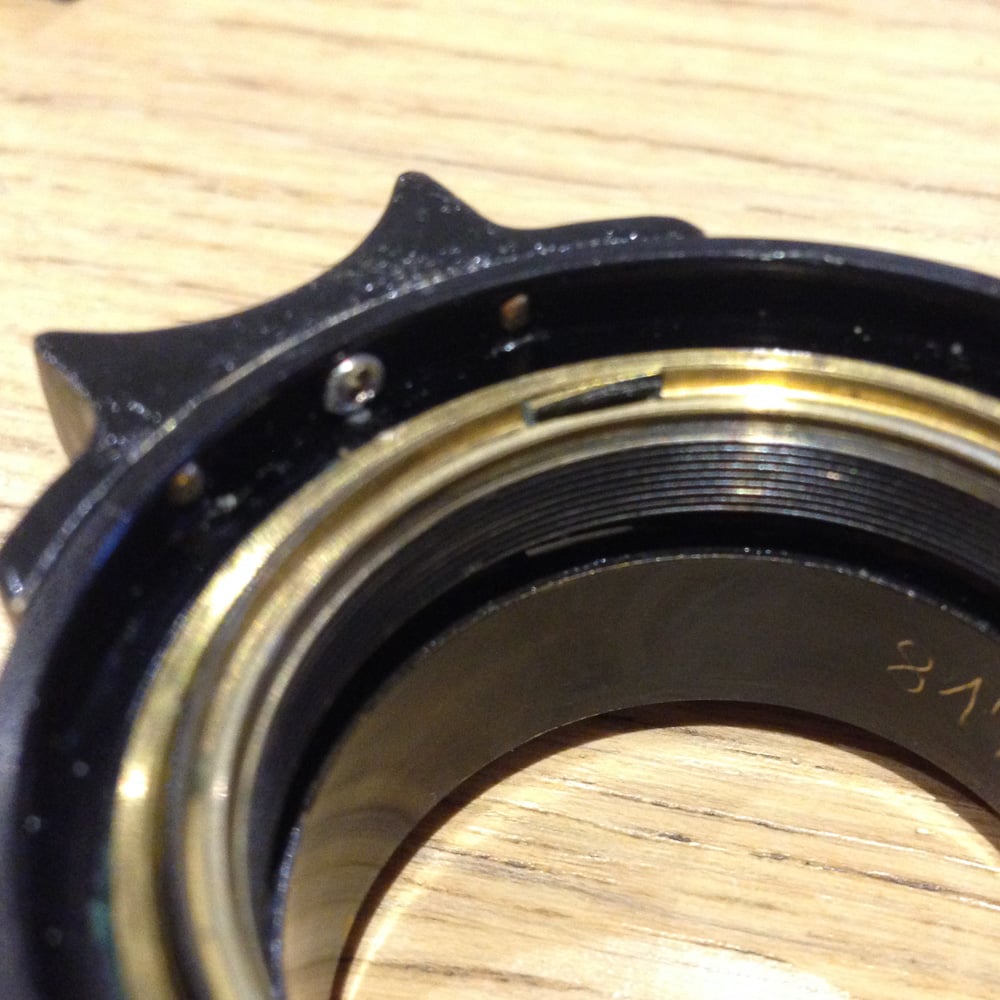
Once it's apart you can clearly see how the focus tab is secured to the focusing mount. In this case I have my previous prototype installed, but the plastic one is attached the same way. If along the way it has broken the tab might be glued on. You'll need to get it off and clean the area. If there is a screw in there you will see how small the head needs to be - it needs to stick out no further than the rim at the top of the focus mount and not go through the hole.
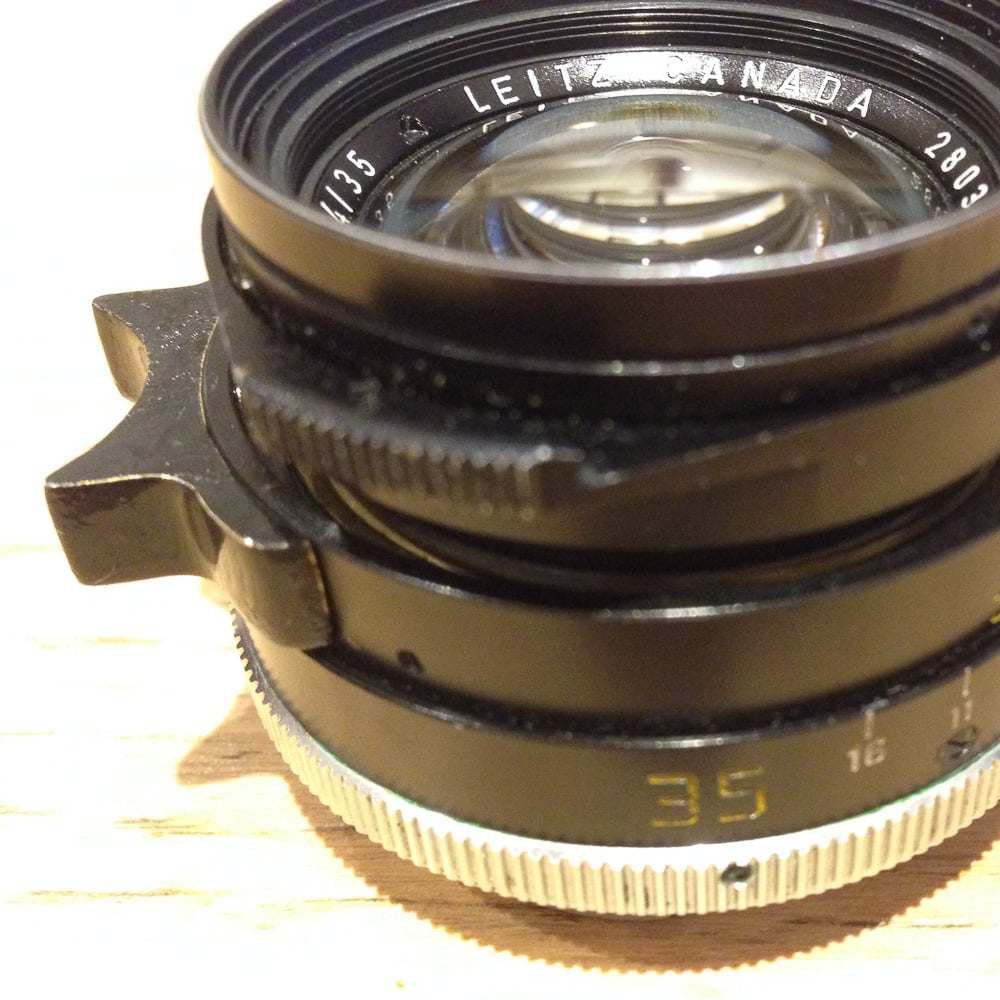
4. Instal the new tab. It will only go on one way. I use a bit of medium strength Loctite so it won't wiggle off. In this shot you can just see the screw head that is mostly hidden underneath the rim. You can also clearly see my painting skills need a whole lot of work - again, any tips or help? I used a model making black enamel, the brand was Tamiya and it's what I had lying around.
(Does anyone know what the number on the inside mean?)

5. Now you just need to put the optical cell back it. The threads only catch in one position, so the aperture dot should end up in the right position. Take care as you screw it down that the head of the screw clears the cell, rack the focus carefully while listening closely. Here I show it partially screwed up.
6. Happy shooting and let me know how it goes.
I think this one will also fit the other lenses with the same focus tab (v2,3,4 2/35mm, v3,4 2.8/28mm I believe are all similar) but can't be sure if they have the same positioning dowels or the lens diameter. If you have one and can supply some information then I can either adapt my design, or supply the solid works file for you to edit yourself.
1. Get the focus tab from shapeways. It cost US$35.
1a. Painting. I painted mine but did a bad job - any tips?
2. Glue in a nut. I made it so that it is completely removable. On the back side there is space to glue an M1.6 hex nut to secure it. The screw to go with it is M1.6x3mm. It needs to be 3mm, too long or too short it won't fit. The head of the standard bolt is too big though. The rough dimensions it needs to be is 2.2mm diameter and 1mm high - I filed it down slowly so it fits, but screws are available with smaller heads, I just couldn't get any shipped here is small quantities at a decent price.
I used standard superglue to fix it. If it's going to fail, I want this to be the weak point so it doesn't ruin the lens.
3. Now it's time to take the old one off. To do this you first need to take the optical cell out of the focusing mount. Hold the front of the lens - NOT the aperture ring, but the part where the hood attaches - and the rear chrome part with the red dot and unscrew it. It is a standard direction thread, and it might be tight if it hasn't been opened recently. Persevere with the usual cravats.
Once it's apart you can clearly see how the focus tab is secured to the focusing mount. In this case I have my previous prototype installed, but the plastic one is attached the same way. If along the way it has broken the tab might be glued on. You'll need to get it off and clean the area. If there is a screw in there you will see how small the head needs to be - it needs to stick out no further than the rim at the top of the focus mount and not go through the hole.
4. Instal the new tab. It will only go on one way. I use a bit of medium strength Loctite so it won't wiggle off. In this shot you can just see the screw head that is mostly hidden underneath the rim. You can also clearly see my painting skills need a whole lot of work - again, any tips or help? I used a model making black enamel, the brand was Tamiya and it's what I had lying around.
(Does anyone know what the number on the inside mean?)
5. Now you just need to put the optical cell back it. The threads only catch in one position, so the aperture dot should end up in the right position. Take care as you screw it down that the head of the screw clears the cell, rack the focus carefully while listening closely. Here I show it partially screwed up.
6. Happy shooting and let me know how it goes.
I think this one will also fit the other lenses with the same focus tab (v2,3,4 2/35mm, v3,4 2.8/28mm I believe are all similar) but can't be sure if they have the same positioning dowels or the lens diameter. If you have one and can supply some information then I can either adapt my design, or supply the solid works file for you to edit yourself.