wish there were some Contax I specific repair notes out on the web somewhere
If you want to take a look inside, do this:
(Remove the back of the camera and the lens.)
Removing the top cover.
1. Remove the film stabilizers in the film room. As a result, the screws of the housing of the shutter are accessible.
2. Remove the housing of the shutter from the film chamber.
3. Unscrew and remove the release button of the image counter with a piece of rubber (rear cover, near arrow).
4. Remove the rewind button. (one screw)
5. Remove the frame counter. (one screw)
6. Remove the small nickel screws from the top of the front plate (on the versions 6 and 7 also the ones of the receiving fork of the viewfinder slider.)
7. Remove the two large screws on the corners of the top cover, which can be accessed from the film room. (Inside the camera)
8. Remove the two large screws at the corners of the front side of the top plate under the leather. (Outside of the camera)
You now can remove the camera's top cover.
To get access to the shutter, remove the four screws of the cover plate of the shutter.
Installing new ribbons.
The biggest problem is the fact that the original ribbons are no longer available. One has to rely on alternatives. I've had good results with the ribbons from Aki Asahi, but actually these are too thin, so 1/500 and 1/1000 do not work anymore. The gap then closes to easy. Other speeds work fine.
Alternatively, there are the ribbons from Arsenal (Kiev). Which are thicker, more narrow and stiffer. I intend to use those when my v4 dies. I have no experience with these.
For the attachment of the ribbons there are two ways: first attach to the second curtain (Oleson method) or first attach to the first curtain (Van Straten method).
My method is as follows.
1. Let the ribbon that still is intact stay where it is. It serves as a model for the ribbon that you are replacing.
2. Set the shutter to "B" or "Z".
3. Remove the lower roller (in which the shutter spring is). In the left film chamber, seen from behind, is an aluminium hatch mounted with two small screws. Make these screws carefully loose, but not quite, so that the cover does not spring away because of the spring tension. Rotate with the schrewdriver the end of the spring (in the middle of the aliminium hatch) counter-clockwise until the spring is totally relaxed. Now, take off the hatch. Then the roller can be taken out of the camera. Beware the little rings at both ends of the roller but also the small metal pin that looks like a part of a needle. These components are all very important.
3. Remove the remains of the broken ribbon.
4. Attach a long piece of the new ribbon (at least 15 cm) to the roller in the same manner as the ribbon which is still good if the camera still has a good one. Work the ribbon through the openings while pushing it with a needle. Use a fine needle and thread for the stitching. Lubricate the stitching with glue. Before the ribbon passes through the clutch on the other end of the curtain, the ribbon must be rotated a number of times around the roller in order to build up some tension. Use clothespins to keep everything together. Be inventive. When the ribbon is through the clutch its tension is fixed.
4. Attach the ribbon to the second curtain. This curtain stays in the camera. For the correct length of the ribbon compare with the old one.
5. Replacement of the spring-loaded roller. First replace at both ends the small rings, then put its end with the thick ring in its small hole on the right and then put on the left (the side of the aluminum hatch) the small metal rod in its slit. Replace the aluminum hatch, but do not fully tighten the screws yet. First give the spring some tension with a screwdriver (clockwise). Then tighten the small screws to fix the tension. The small metal pin is hold by the slot in the back of the aluminium hatch. The spring has enough tension when "B" or "Z" is working correctly. If you cannot get the speed selector to "B" or "Z" the ribbon is too short.
Erik.


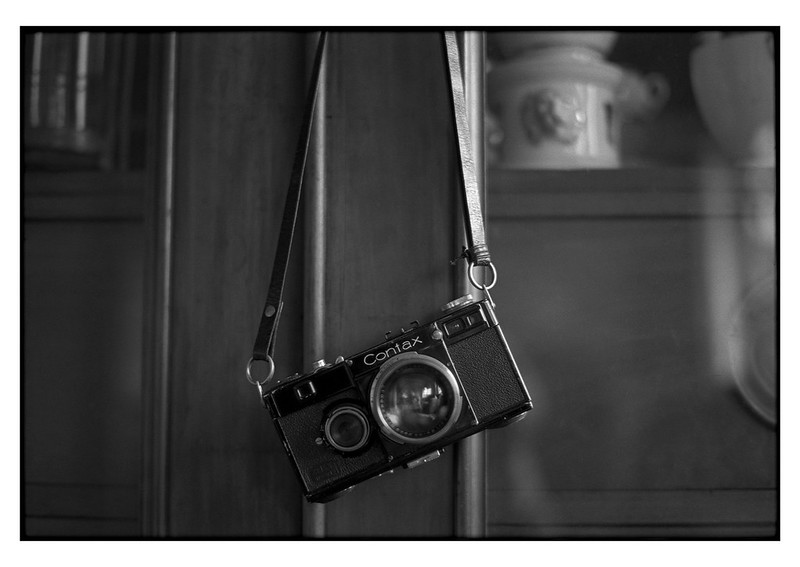

 CNV00024 by dralowid, on Flickr