
Bunnyblaster
Member
Good idea. Parts camera should be here next week.
Yeah, a parts donor is the ticket. But I've bought donor cameras that were better than the one I was trying to fix.
Normally I'd agree with this whole heartedly. But its personal now.
I'm assuming a heat gun would be too much? My brother was giving me some advice on it this morning, but he's an auto guy...most of his suggestions revolved around vises, long ratchets and PB Blaster.
I wouldn't be surprised if the 'parts camera' ends up being the useable camera. We'll see when she gets here. Supposedly its only problem is a shutter that sticks a little at speeds under 1/125. If that can be fixed with some lighter fluid (and that's really the only problem), it sounds like a much easier fix. Just have to see when it gets here.
btgc, I take stubborn things personally only because I have a tendency to be stubborn myself...at least thats what my wife says. You are correct in that the image is really the important factor. As a chronic tinkerer though, I get caught up in the mechanics from time to time. In the end, I can only hope it will make the act of acquiring images more enjoyable and more creative. I see it as catching a fish on a fly you tied.
Many call it a speed escapement.
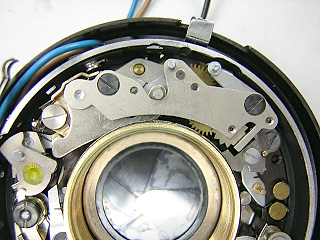
So you're saying this assembly can be removed as one unit? I would be worried upon any trial of removal, springs would start flying everywhere. But then again, I'm very new to this.
Thanks for all the help!

