Camera-Scan Challenge for Color-Neg, as Automatic as Possible

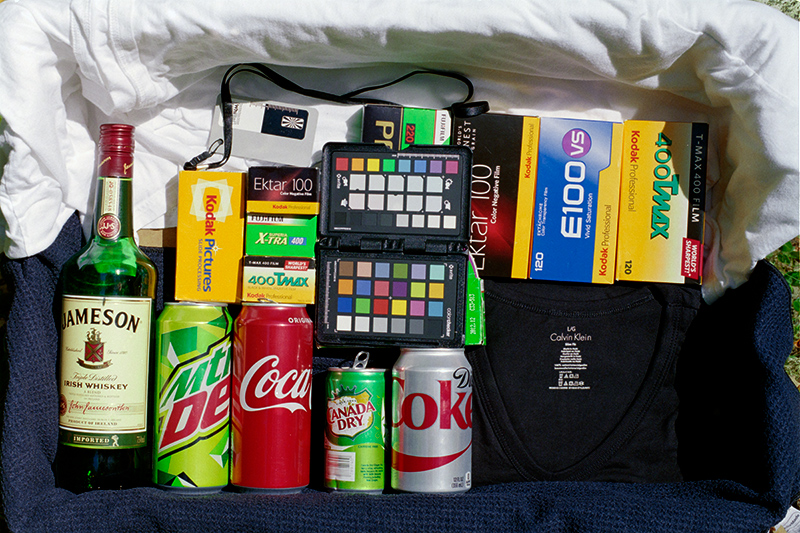
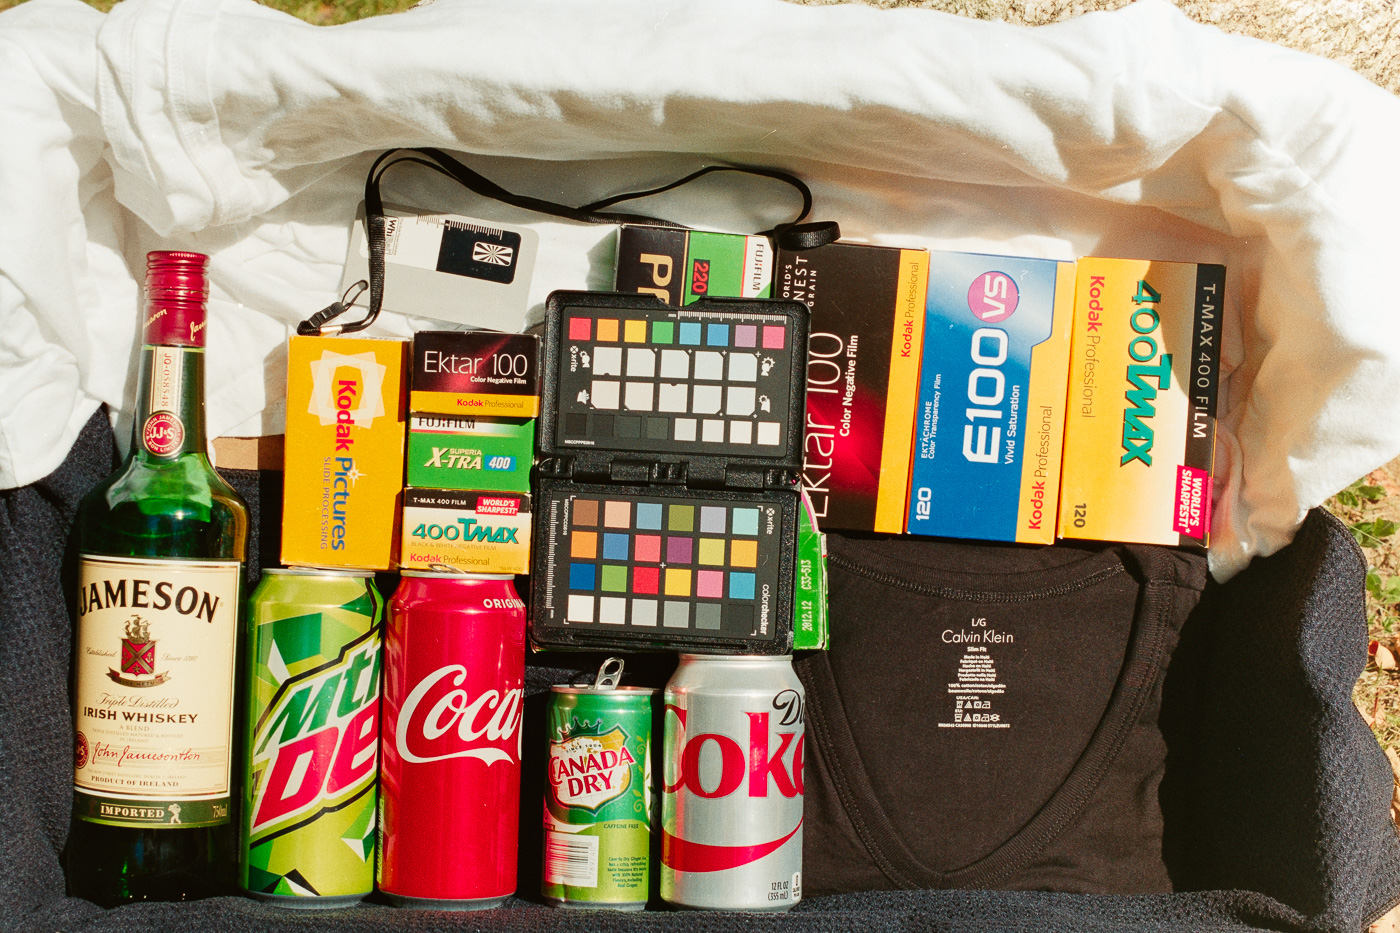
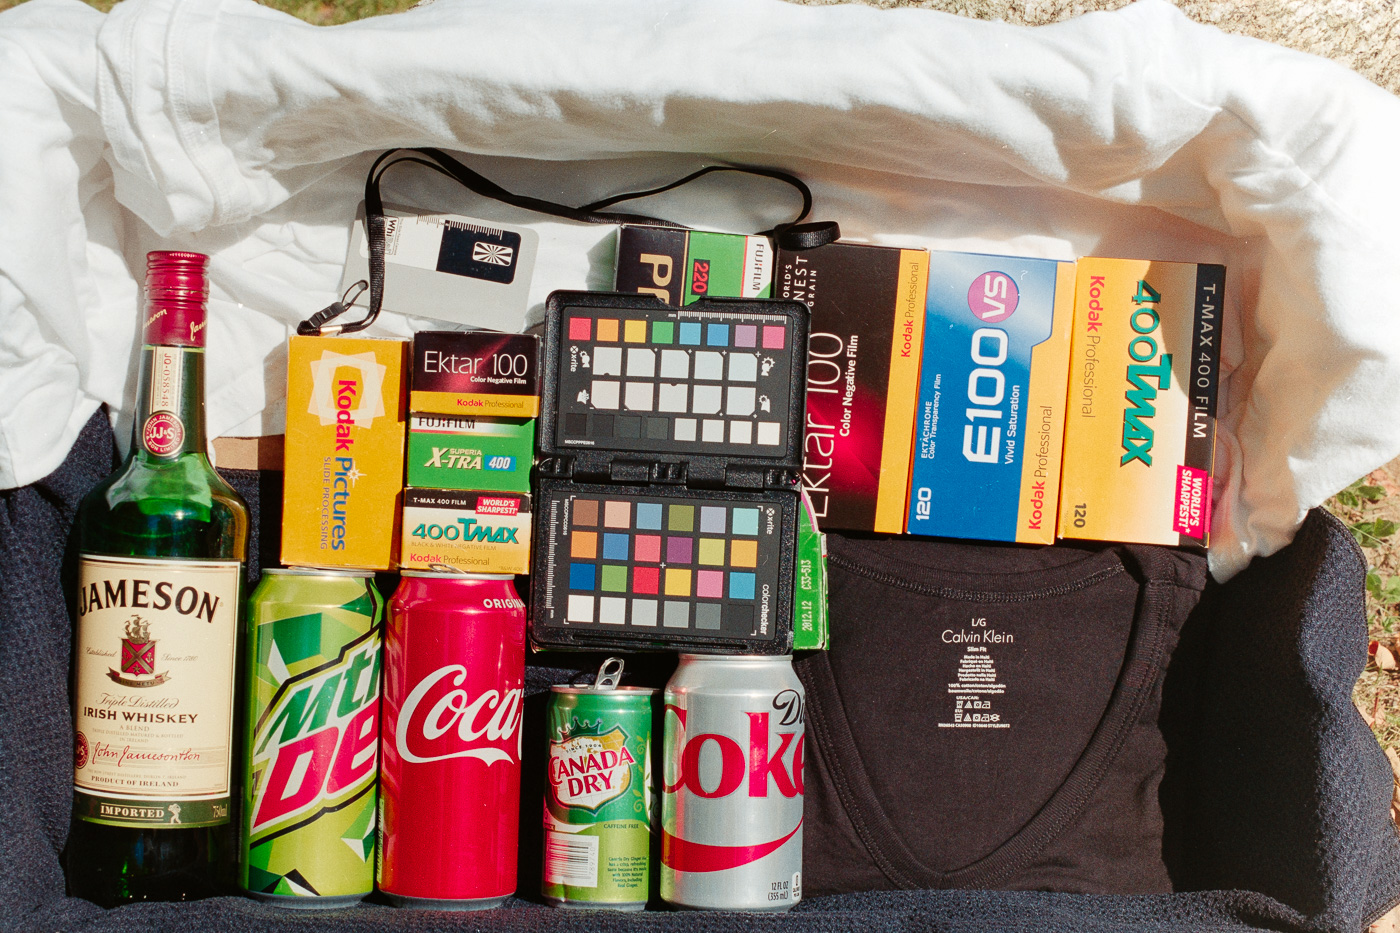
I use an imagemagick.org script called "negfix8" for my negative processing: https://sites.google.com/site/negfix/

It works very good, but is very sensitive to extreme light and dark elements in the scanned frame, such as negative carrier shadow, large dust particles or sprocket holes (or clipped channels in general). I've tweaked the script a bit to fit my own scanning habits and inserted it into a batch scrip with dcraw raw conversion. This way, I can process entire folders of raw files without user intervention.

Thanks for posting the conversions. I agree, they are in the ballpark and could be corrected manually.

Can you describe what the negfix8 script does?
 
Offer: Negative Strip with Test Images

Offer: Negative Strip with Test Images

Anyone want a strip of negatives with my test box image?

I have a few to offer. PM me with a US postal address and let me know if you would like strip of Ektar or Fuji 200. (Each strip has five images, different exposures.)
 
Thanks for posting the conversions. I agree, they are in the ballpark and could be corrected manually.

Can you describe what the negfix8 script does?

The negfix8 script does inversion of linear 16bit tiff-files, based on the theory in this (IIRC):
http://www.c-f-systems.com/Docs/NegativePositiveCFS-244.pdf

This is in theory the same as the ColorPerfect plugin.

First I use dcraw to convert the raw files e.g.: dcraw -4 -T -w *.ARF
The white balance should be set so no clipping occurs in the scan. Ideally the maximum values is red > green >= blue. This gives the best results to my eye.

The script applies a logarithmic curve (or gamma-curve) to each channel, calculated from each channel's maximum and minimum values, then the image is inverted and gamma-adjusted. A contrast-stretch (auto-level) operation is optional. I've used the auto-level on the examples here.

I've modifed the script to use a more aggressive auto-level with a bit more possible clipping, as it suits my taste better, than the original version.
 
The negfix8 script does inversion of linear 16bit tiff-files, based on the theory in this (IIRC):
http://www.c-f-systems.com/Docs/NegativePositiveCFS-244.pdf

This is in theory the same as the ColorPerfect plugin.
... snip ...

That article is an excellent read. Thanks.

Article is consistent with my experience: When I use Photoshop's straight "Invert," I can easily get highlights and shadows to look right, but everything in between is a mess. The inversion has to be quite non-linear to get the middle looking right without manual tweaking.

It was suggested here that the real test is an image with flesh tones and bright saturated colors. I think that's correct. I made a test box with bright branded items (known colors) and a Color Checker for the flesh tones. Working with that test was very educational.
 
Followup.

I was able to get my negative run through the Nikon Digitizer on the D850. Here's the result:

180125-TestBox-D850Digitizer-Scr.jpg


No, the result is not good, seems to match the first sample I posted, simple "invert" which we know doesn't make good color. However, as we've seen here, the image (a jpg from the Digitizer) can be adjusted to good color.

Here is the thread on the Nikon Digitizer for the D850.
 
Friends, @adriang, here on RFF, has offered another option.

His "CN-Scan-Inversion" action for Photoshop and for Affinity photo is available for a reasonable price at his web page.

I used it to open my .ARW file from Fuji 200 film. My only manual choices were 1) in Camera Raw, pick white/black to keep the histogram away from the edges, 2) sample a bit of film rebate or VERY dark shadow, 3) crop to the actual image area.

Here is the result which I think is excellent. Kodak yellow/orange and Fuji green are quite good; Coke red just a bit muted. I think this is as good as we would get from a mini-lab and that's my criteria for success in this effort.

I will now edit my summary (#62 above) to mention this action.

171004-TestBox-Fuji200-NoFilter-DSC9558-GaborCNInversion.jpg
 
Small update:
- Now using a Solux 4700°K bulb
- UV and Hoya RA54 "Intensifier" filters on the scan-camera
- Negative Lab Pro v 1.31 (it's a beta, but available via NLP Facebook group)
- Minor adjustments to brightness, lights, darks. Otherwise full auto.

Not perfect. Red is too saturated. Further tuning would refine it, but this shows how close we come with auto and a few choices. Happy scanning to all!

[ UPDATE Feb 2019: The newer versions of Negative Lab Pro do a lot better with this file. Image below is from v 1.31, the old version. See #138 below for updated image. ]

190523-TestBox-Solux-UV-RA54-DSC1404-Frontier-Scr.jpg
 
Updates:

- For Lightroom, Negative Lab Pro is now at ver 2.0.0, this is a significant improvement in already great software. Now supports VueScan to DNG (including IR Cleaning) from many scanners. The rendition of color from NLP is excellent; many are using this instead of the color-neg conversion built-in to their scanner software. $99 to buy.

- For Photoshop and Affinity Photo, the plug-in "CN Scan Inversion" by @adriang, here on RFF, is now at version 2. If you have already bought, you'll have an email from Adrian. If not, here's his site. Fifteen Euro to buy.
 
negativelabpro v2 is incredible. i dont need
to crop out the unexposed borders anymore.
3 clicks and done.
 
@albireo,

thank you so much for the link to Emulsive. What a wonderful site!! I am as well enjoying the simple, yet sophisticated system of NLP and so I particularly enjoyed reading the article comparing NLP 2.0 to ColorPerfect. Frank
 
https://emulsive.org/articles/negative-lab-pro-scanning-color-film-workflow

I found a review of NegativeLabPro V2 and side-by-side comparison with Colorperfect.

Have to say, based on the above, and as a colorperfect user, I'm not sure I'll make the jump. Some of the colorperfect inversions in the article are better, imho.

I'm not sure how you got that take away. That article is overwhelmingly in favour of negativelabpro, and all the side by side pics look dramatically better with nlp.
Not even close.

Each to their own!

The differences range from subtle to slap-you-in-the-face huge. Colour rendition is incredibly accurate – the two examples of brickwork and stone especially. Skin tones are much more natural, colour cast is reduced/eliminated and the images are much more consistent.

FINAL THOUGHTS
If you are looking for a better or easier way to convert color and black and white negatives at home, you should try Negative Lab Pro.
 
If I was going to choose, I'd go with Colorperfect as well. Negative Lab Pro has some color issues.
 
In the end, it's your judgement and the results you like.

This thread has run for 18 months. In the beginning, it wasn't clear that camera-scan could get reasonable color in a nearly automatic process. I think that is now clear, and that camera-scan of color-neg is a practical alternative. Some think the options here produce better color than dedicated scanner software.

I think that your preferred post-processing environment is the biggest factor in making choices. If you like Lightroom, then it's Negative Lab Pro. If Photoshop, then there are a range of methods and tools in this long thread.

My choice at this time is NLP in LR. Different opinions and choices are perfectly OK. I will add updates here from time to time. Thank you to all who have contributed; you have helped me greatly along the way.
 
One more update... Same file as #130 (above) now with NLP ver 2.0. The white t-shirt is now clean, no cast. Other slight improvements.

- Now using a Solux 4700°K bulb
- UV filter on the scan-camera; occasionally Hoya RA54 "Intensifier"
- Negative Lab Pro v 2.0, emulating Frontier color model, PreSat=default, Standard, film=Fuji.
- Minor adjustment to brightness. Otherwise full auto.

190523-TestBox-Solux-UV-RA54-DSC1404-Frontier-NLP2-Scr.jpg
 
Back
Top Bottom