With the help of this thread I successfully repaired my Certo Six. I thought I'd share what I learned.
I had trouble sliding the replacement beamsplitter into the bracket. Though I got the Edmund Optics 2.0mm glass it was a hair thicker than the original. The solution was to carefully bend out the tabs on the beamsplitter bracket with needle nose pliers. It wasn't so much bending as it was an iterative process of applying torque to the tabs and then seeing if the glass would slide in.
For the fully reflective mirror I found cheap glass on Ebay. You can do the same by searching for "front surface mirror" or "first surface mirror". You don't need the exact thickness. You can go thinner and shim the back side with card stock or film clippings. Make sure to orient the silvered surface outward to avoid refraction through the glass. To cut all the glass I used a carbide scribe and snapped the pieces over a straight bit of wire. I practiced on cheap glass before I cut the beam splitter.
After I replaced the mirrors my rangefinder was out of alignment. Through trial and error I figured out what to do. To fix it you'll need some ground glass and a loupe to check focus at the film plane. If you don't have ground glass you might be able to fake it with some plexiglass and
Scotch Magic Tape stuck to one side. When checking the focus make sure the glass rests on the same surface that the film rests on. If you look
here that would be the silver horizontal surfaces above and below the lens. (The vertical dark bars on either side of the lens are actually depressed relative to the film plane. Don't rest the glass on them or you'll end up with a front focusing problem.)
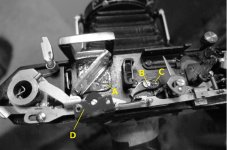
To adjust the rangefinder loosen the beam splitter assembly (screw
A in the attached photo). Focus the ground glass on a far away object. Swivel the beamsplitter until the rangefinder aligns on the object. Then tighten screw
A. If the vertical alignment is off you may need to shim the assembly with paper or something. Now focus the film plane on a close object, within a few meters or closer. If you're lucky the rangerfinder will now be perfectly aligned on this object. If it's not then you'll need to loosen screw
B. Then rotate
C, which is not a screw but a cam, to adjust the throw. You may have to repeat the above steps several times checking both near and far focus until the rangefinder is aligned at both ends of the scale. Then tighten
B and put a dab of shellac or some removable adhesive over
B and
C to make sure they stay put.
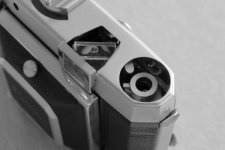
To complicate things the eyepiece lens assembly
D swivels and is pulled by a spring forcing it into a position that's different from the position it'll be in when the top cover is back on. This causes a shift in the rangefinder patch. Therefore you'll need to temporarily put the top cover back on and do a final adjustment of the beamsplitter assembly to correct for this shift (see the 2nd photo). Then with the cover still on tighten the assembly and apply a bit of removable adhesive to the edges of the assembly to make sure it stays put. Then put the whole thing back together and shoot a test roll.
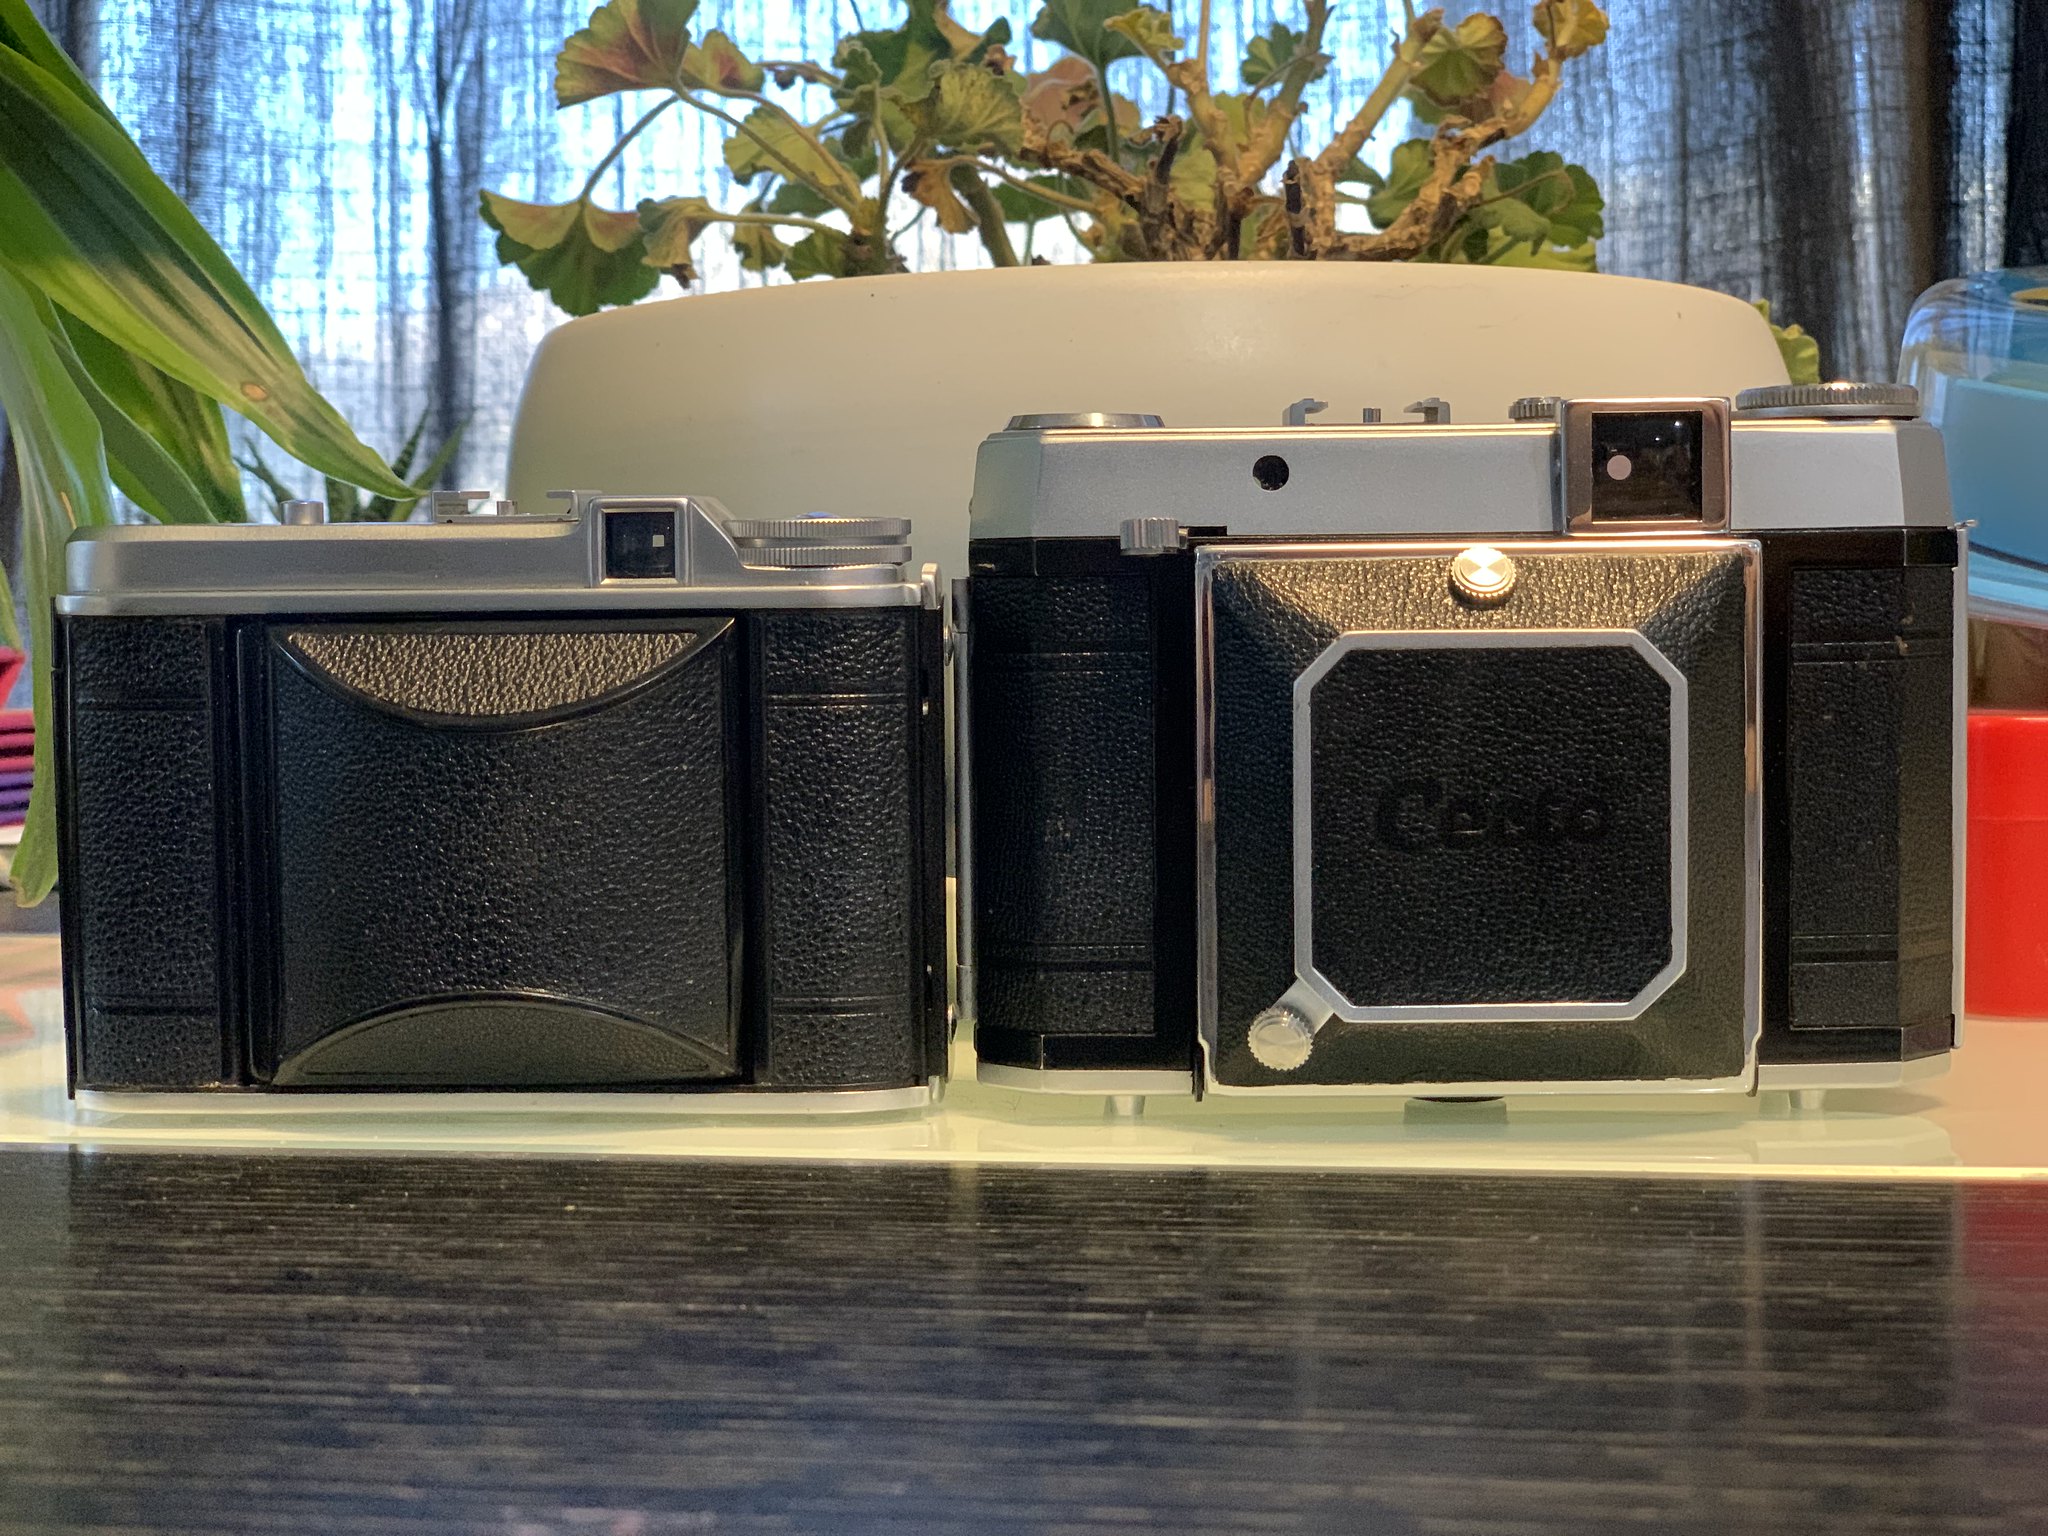
After I did all this my Certo Six has perfect focus. The 3rd photo was a test at f2.8.