BMacW
Established
It's pretty straight forward. So I will just list the materials and the rest should be pretty clear from the pictures.
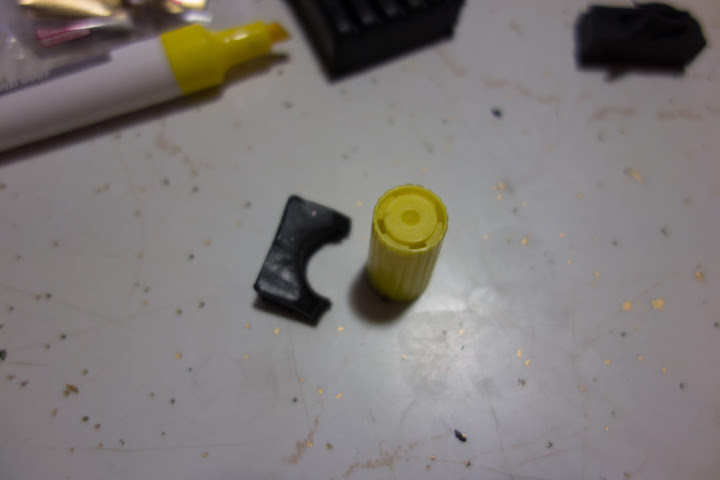
High quality modeling clay. They are not really clay, but can be sculpted like clay and baked in the oven to harden with very little shrinkage.
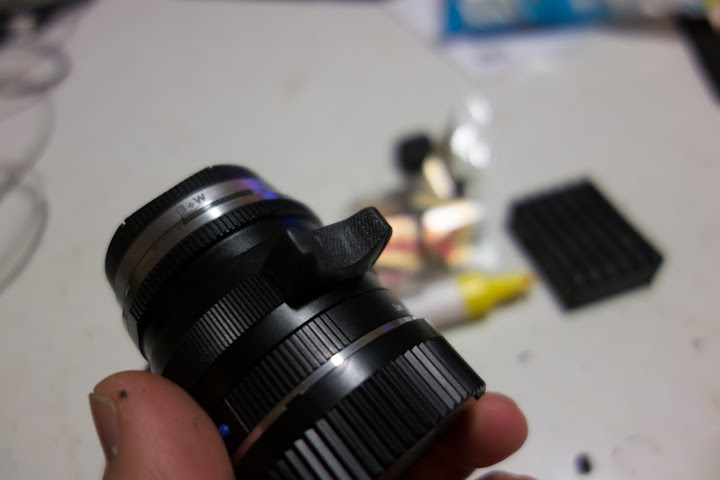
Use Amazing GOOP to glue it to the barrel of the lens after. This stuff is very strong when cured. I use tape to wrap the tab around the lens during the curing process.
After you take the part out of the oven, it's going to be soft/pliable for a few minutes, so it's not critical to get the mold to a perfect shape before baking. Just hold it firmly against the final location on the lens until it cools and hardens.
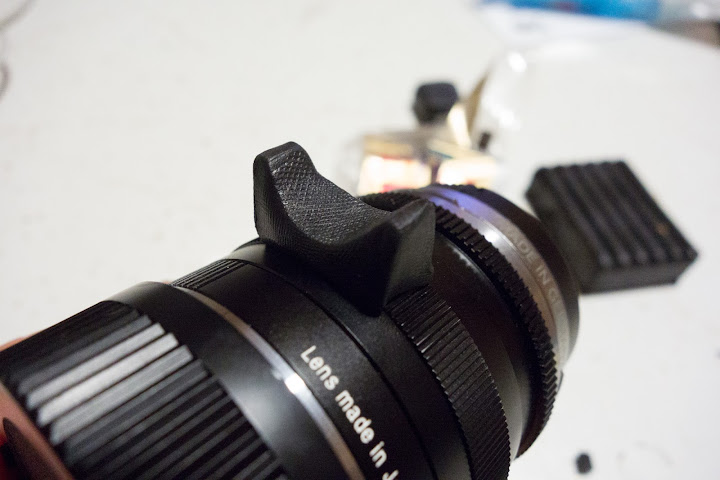
Few notes, you can sand the tab with sand paper to make a smooth finish after it's hardened. ( I didn't do it because I need this to be done for a trip).
For lenses like the ZM 50 f2 with has a pointy focusing tab, this method will allow you to easily form the tab over the complex shape (just press and mold)
You can probably make the two side arms of the tab a bit smaller. ( You can cut and sand it afterwards ).

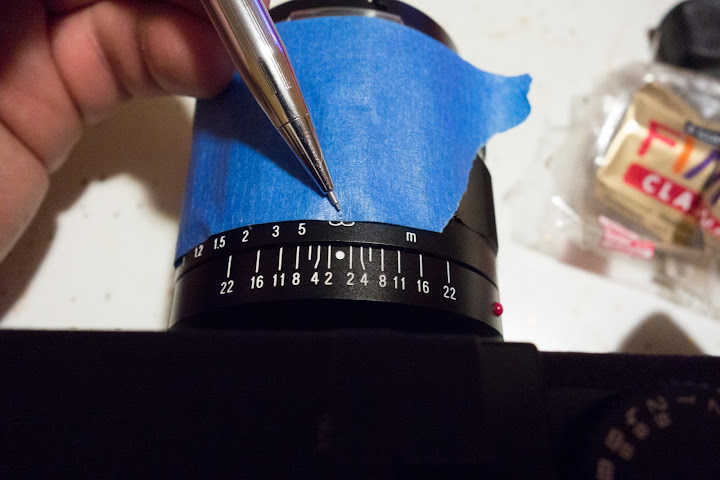
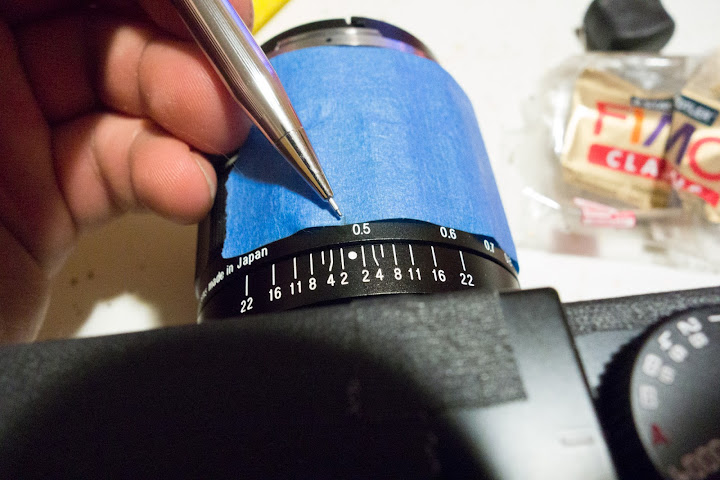
Use making tape to find the center.
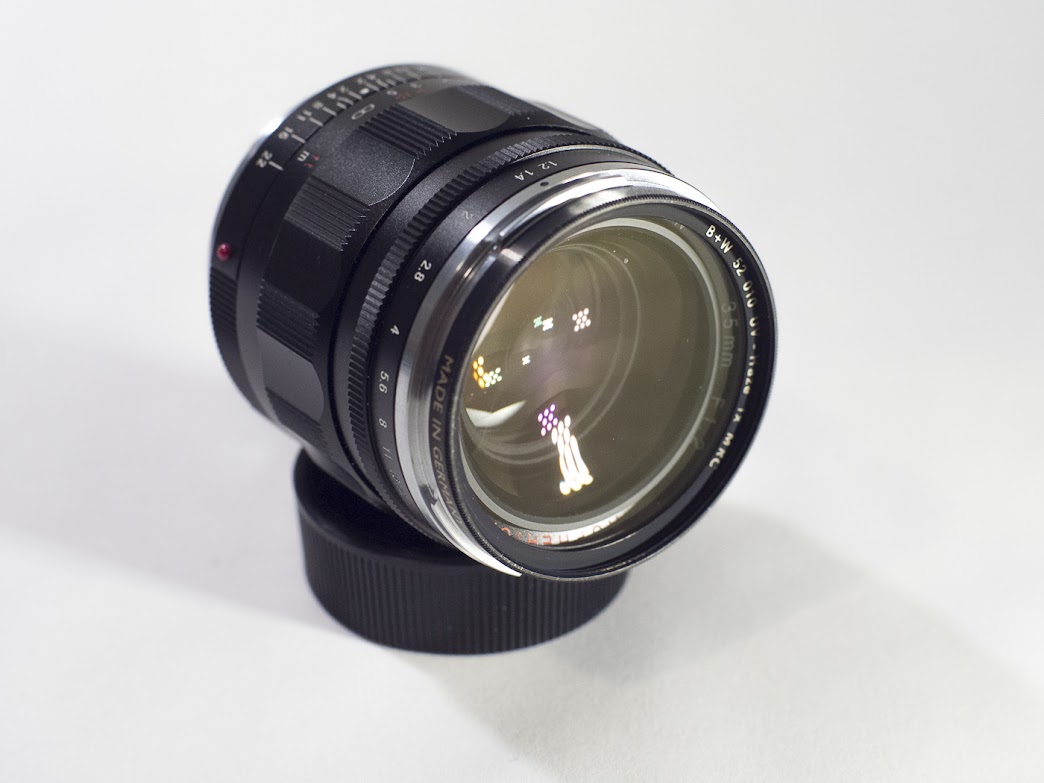
Here is a video. As you can see it works very well even on a lens with very long throw like the VC 35 F1.2
http://www.youtube.com/watch?v=WEFdvOyjAPs
High quality modeling clay. They are not really clay, but can be sculpted like clay and baked in the oven to harden with very little shrinkage.
Use Amazing GOOP to glue it to the barrel of the lens after. This stuff is very strong when cured. I use tape to wrap the tab around the lens during the curing process.
After you take the part out of the oven, it's going to be soft/pliable for a few minutes, so it's not critical to get the mold to a perfect shape before baking. Just hold it firmly against the final location on the lens until it cools and hardens.
Few notes, you can sand the tab with sand paper to make a smooth finish after it's hardened. ( I didn't do it because I need this to be done for a trip).
For lenses like the ZM 50 f2 with has a pointy focusing tab, this method will allow you to easily form the tab over the complex shape (just press and mold)
You can probably make the two side arms of the tab a bit smaller. ( You can cut and sand it afterwards ).
Use making tape to find the center.
Here is a video. As you can see it works very well even on a lens with very long throw like the VC 35 F1.2
http://www.youtube.com/watch?v=WEFdvOyjAPs