whited3
Well-known
This is meant to be more encouraging than anything else - an example of an old fashioned durable good (something we can all appreciate here on RF forum) made in my NYC apartment with hand tools scraped together via amazon and home depot.
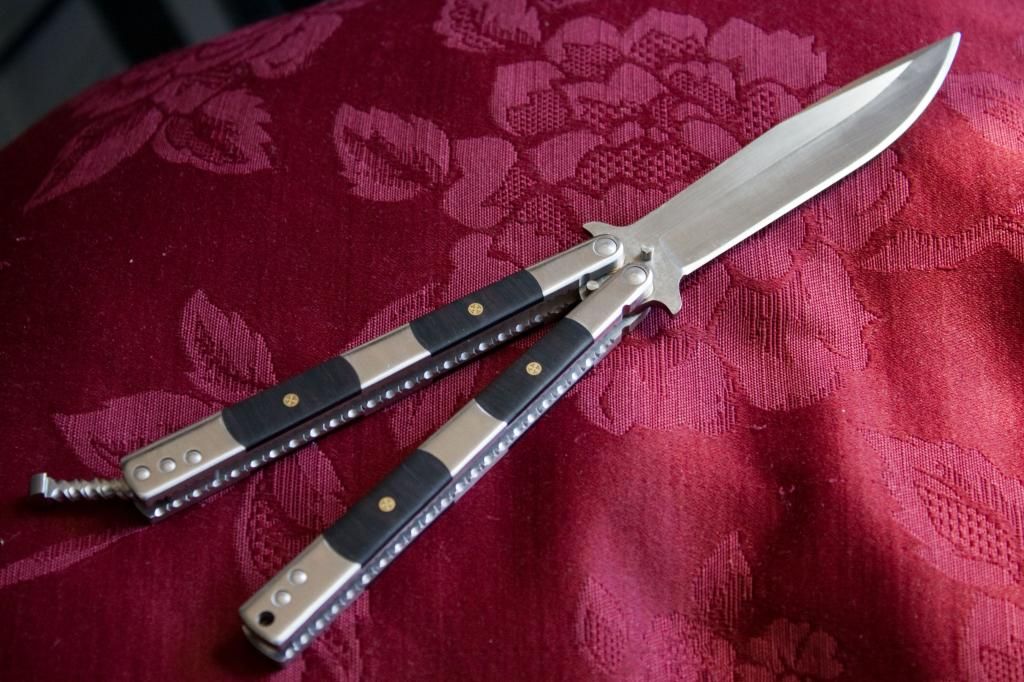
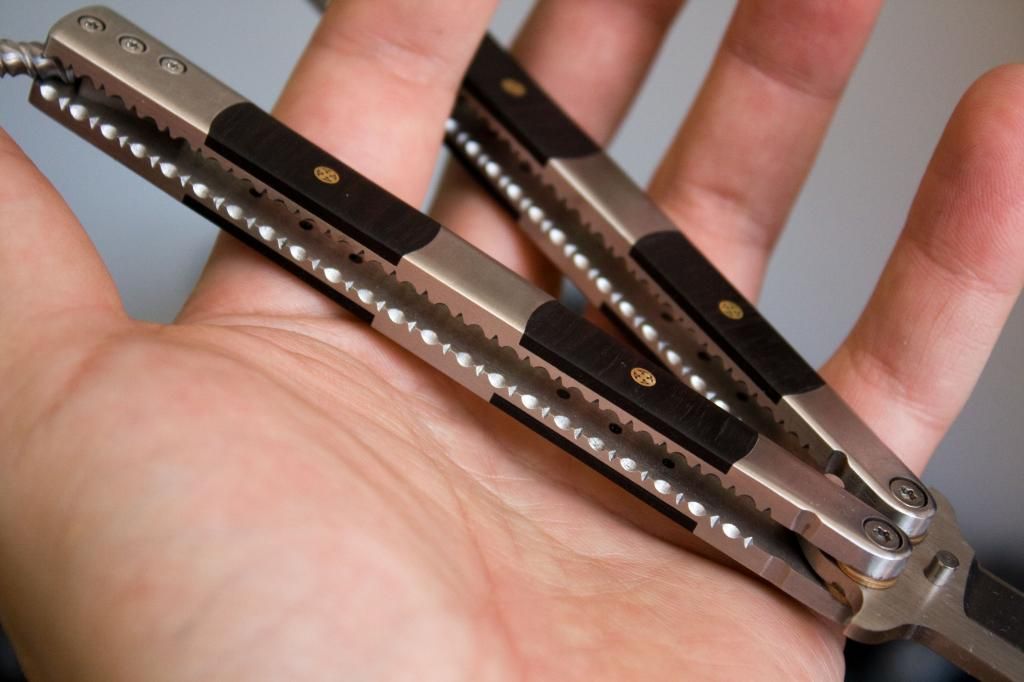
Now I don't know if any of you are necessarily knife nuts, but in my eyes knives, cameras, watches, cars, etc. etc. all fall under the broad category of Boy's Toys which so many of us feel compelled to acquire. Any of which can be quite expensive. In this case (and I'm sure in many other cases) dollars can be offset by your own time and effort. So, the following is a pictorial of my 2008 quest for an affordable Boy's Toy:
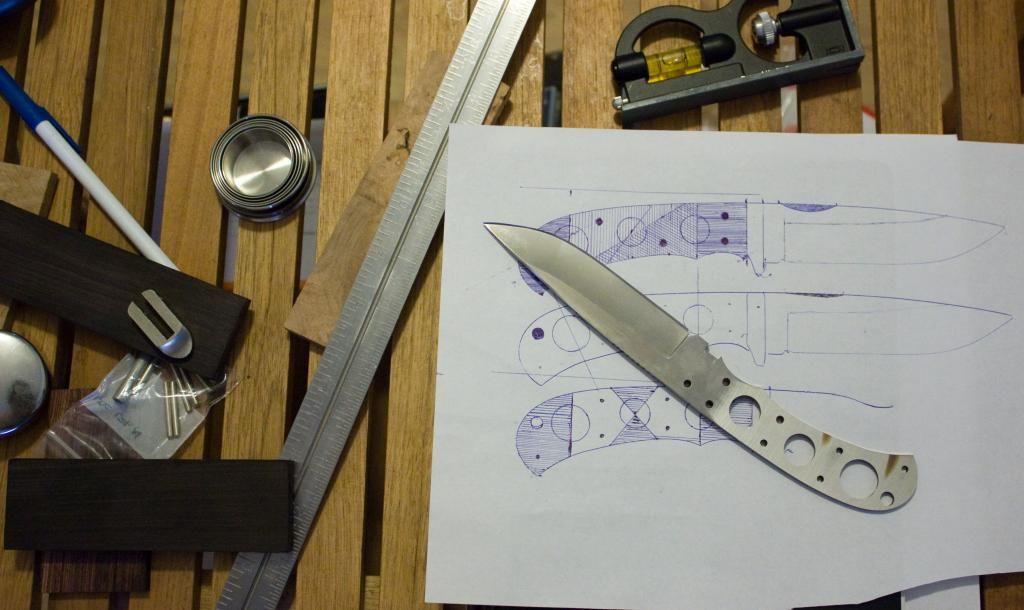
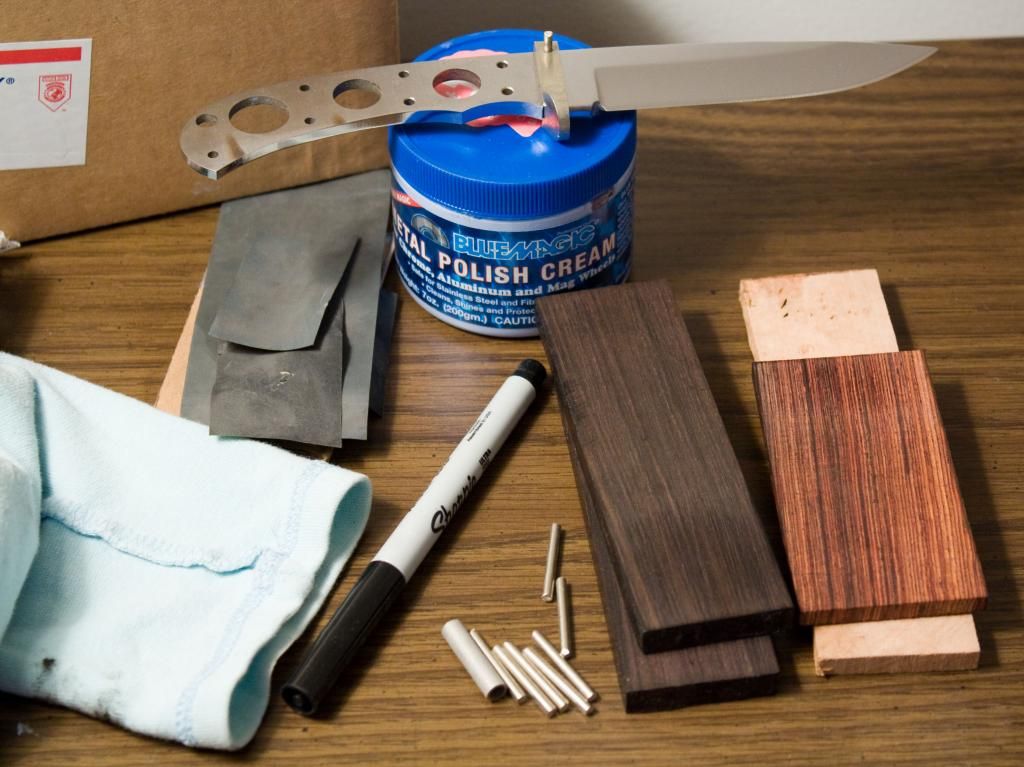
Laid out here is my knife kit ($50-ish - although I splurged to be honest), and wooden scales for the knife handle ($20-is I think). Just google knife kit and you'll see plenty of options.
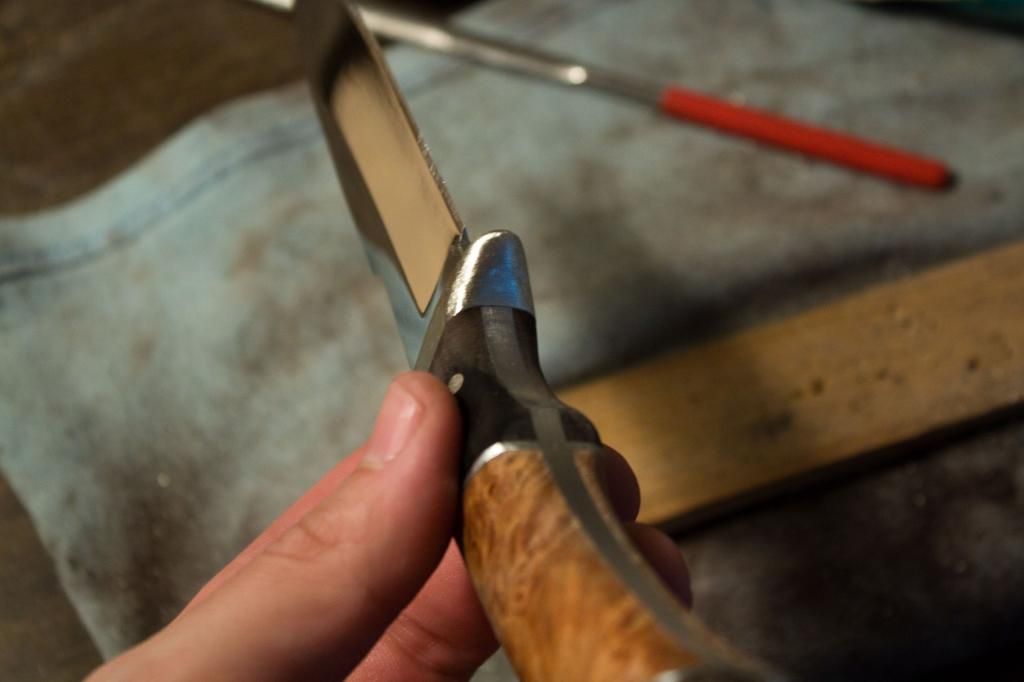
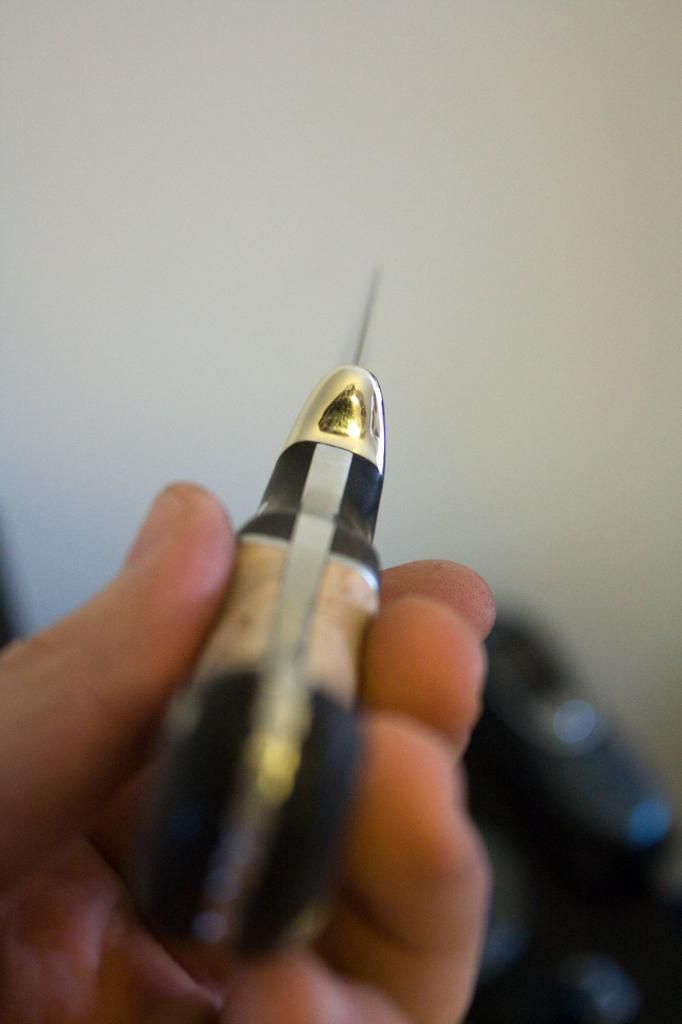
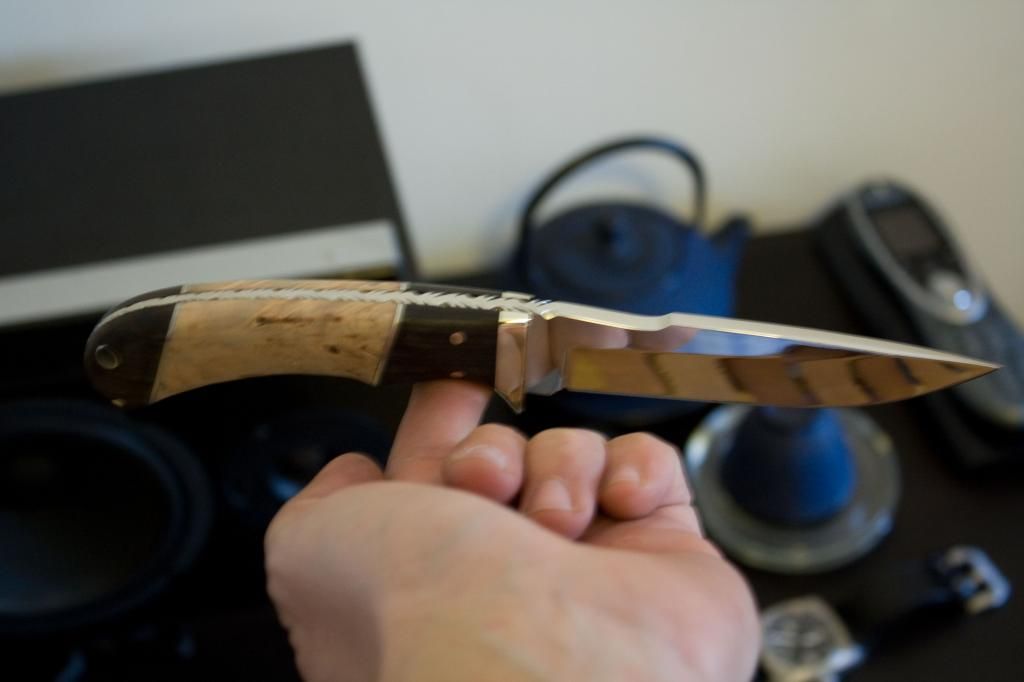
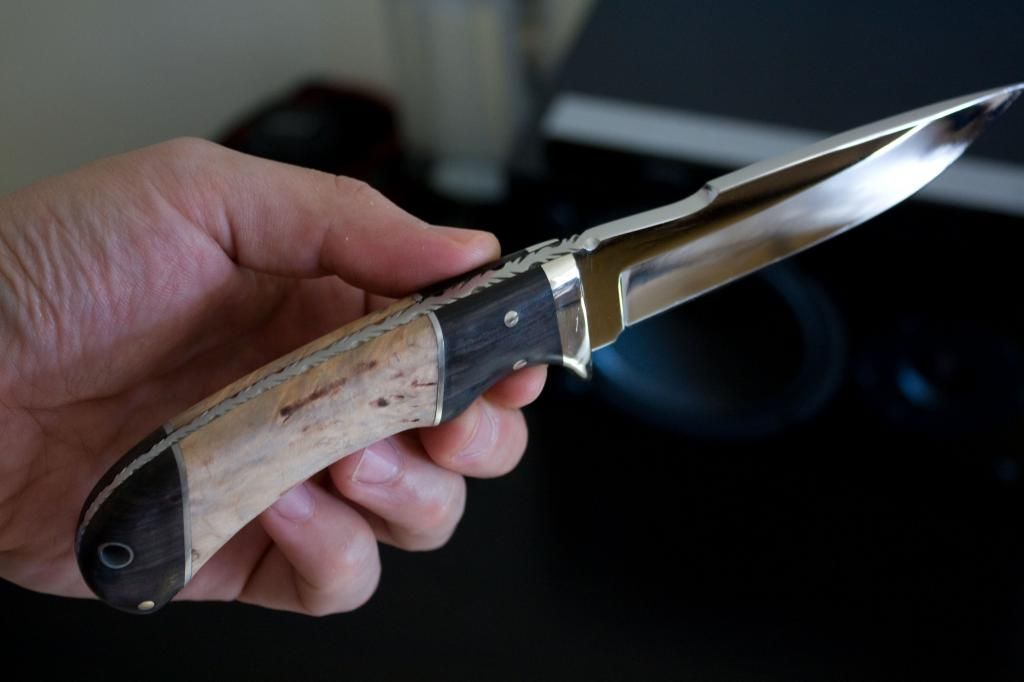
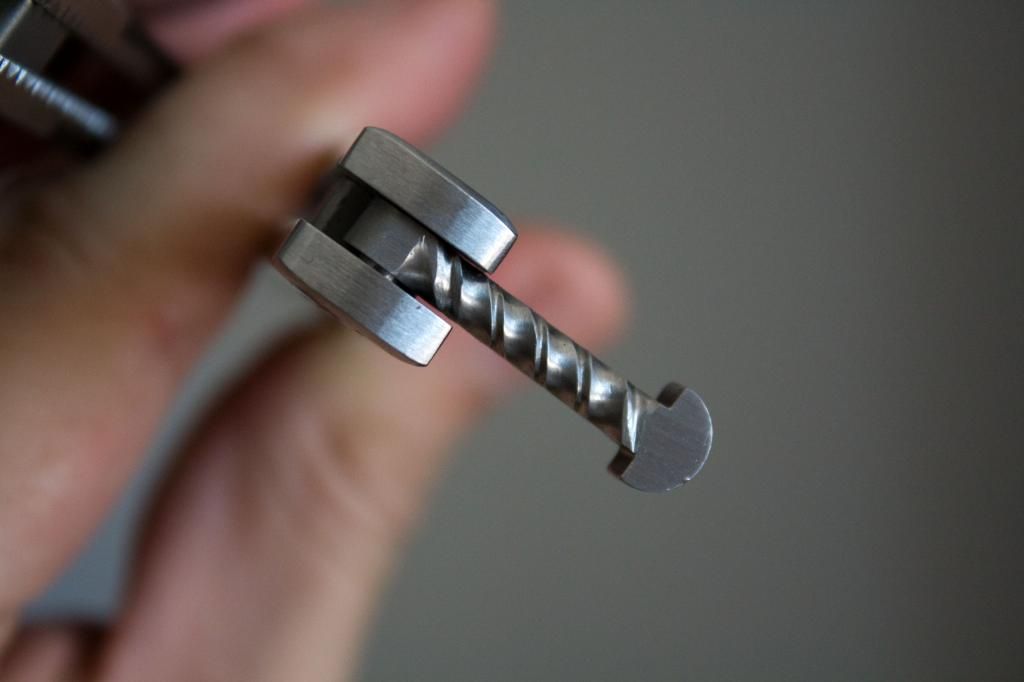
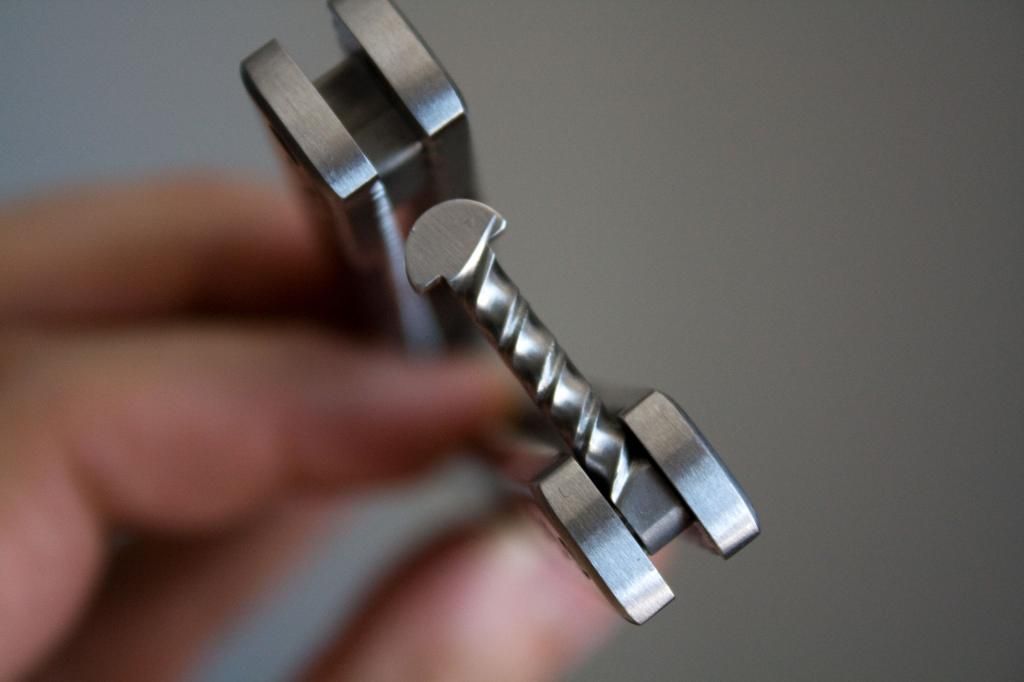
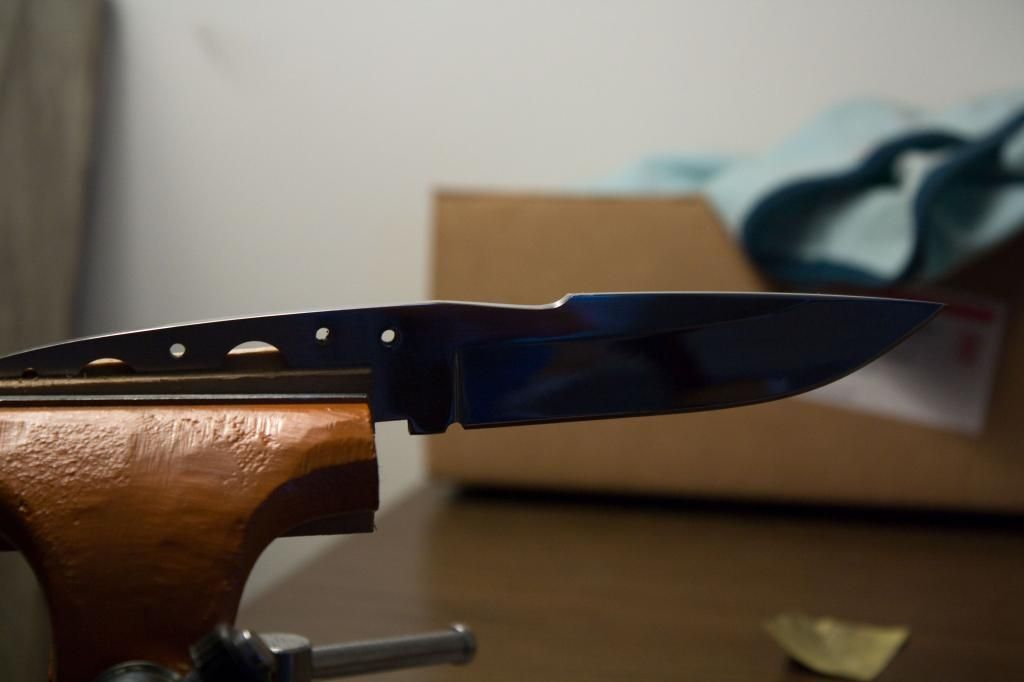
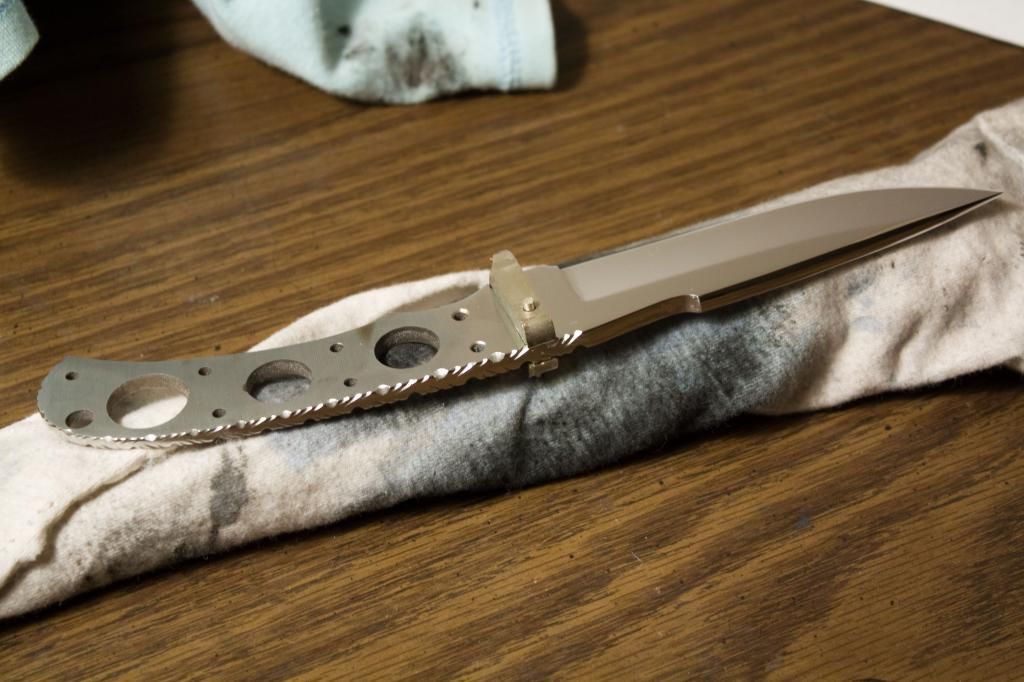
Here I've sanded and polished the blade of the knife. The knife is hardened tool steel so it's a really tedious process. Items involved were various grits of sandpaper, a dremel, and the metal polish I showed you above. All this is available at Home Depot and your local auto supply store. I've also dry-fit the guard (rounded piece with a pin through it) just to visualize how things will look.
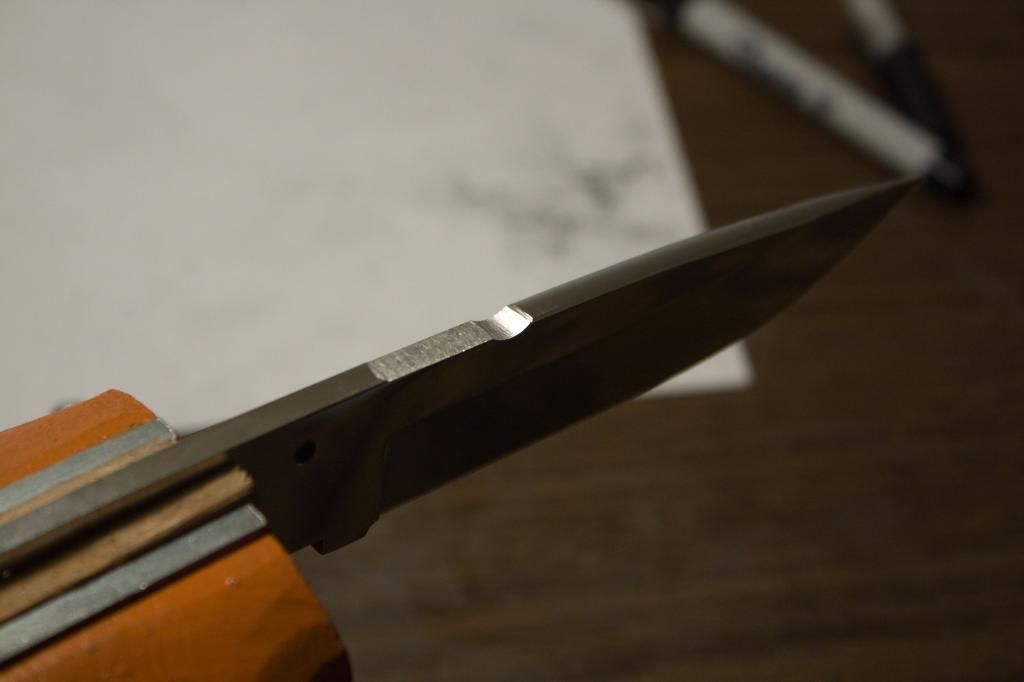
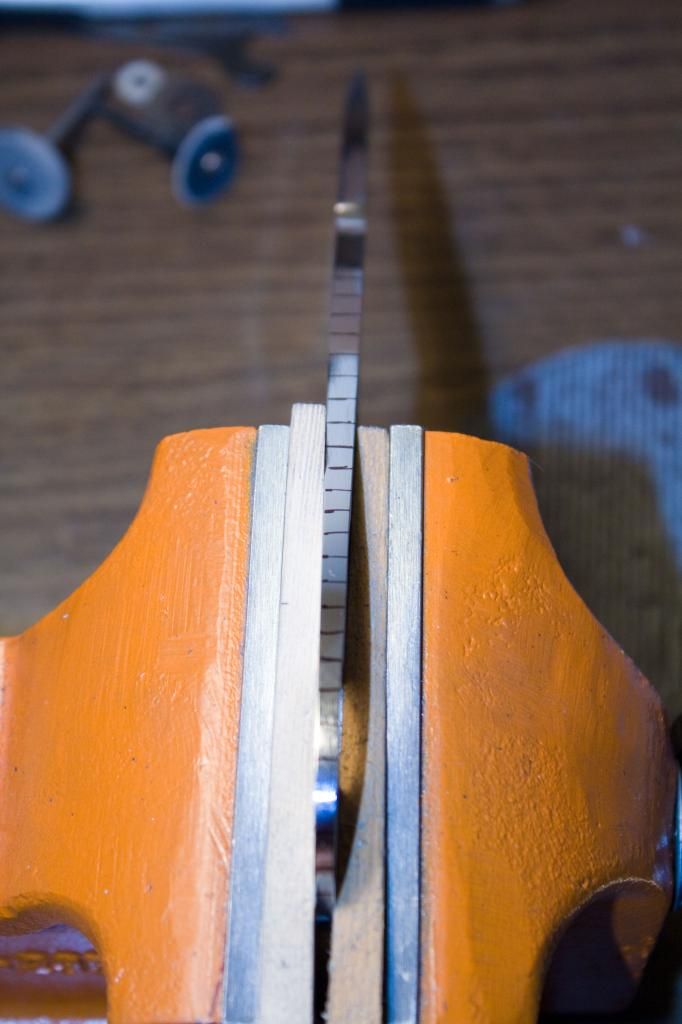
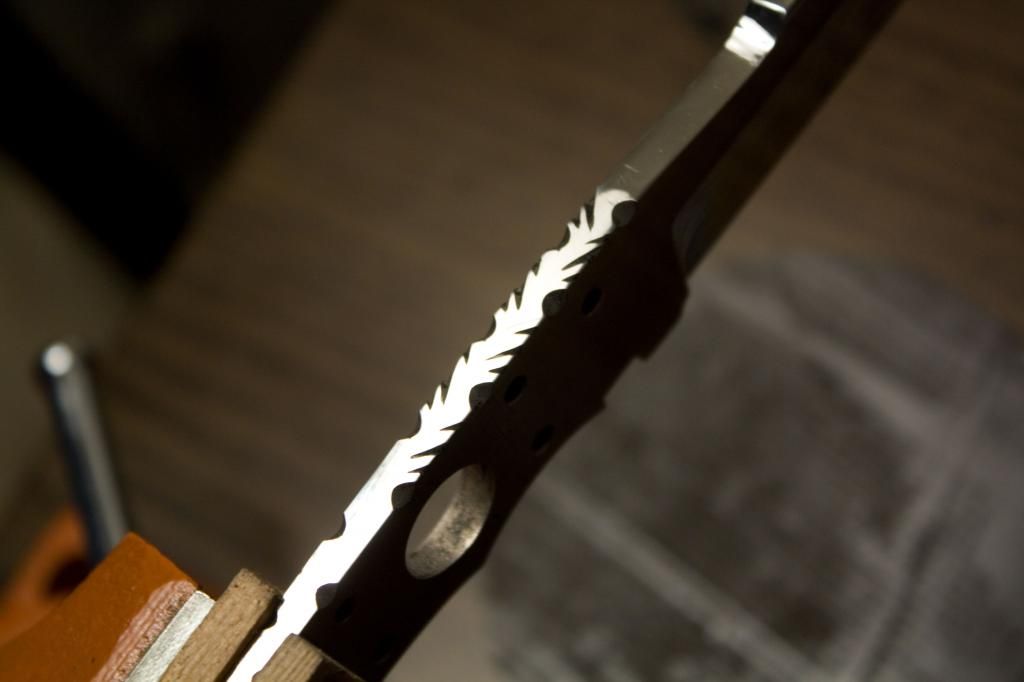
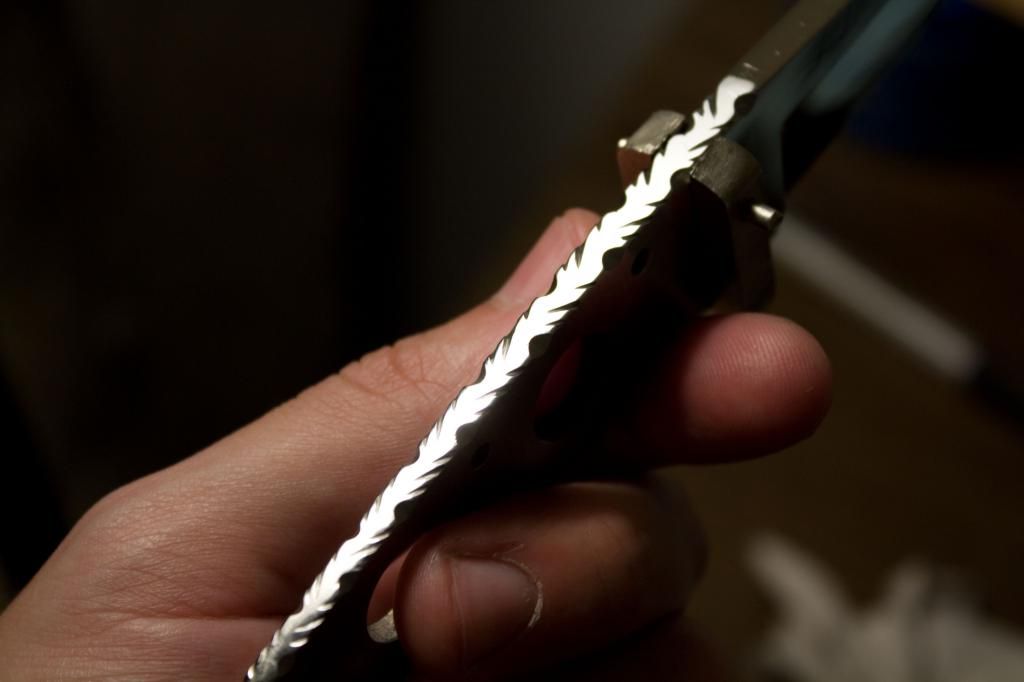
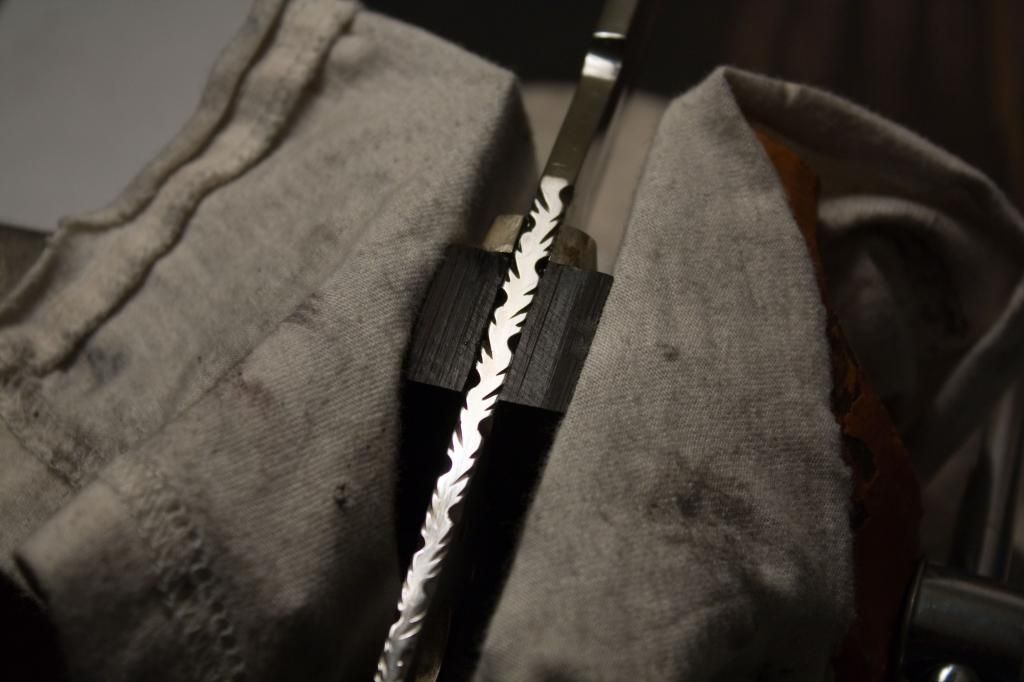
Next I begin removing material from the spine of the knife for my thumb. You may have noticed this conceptualized in my sketches above. This was done with diamond files purchased on amazon. You'll find them in sets with different shaped files, hence the flat and rounded tooling you see on the knife. Again, the hardened tool steel is really slow to respond to manual tooling. But, at least it's hard to make mistakes working so slowly.

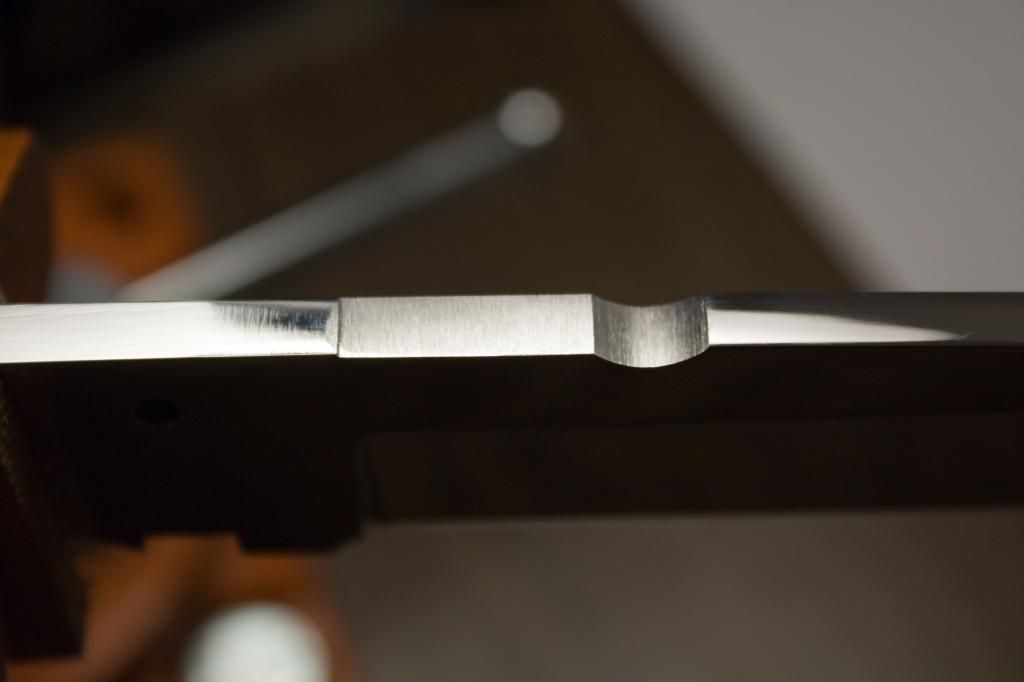
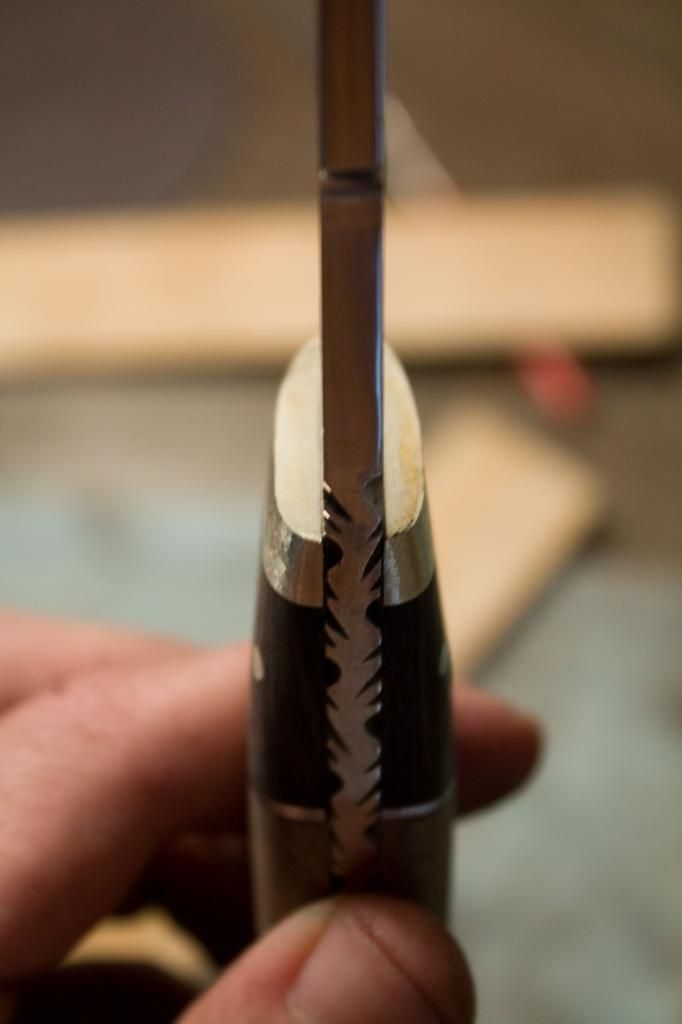
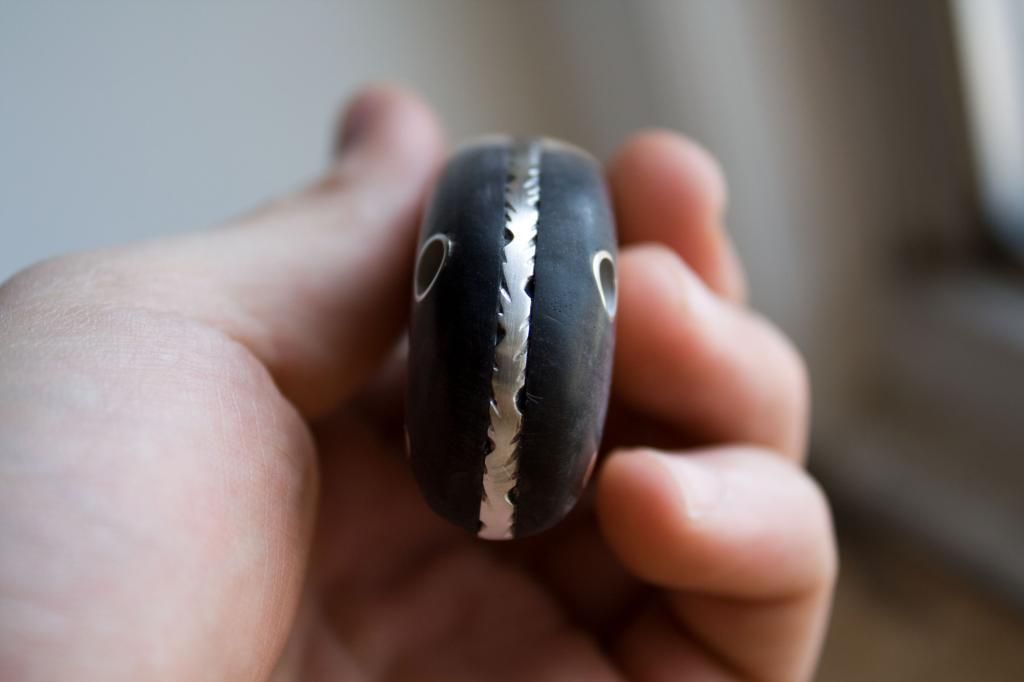
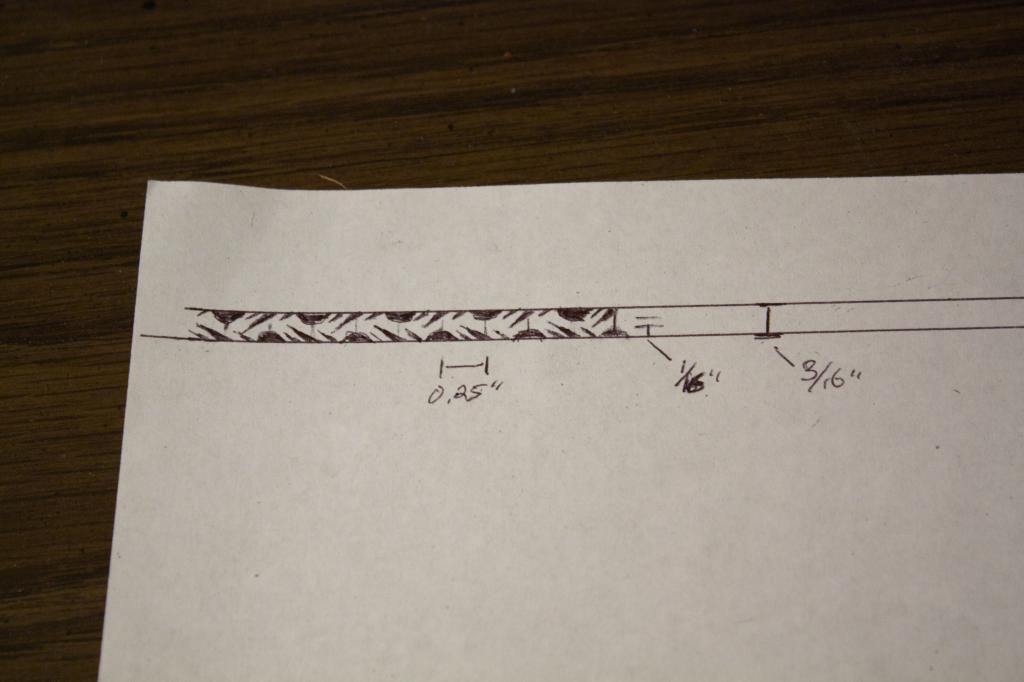
Ok next I want a pattern on the spine of the knife. This is achieved with the same diamond files. Google knife filework. Here is my intended pattern.
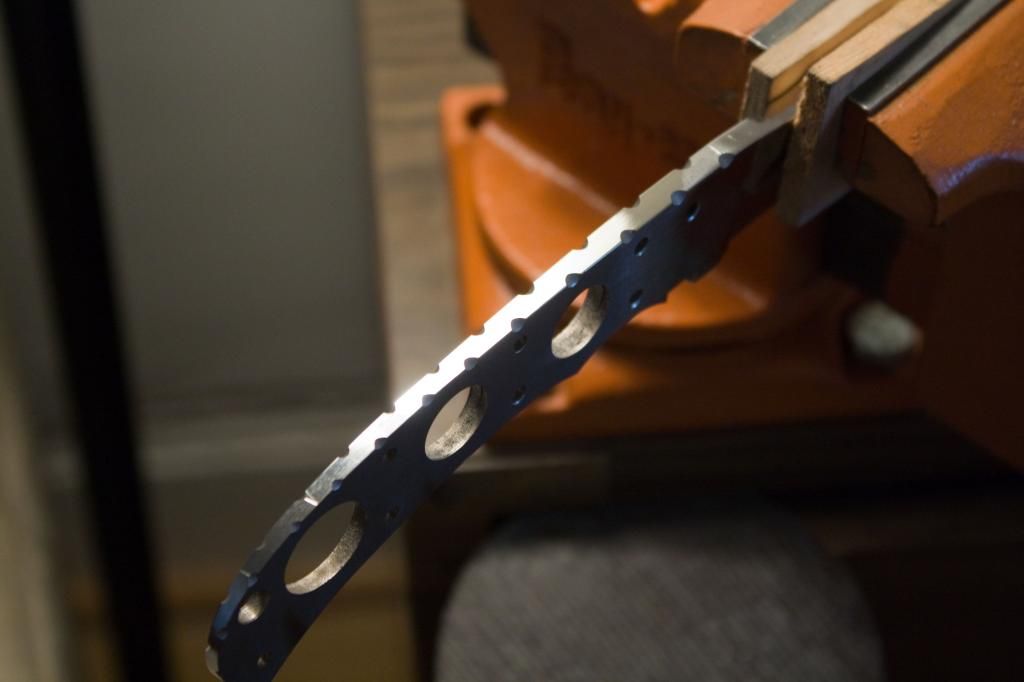
Transferring the pattern to the knife is a little interesting since the tang (handle portion) of the knife gradually narrows, requiring the filing pattern to adjust accordingly... just eyeballed it.
And now beginning the actual work.
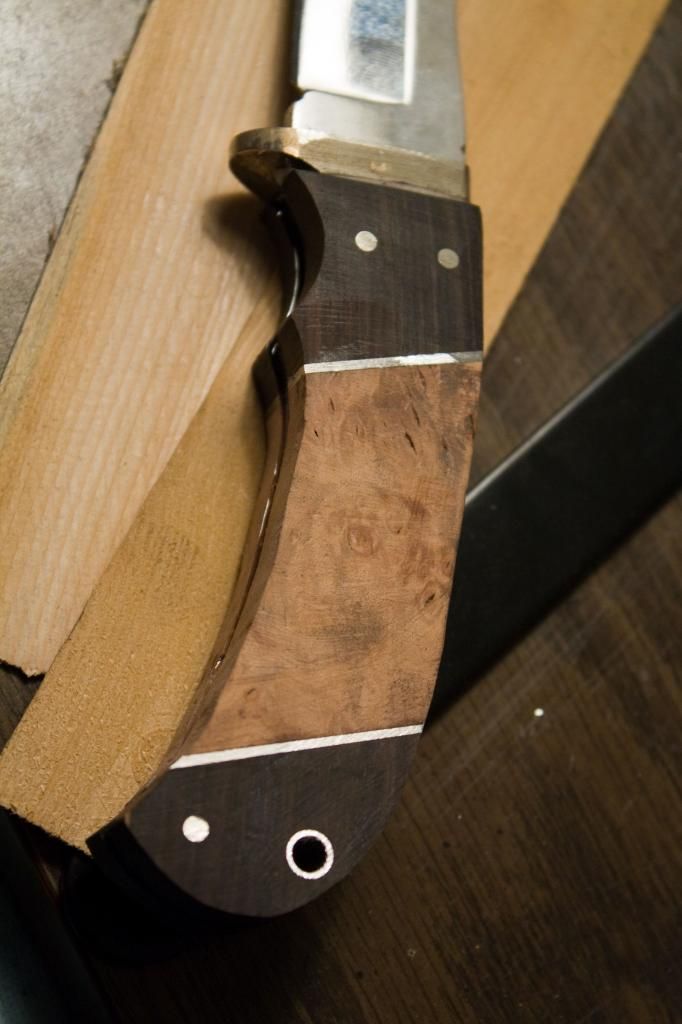
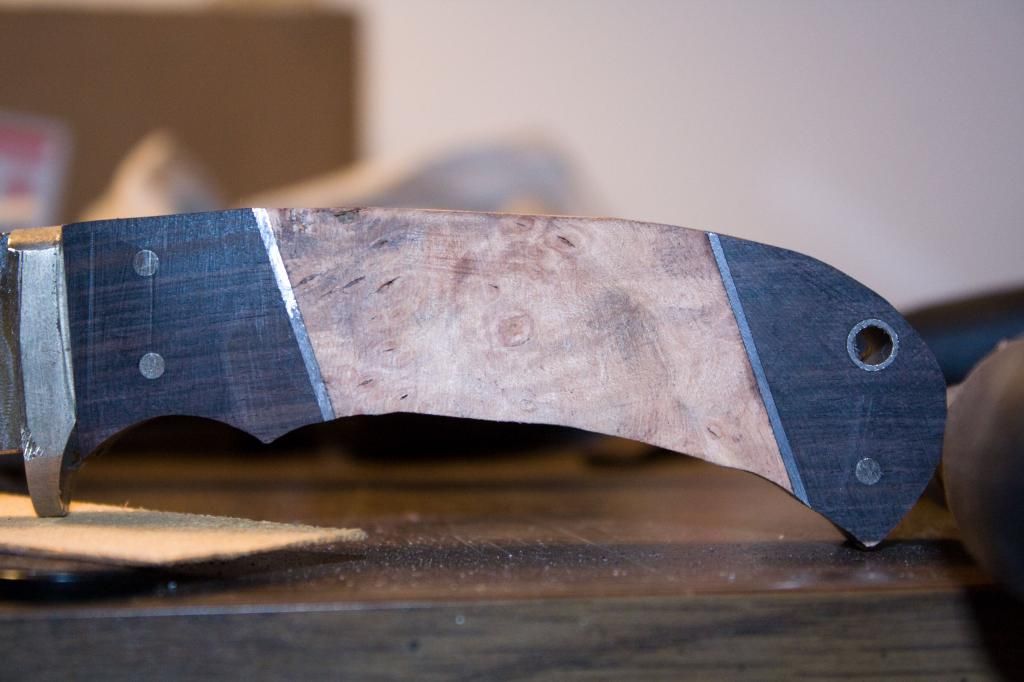
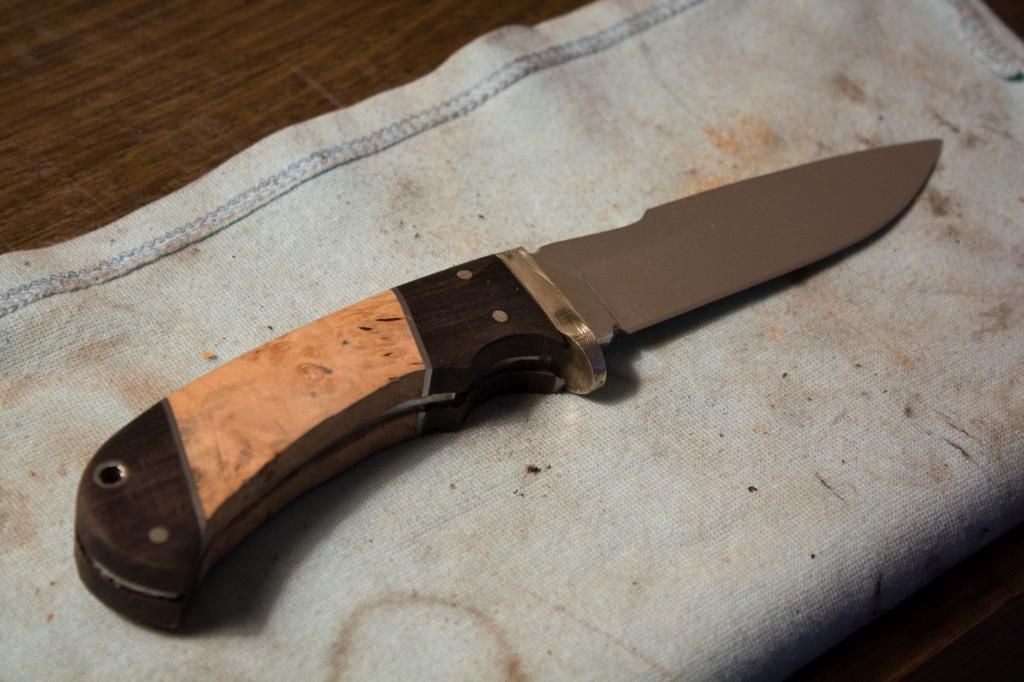
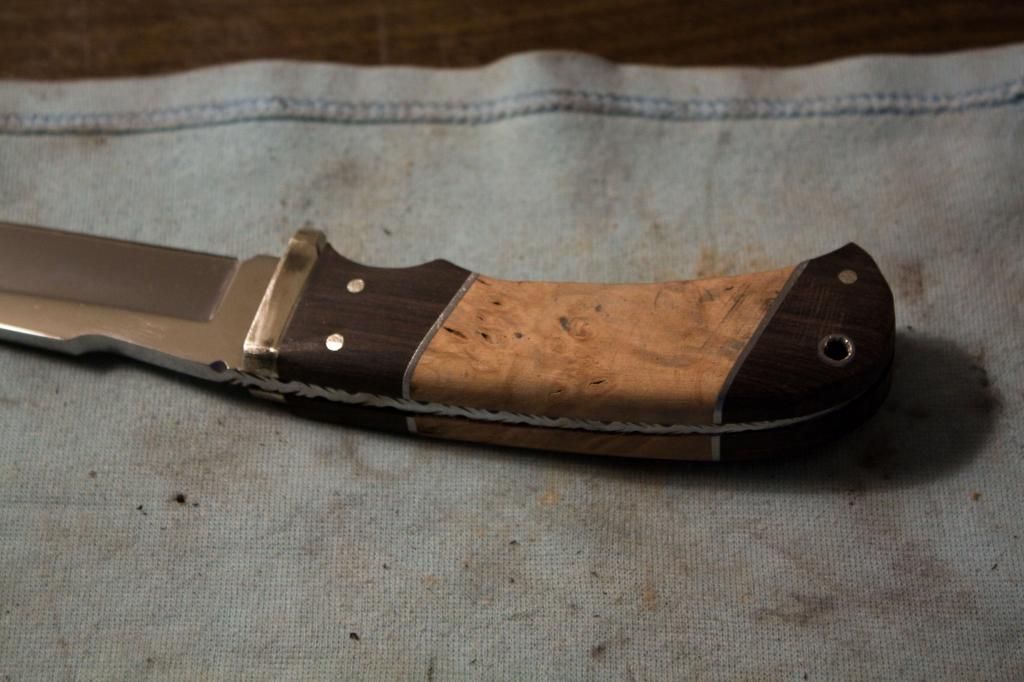
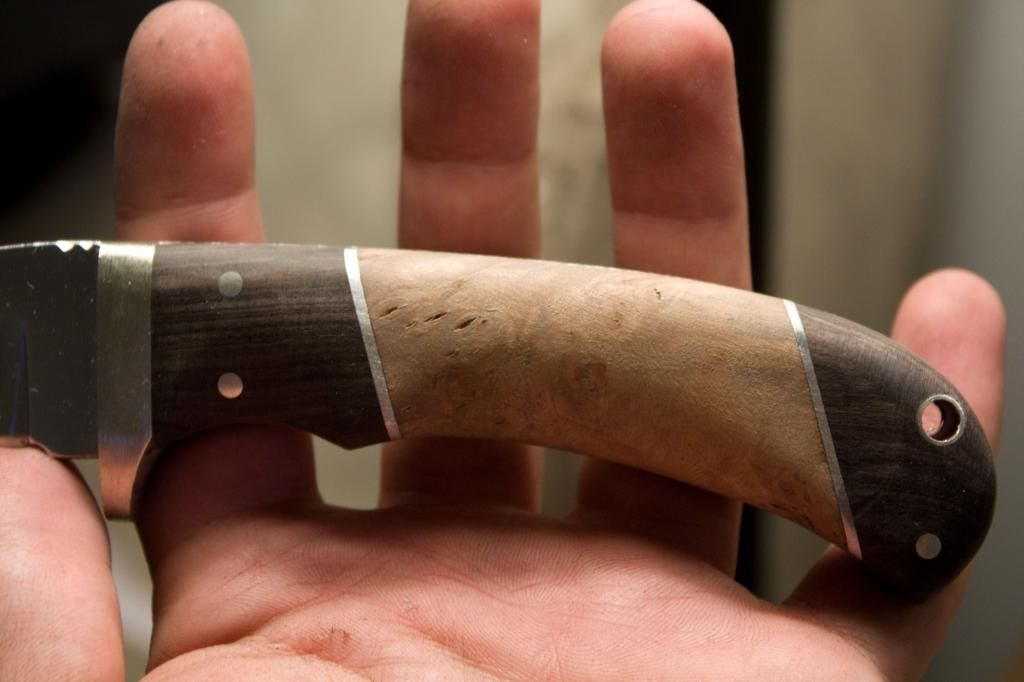
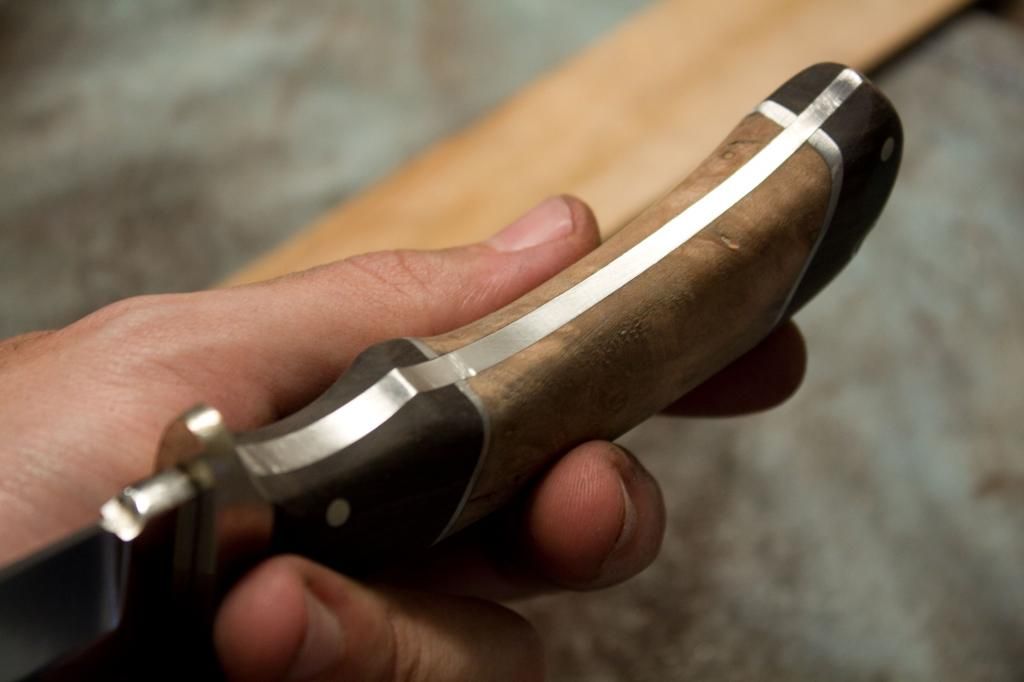
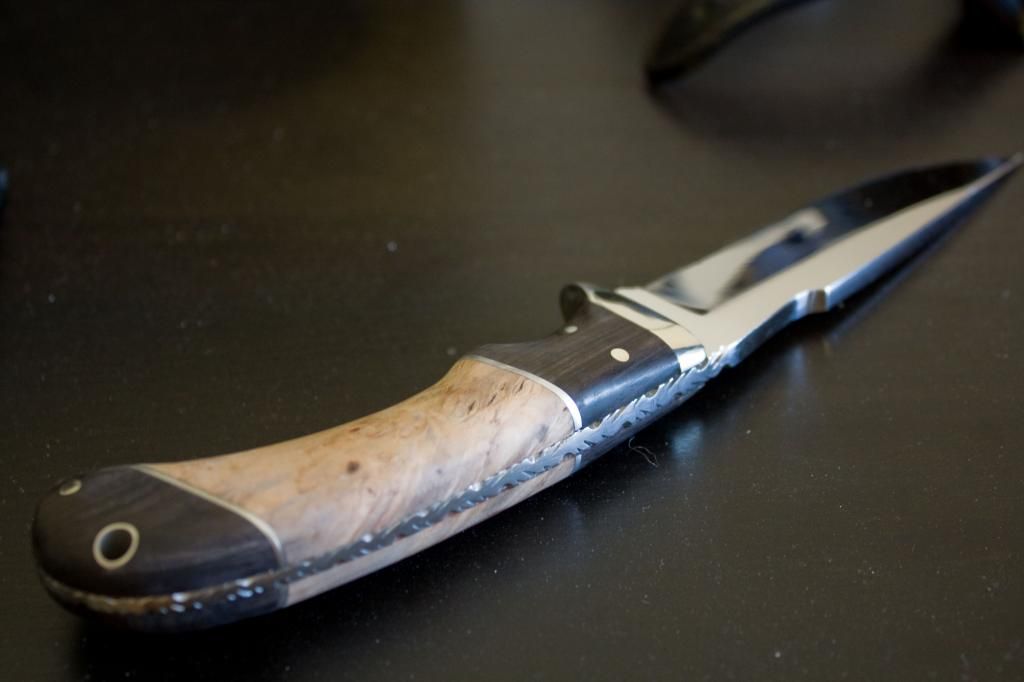
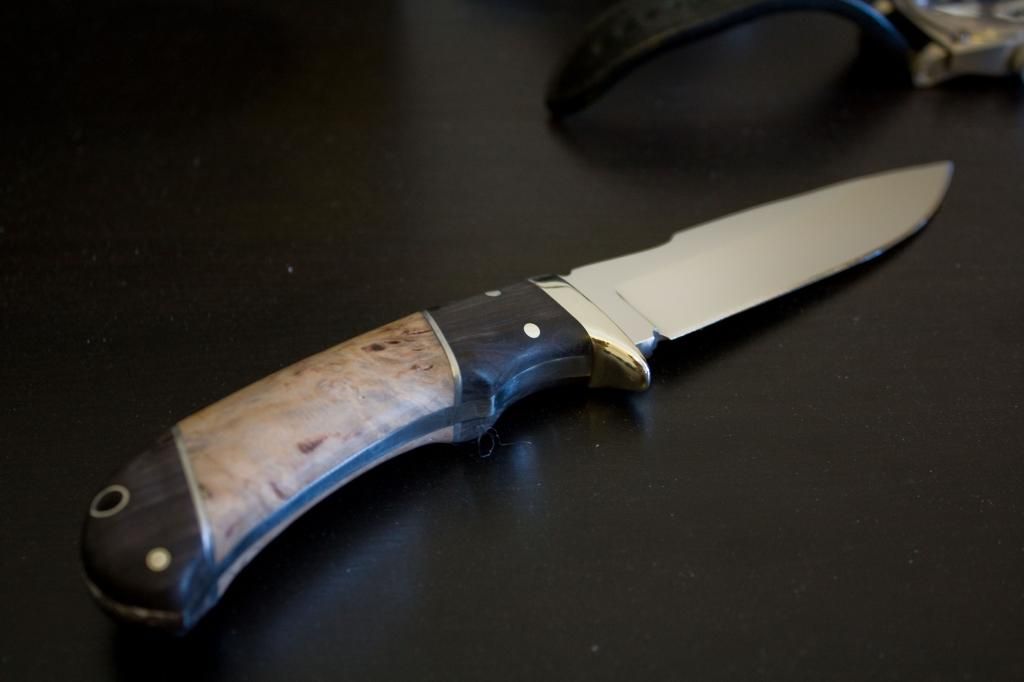
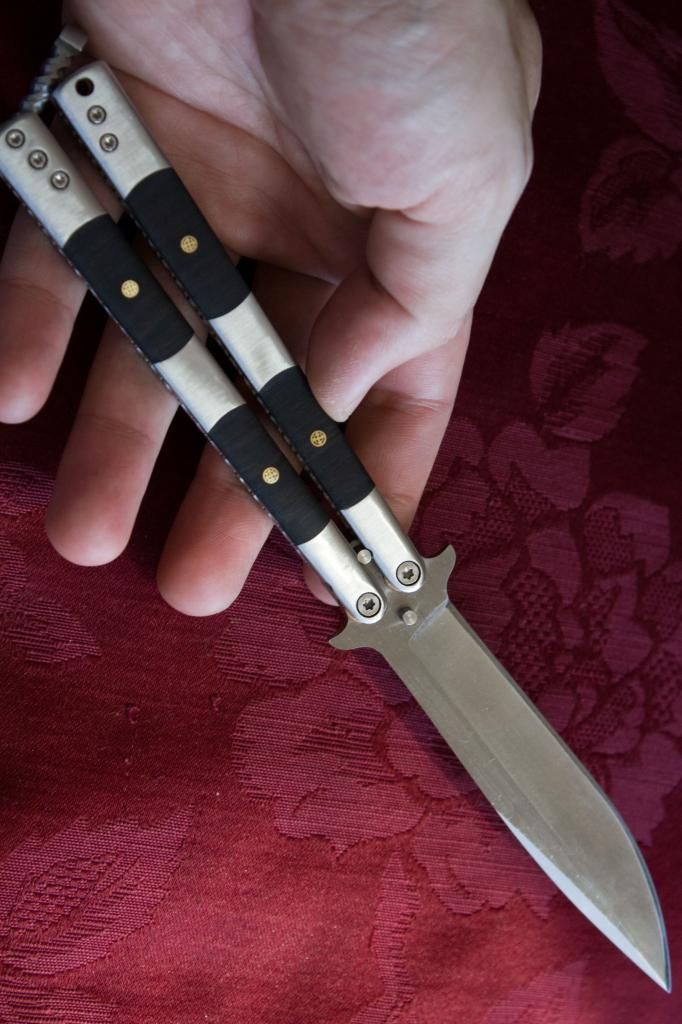
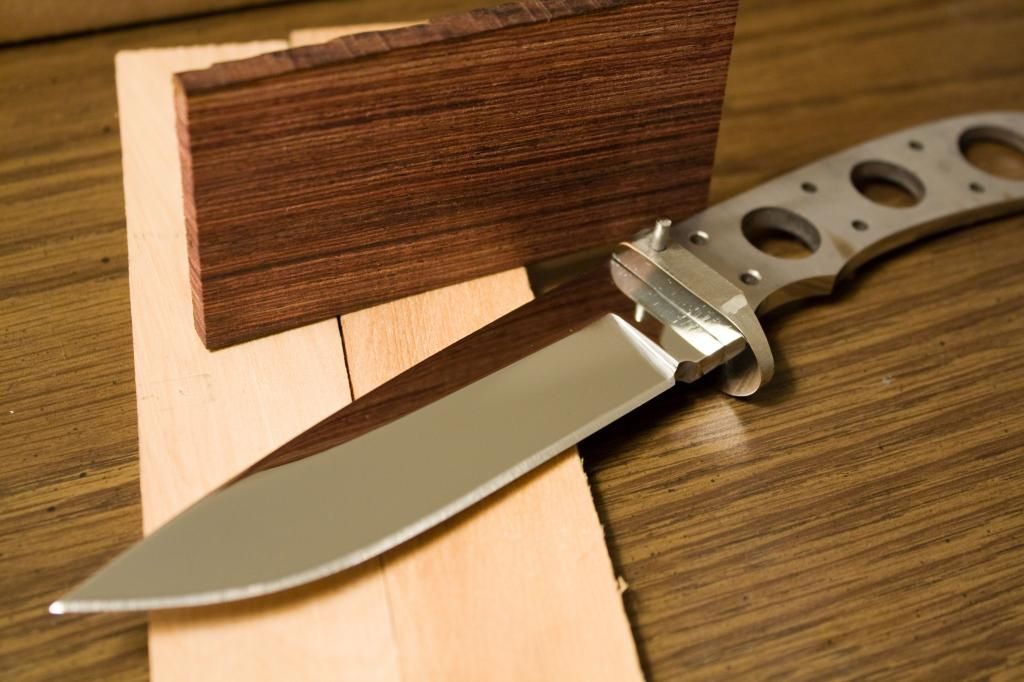
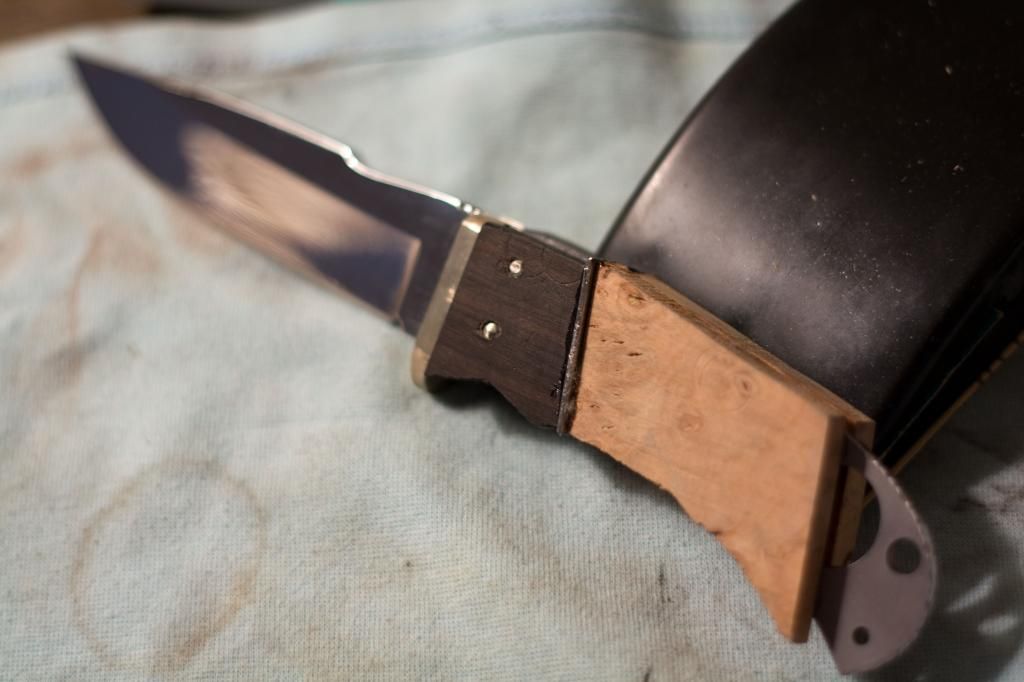
Here I am adding rough cutouts of wood for the handles. They are glued and pinned to and through the metal tang (handle part of the metal). The wood I used is ebony, and oak burl if I remember correctly. All that was needed here was a dovetail saw, epoxy, and hammer to expand the pins. Oh, I added some metal spacer between the wood for decoration. It was an old butter knife cut down with a dremel. Yep.
Continued...
Now I don't know if any of you are necessarily knife nuts, but in my eyes knives, cameras, watches, cars, etc. etc. all fall under the broad category of Boy's Toys which so many of us feel compelled to acquire. Any of which can be quite expensive. In this case (and I'm sure in many other cases) dollars can be offset by your own time and effort. So, the following is a pictorial of my 2008 quest for an affordable Boy's Toy:
Laid out here is my knife kit ($50-ish - although I splurged to be honest), and wooden scales for the knife handle ($20-is I think). Just google knife kit and you'll see plenty of options.
Here I've sanded and polished the blade of the knife. The knife is hardened tool steel so it's a really tedious process. Items involved were various grits of sandpaper, a dremel, and the metal polish I showed you above. All this is available at Home Depot and your local auto supply store. I've also dry-fit the guard (rounded piece with a pin through it) just to visualize how things will look.
Next I begin removing material from the spine of the knife for my thumb. You may have noticed this conceptualized in my sketches above. This was done with diamond files purchased on amazon. You'll find them in sets with different shaped files, hence the flat and rounded tooling you see on the knife. Again, the hardened tool steel is really slow to respond to manual tooling. But, at least it's hard to make mistakes working so slowly.
Ok next I want a pattern on the spine of the knife. This is achieved with the same diamond files. Google knife filework. Here is my intended pattern.
Transferring the pattern to the knife is a little interesting since the tang (handle portion) of the knife gradually narrows, requiring the filing pattern to adjust accordingly... just eyeballed it.
And now beginning the actual work.
Here I am adding rough cutouts of wood for the handles. They are glued and pinned to and through the metal tang (handle part of the metal). The wood I used is ebony, and oak burl if I remember correctly. All that was needed here was a dovetail saw, epoxy, and hammer to expand the pins. Oh, I added some metal spacer between the wood for decoration. It was an old butter knife cut down with a dremel. Yep.
Continued...