Final two images.
I have now cleaned and reassembled the chromed top cover, and cleaned other surfaces I could reach. Like Jan wrote, the most difficult part to reach is some of the elements inside the range finder mechanism. I didn't want to disassemble that part entirely, as it wasn't very obvious how it all fits together, not even mentioning whether I could be refitted and re-adjusted easily. See
Jan's images here for how it looks.
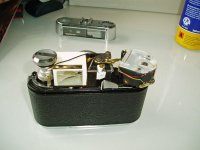
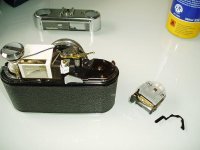
What I did to clean the yellowish glass inside it, which is difficult to reach, is to carefully insert a cotton stick (70% alchol on it), through the black metal hole in front of it.
I had already noticed the rangefinder's setting seemed to be "off", with the distance not being accurate. I couldn't make the images fit at infinity setting on the lens. If you look at Jan's close-up images of the rangefinder mechanism, as referenced above, there is an image that shows the rangefinder mechanism looking from the side. It shows a small steel bolt with a spring fitted inside an apparently galvanized steel part. I noticed that turning / tightening this bold shifted the rangefinder's results to more accurate readings, so I re-adjusted the mechanism and used some measuring tape as reference. I needed to tighten the bold by about 1 full turn to get an accurate setting.
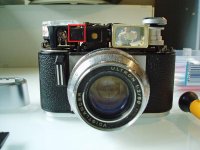
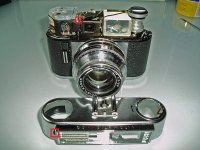
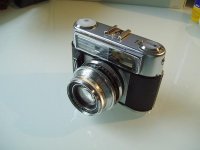
The right image shows the cleaned (notice the no longer fogged glass for the view finder), re-adjusted and reassembled camera.
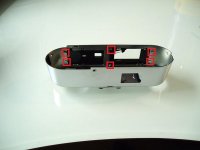
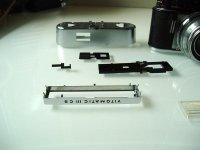
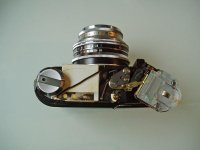
The left image is just before re-assembly. There is one thing to take not off: when fitting the top part on the camera, make sure the tiny battery check button is fully slided out. Otherwise it will not fit to the correct side of the metal contact it is supposed to operate, see the barely visible copper contact I marked on the camera body.
That's all.
🙂 Now I need to get a replacement battery for that mercury cell to try it out! Anyone have a good suggestion where I can buy one? (I know about the voltage issues with non-mercury cells, if anyone has suggestions on this part too, and especially related to the III CS, I would be grateful)