M5 Vulcanite Removal.

Nokton48

Veteran
Local time
1:12 PM
Joined
Dec 19, 2006
Messages
7,174
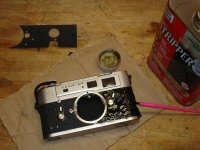
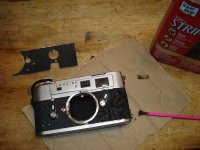
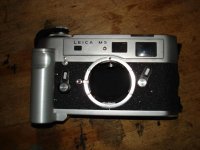
Carefully painted on the Stripper gel with a fine paintbrush. Cutting a fresh angled scraper from a chopstick, using my bandsaw. Letting this sit overnight, this vulcanite is really thick, tough stuff. When it starts to "bubble" it's ready to be scraped off, with the chopstick.

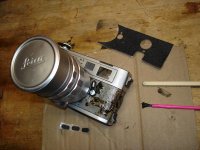
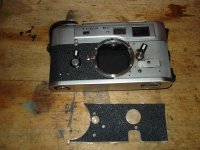
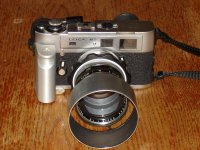
Griptac is waiting in the wings, left side and back are already attached. I think this will look really sharp and be very functional, especially when I get my chrome TomA Rapidgrip, it's in the mail.
 

Attachments

  • 001.jpg
    001.jpg
    46.5 KB · Views: 0
Here's how it looks this morning, just about ready for scraping IMO. Will finish the job this evening.
 

Attachments

  • DSC03367.jpg
    DSC03367.jpg
    43.5 KB · Views: 0
OK, Well the vulcanite peeled right off, in large pieces 🙂

Here's what's underneath, have applied more paint stripper, around the frame selection lever, with 90mm attached, and applied more to the contact cement dried-on, underneath.

This is a piece of cake. Gotta got to work!
 

Attachments

  • DSC03368.jpg
    DSC03368.jpg
    44.2 KB · Views: 0
Here's How It Ended Up.

Here's How It Ended Up.

Came home and started right in. A couple of more coats of stripper, elbow grease with the chopstick, and cleaning well with paper towel several times. Then a final cleaning with lighter fluid, just to get it absolutely clean and dry. (See first picture).

Here's the final result (2nd picture). Morgan recommends the "wet method" with M5, which is coating the body surfaces with "Hand Sanitizer", which allows you to slide the griptac around and it takes a while for the alcohol to dry off, and the adhesive to get a really good grip. I done this many times and it works just great.

Also received my TomA chrome Rapidgrip, which I machined a bit, to fit M5.
I'm done for today, it's Miller time 🙂
 

Attachments

  • DSC03372.jpg
    DSC03372.jpg
    50.3 KB · Views: 0
  • DSC03374.jpg
    DSC03374.jpg
    34.4 KB · Views: 0
Here's A Better Photo of the End Result.

Here's A Better Photo of the End Result.

This whole process was easier than I had imagined it would be. Turned out just perfect.
 

Attachments

  • DSC03394.jpg
    DSC03394.jpg
    51.6 KB · Views: 0
Back
Top Bottom