Mr_Flibble
In Tabulas Argenteas Refero
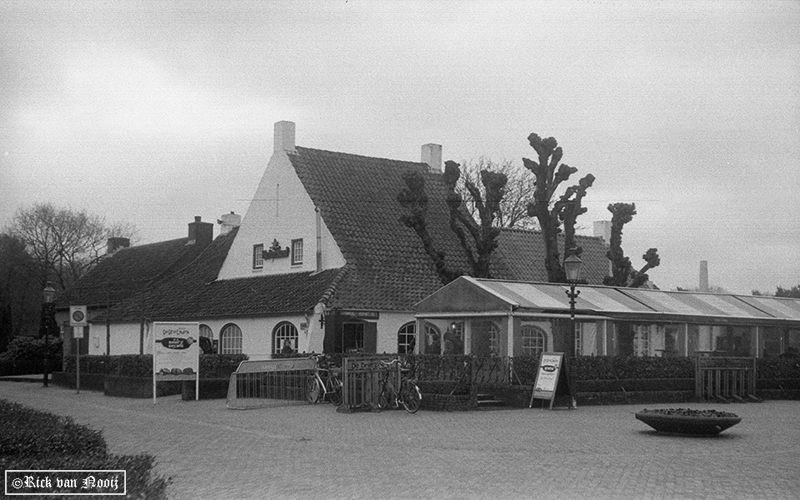
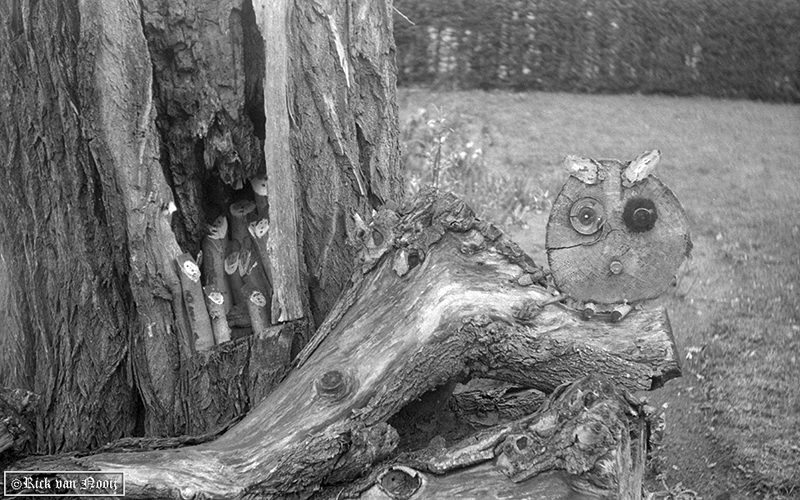
From the latest test roll I shot over the last week.
5cm f/2.8 Tessar, Fomapan 100 (HC-110, B, 6.5m, 20C)
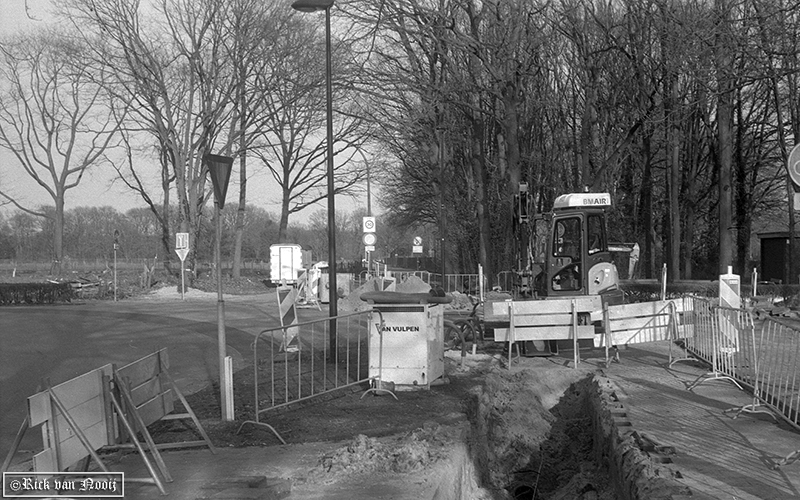
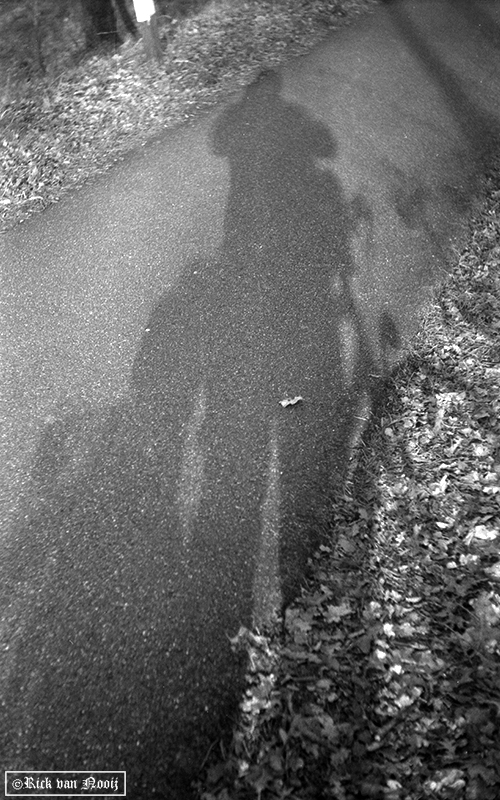
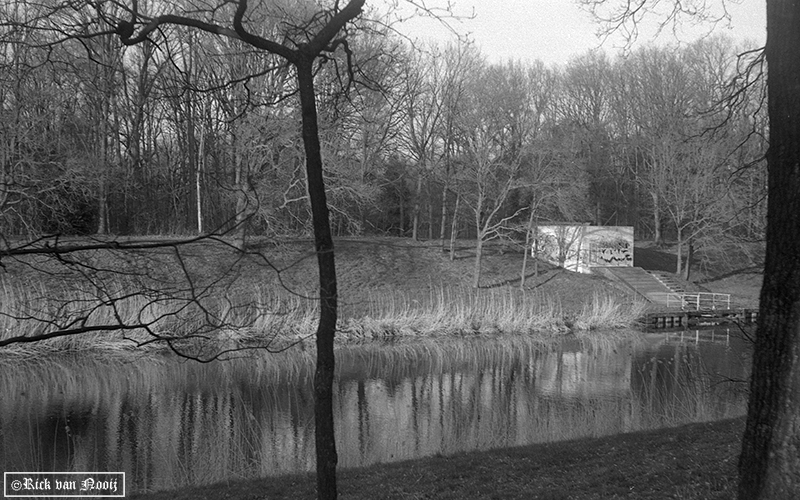
I still have the feeling that the medium speeds are a bit too slow and the sports speeds are a bit too fast.
5cm f/2.8 Tessar, Fomapan 100 (HC-110, B, 6.5m, 20C)
I still have the feeling that the medium speeds are a bit too slow and the sports speeds are a bit too fast.