Ben,
i am still figuring it out. i made it all the more complicated because i did two baseline numbers, one for highlight details at grade 0 (number 80 on the meter), and one for shadow details at grade 5 (number 40 on the meter).
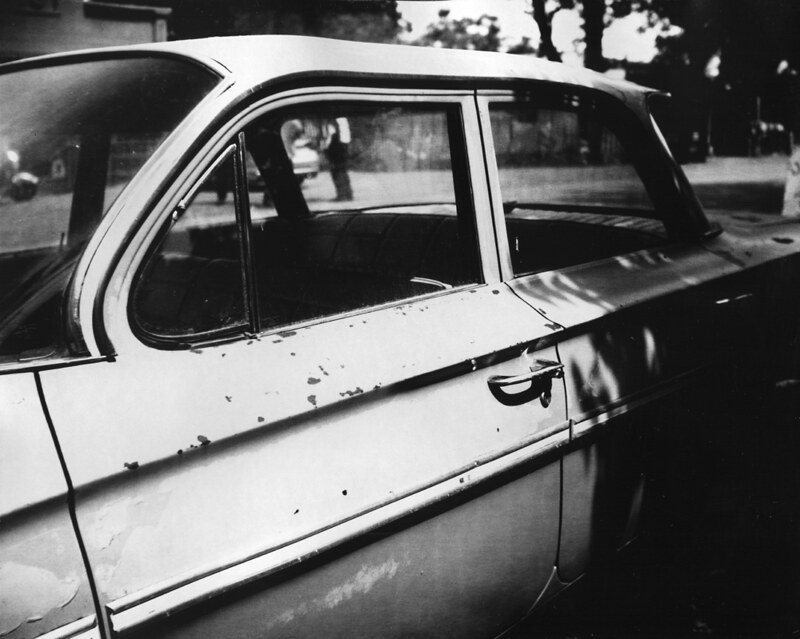
So, for the above picture, i turned to grade 0 on the enlarger, turned to number 80 on the meter, pointed the meter to an area where it is white with some details, then turned the enlarger aperture until the light turned green, which in this case was f8. I exposed for 8seconds since this exposure time is the baseline for grade 0 (80 on the meter, 8 seconds exposure). I did the same for grade 5, and got f8 as well, i exposed with a pre-determined baseline of 8 seconds. I did only 3 prints for the above, first print was too light, open up the aperture to f5.6 for grade 0, grade 5 was the same as before. I did one more print to try burning in the navel part of the robot.
yes. i stopped using strips, not still experimenting since i have only done 3 to 4 prints with the em10. but it looks promising as i can get to a working print in 2 prints.
raytoei