DrTebi
Slide Lover
This is a new one on me. 80A is designed to adjust color when exposing daylight film in tungsten light. Raises apparent color temperature. Thanks for posting this. How are you then converting the color-negative file?
I did experiment with DiChro filters trying to neutralize the orange mask in camera-scan exposure. 50C+15M on my Beseler Dual Mode Duplicator, with flash for lighting, did pretty much neutralize the mask. I abandoned this; I think NLP with flash or video light gives me better colors without the DiChro filters.
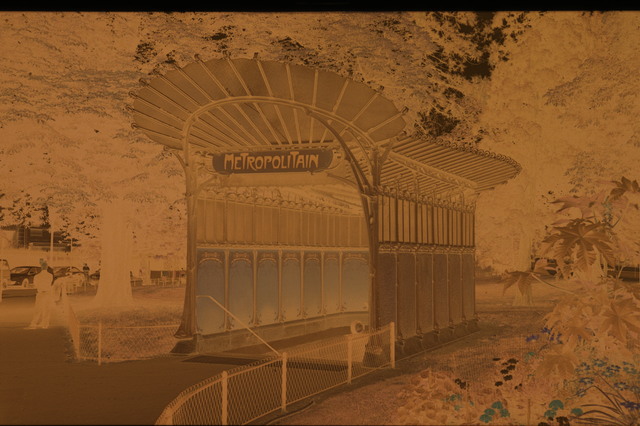
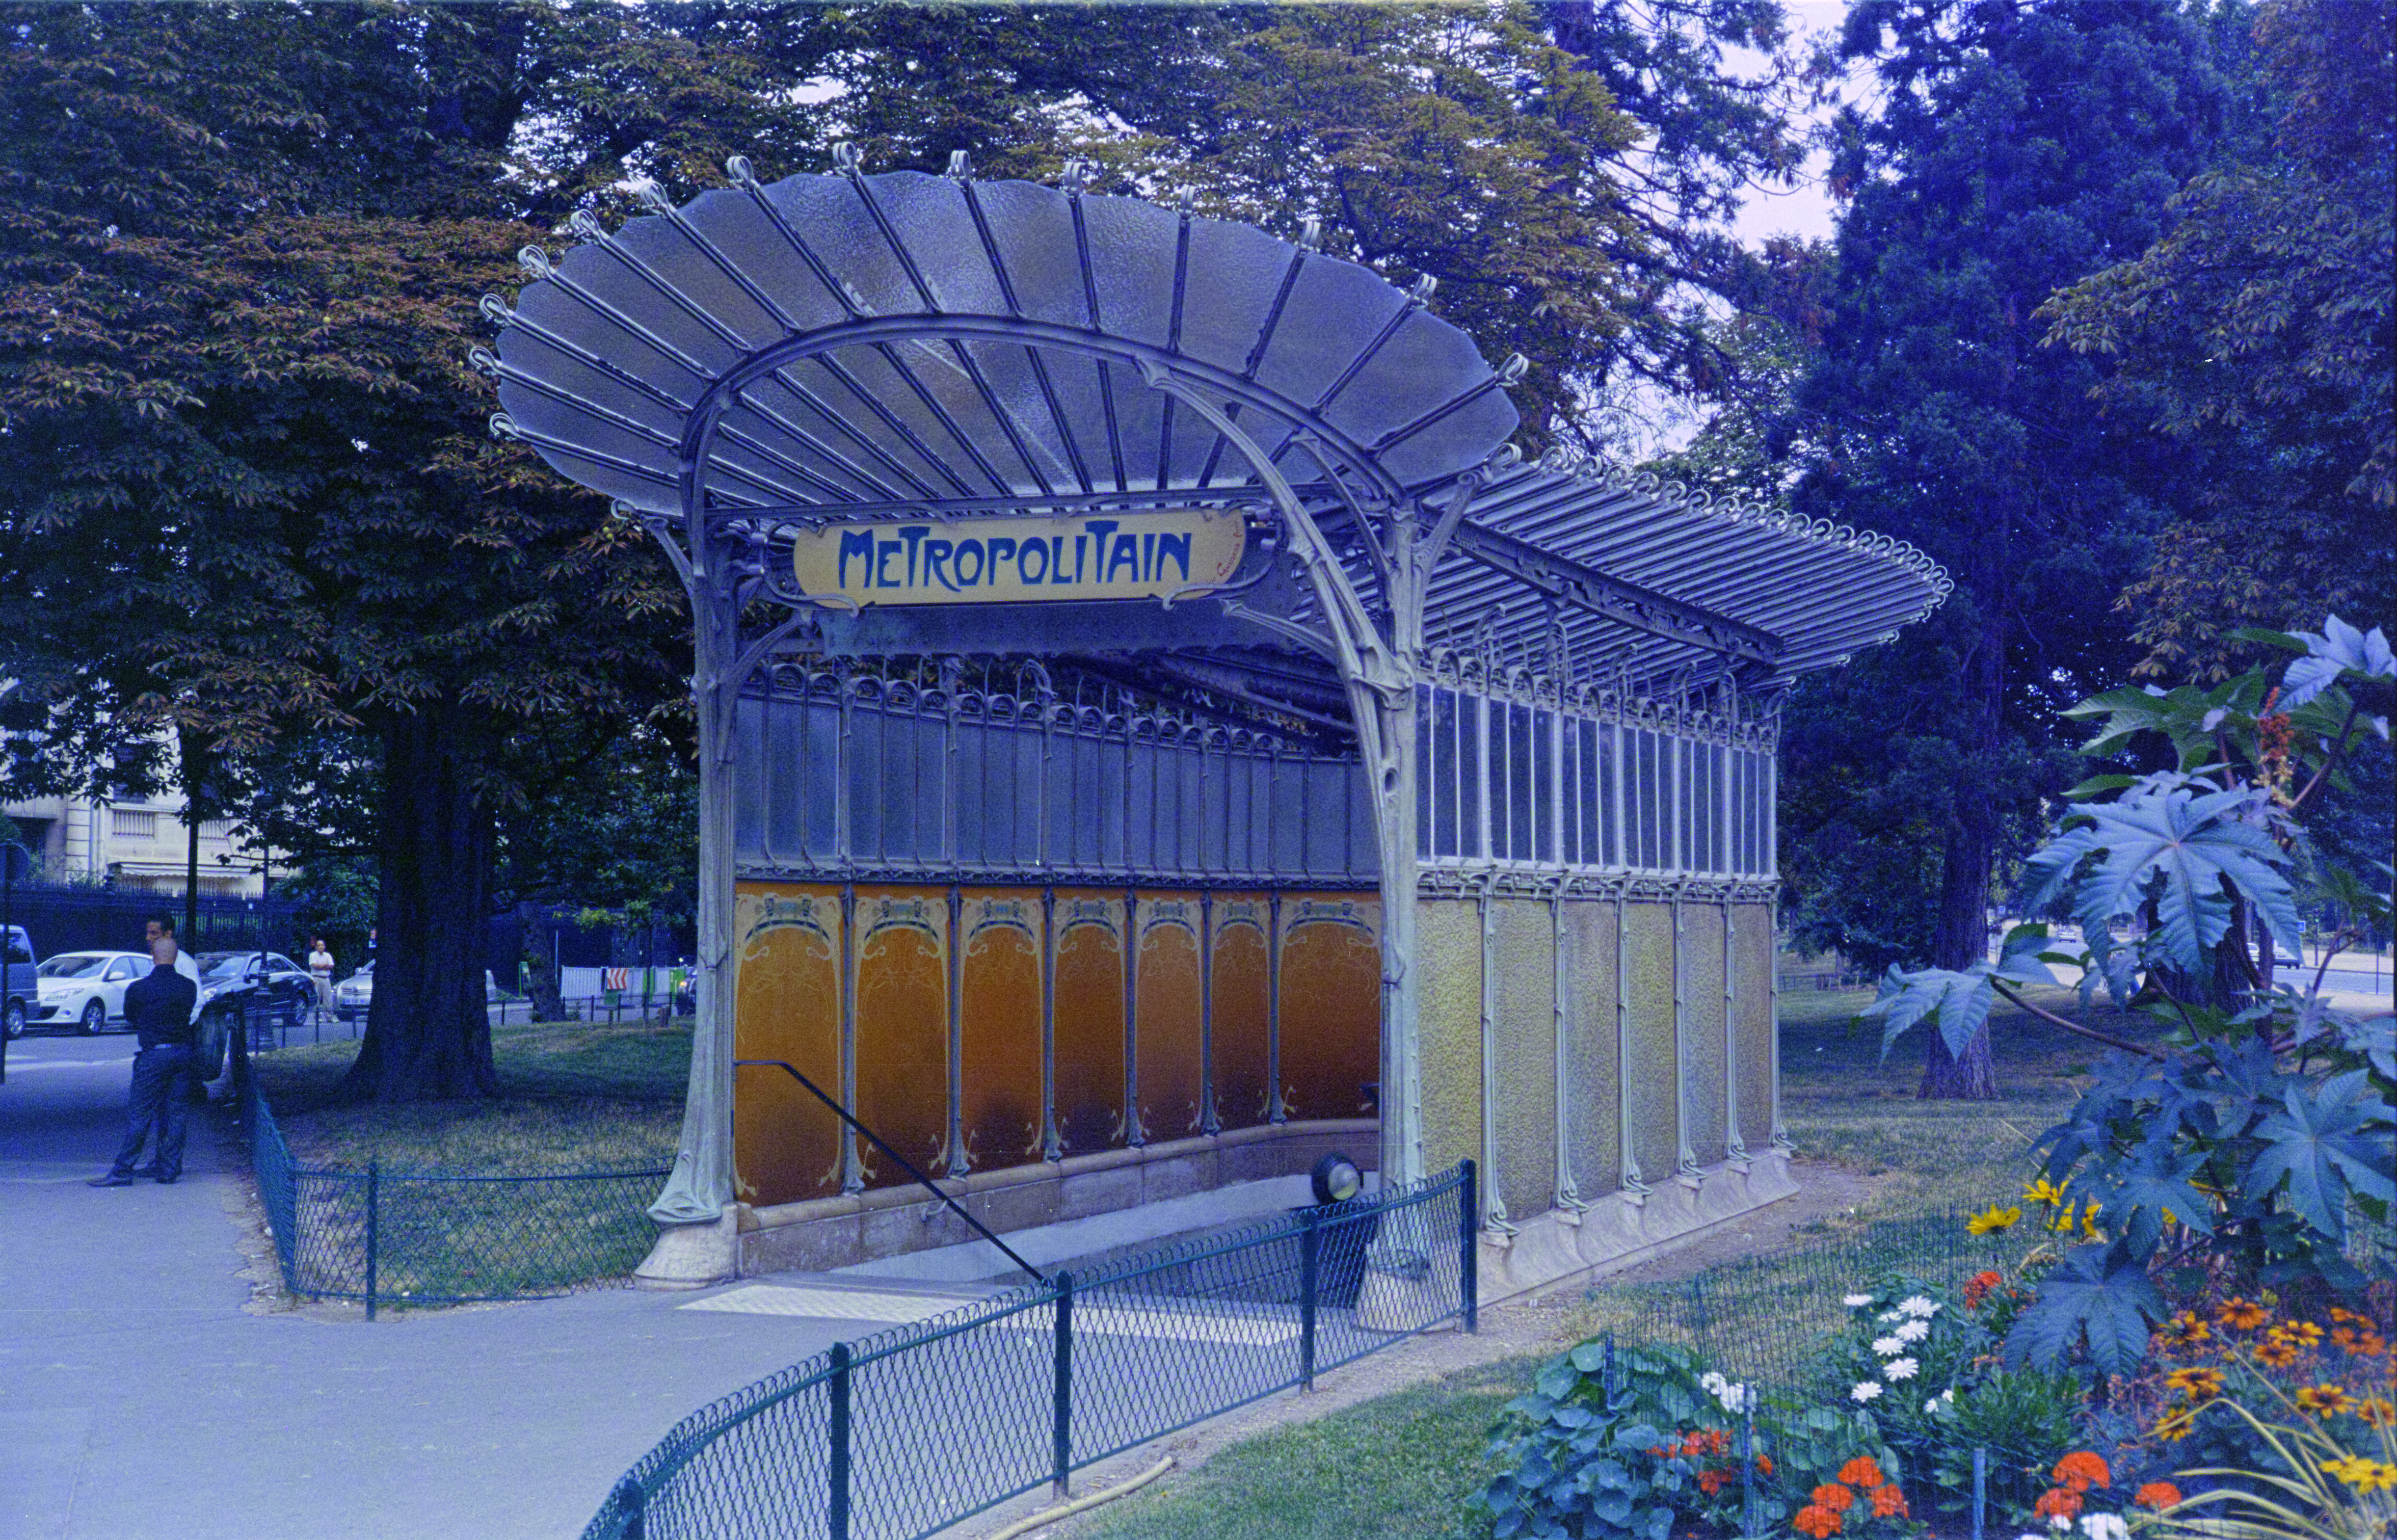
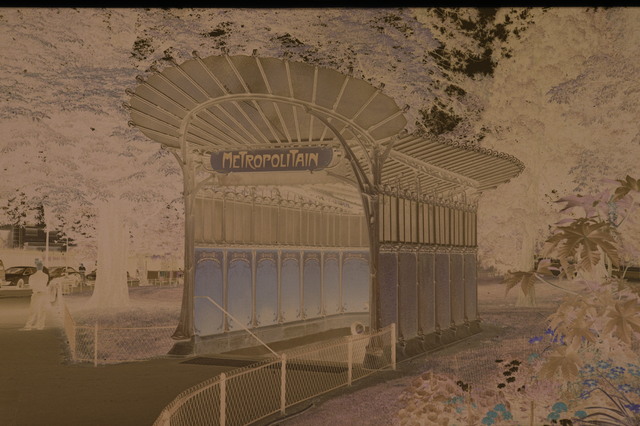
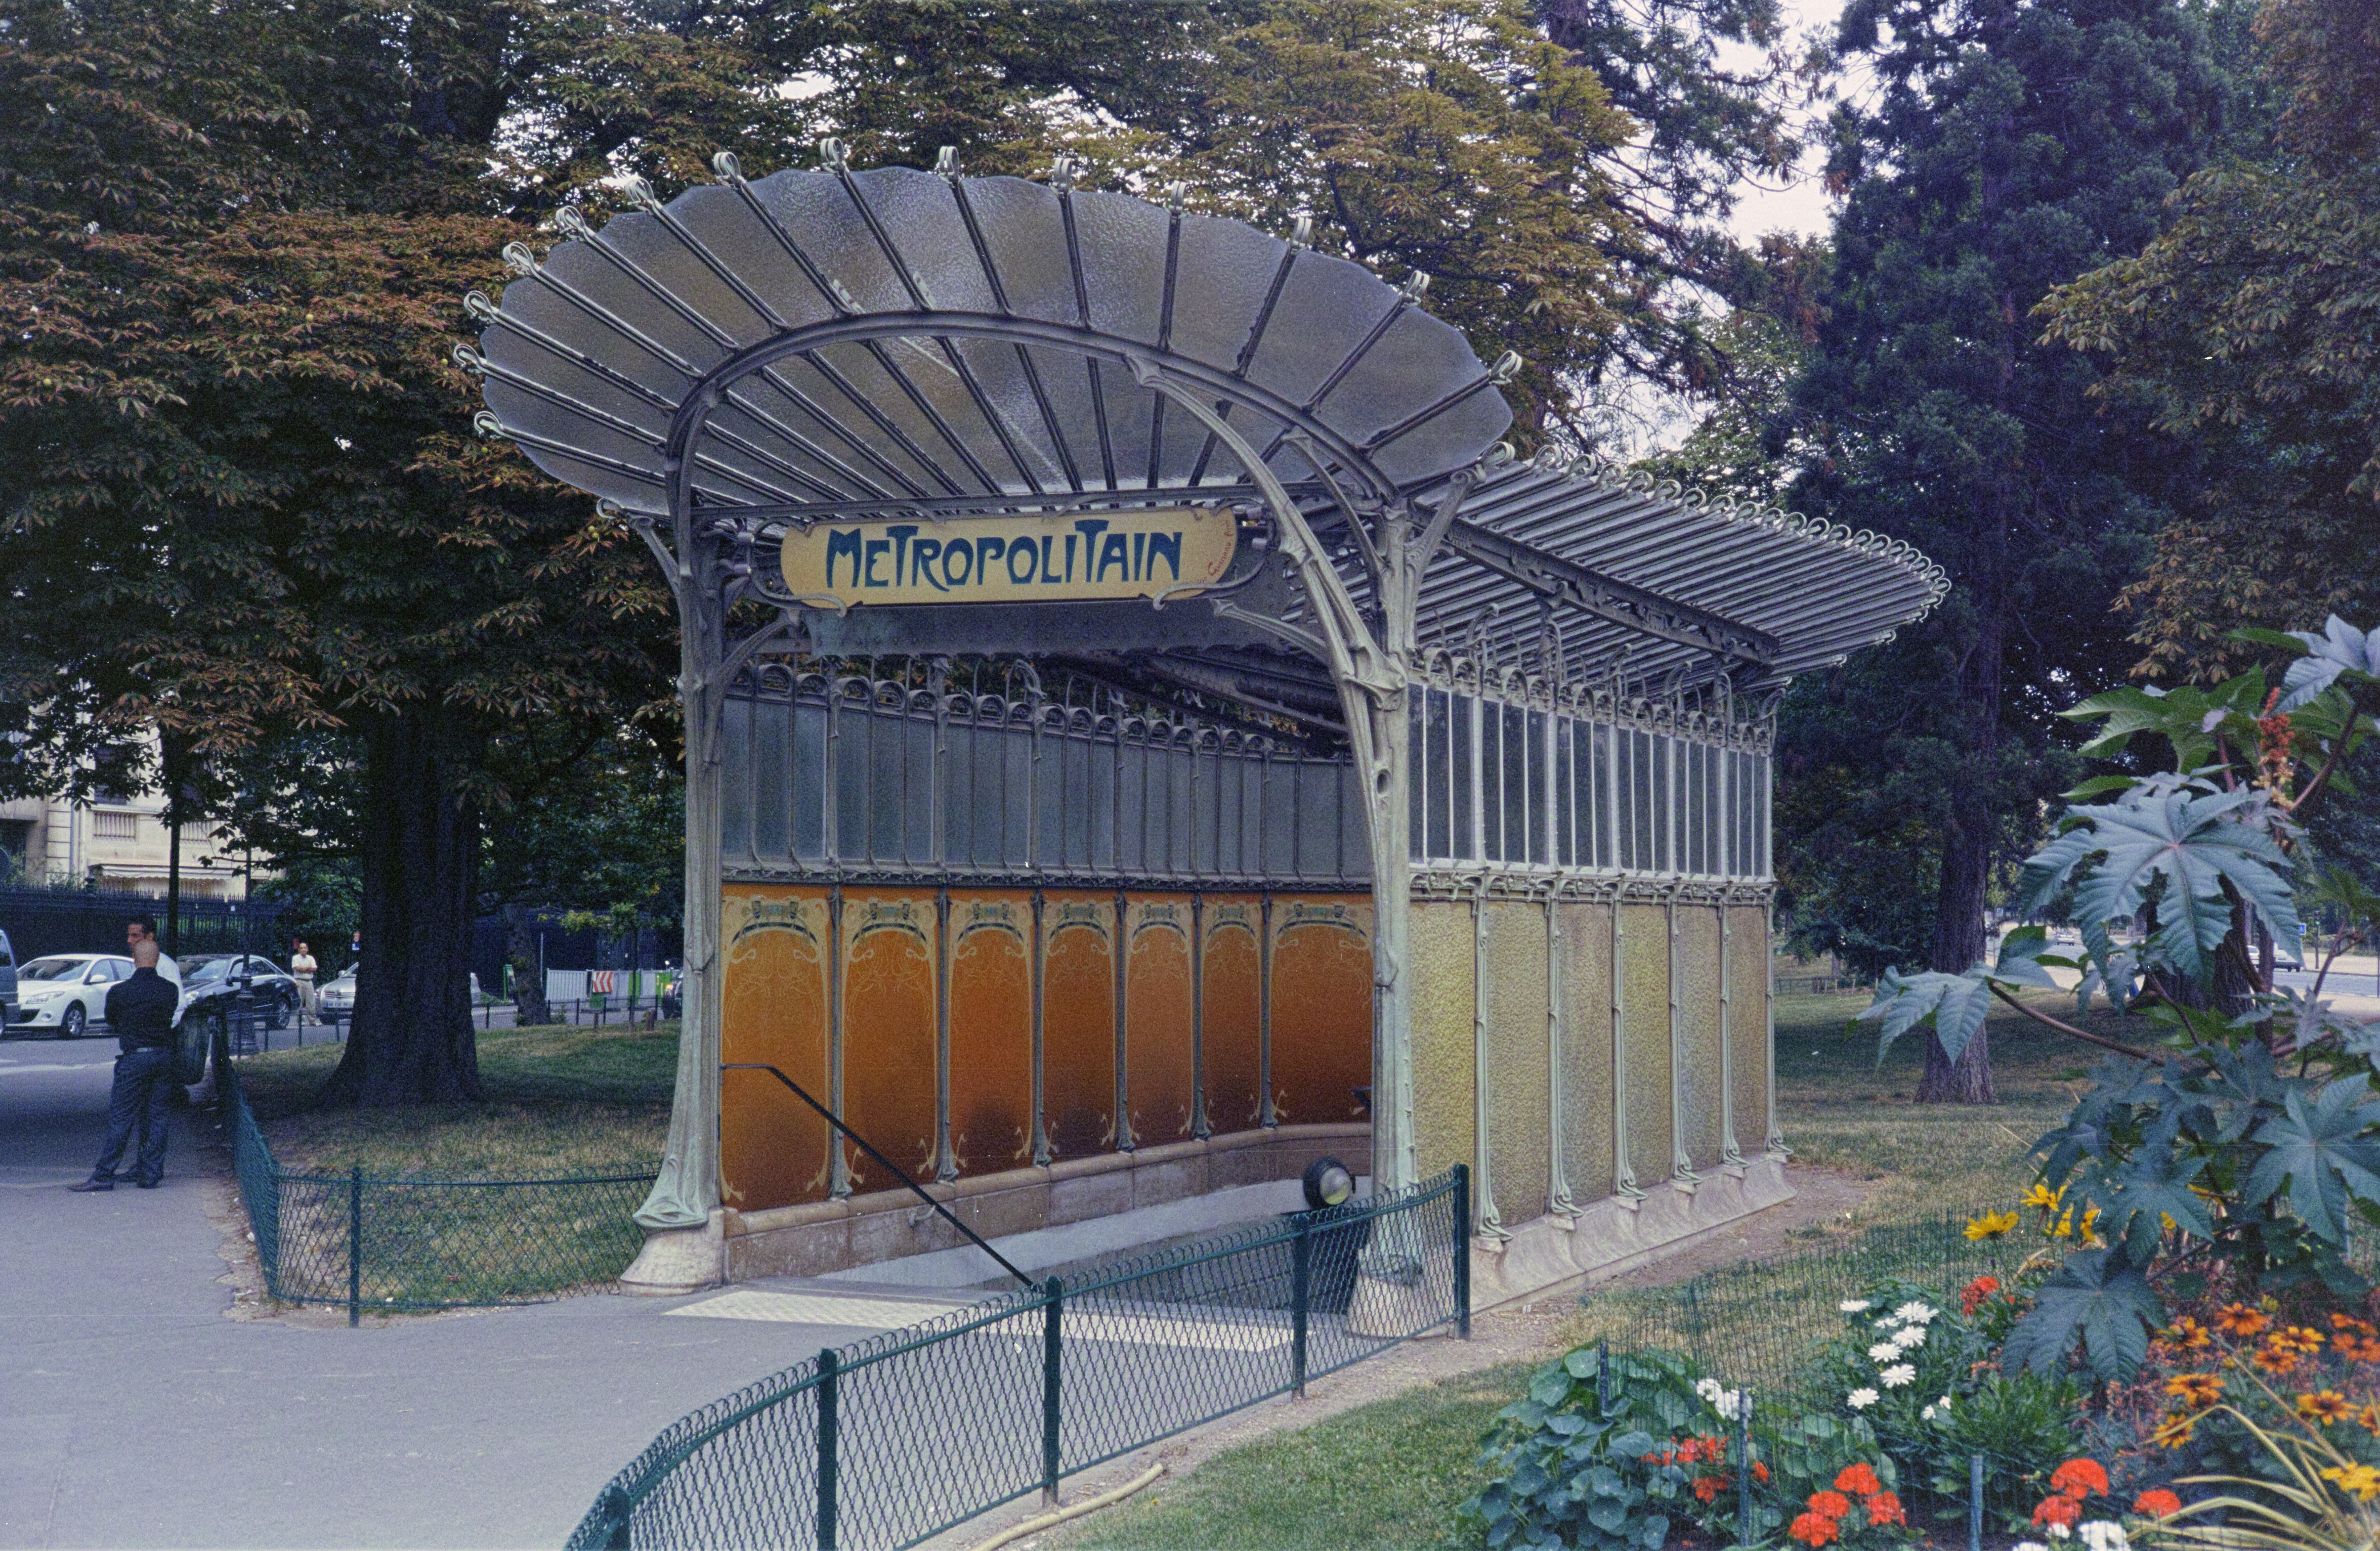
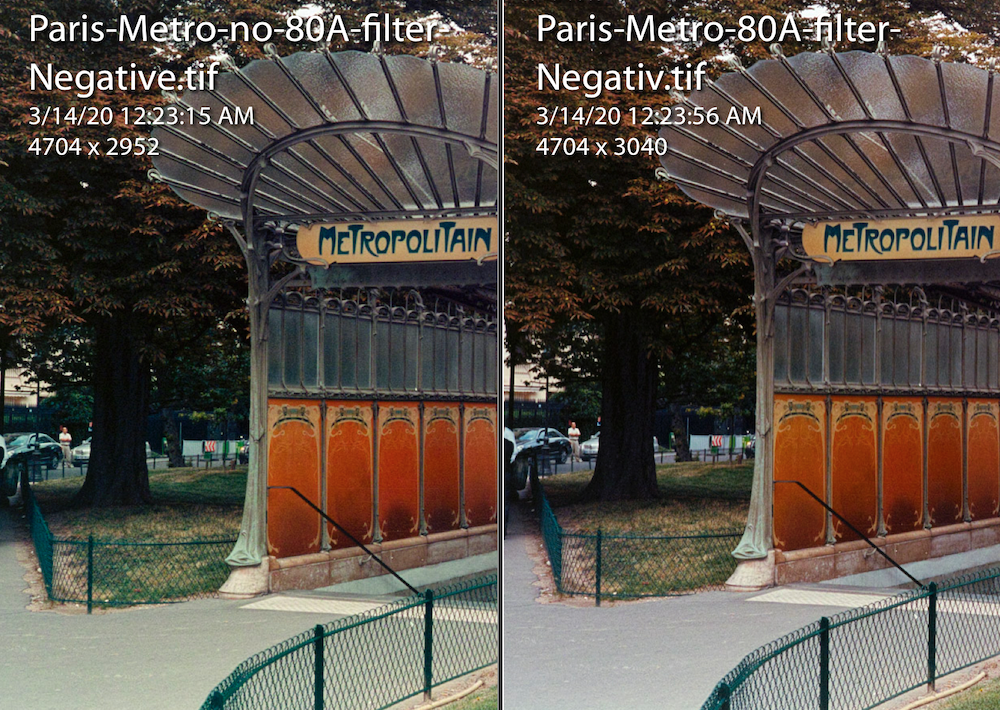
I am usually using ColorPerfect to convert the negatives. With the Sigma SD-1 as my scanning camera, I had trouble when not using the 80A filter, somehow the sensor reacts different, and the red channel was just way too strong, and too little in the blue and green channel. With the 80A filter it works quite well, I will try to find some examples.
Since I am on Linux, using Negative Lap Pro is not really an option for me. I do use virtualbox to run Windows with PhotoLine, to convert the negatives. But I don't really want to buy Lightroom and NLP also to do the conversion... As a matter of fact, I have been trying to do everything in Linux, with some success. Darktable has an "Invert" module, and with some tweaking of the RGB channels I can get results similar to ColorPerfect.
I also use GIMP at times, and do a manual conversion, just inverting the RGB curves.
To me it always seems that there is not one way to do it right, sometimes one method works great for one negative, but not another. So it has always been quite a bit of tweaking going the manual route. ColorPerfect however did give me pretty consistent results, I would say 90% of the time I was happy with the conversion.
Using the 80A filter made things a lot easier, because with it the channels are pretty nicely balanced, it still requires tweaking, but the tweaking became easier...
RObert Budding
D'oh!
Jeez that photrio thread is a soul crusher.
Love comments like this:
“You are selling your 35mm frames very short if you think a single shot DSLR grab will do them full justice.”
And the guy who says the colour of NLP is awful. And the other guy who says his proprietary software is the best, points to his media page, where I see two non descript colour images.
I’m not saying that there aren’t alternatives to NLP but I love it, it gives great results, is updated occasionally, and is super easy to use. it’s made me money.
Use whatever makes you happy.
I gave up on photrio a long time ago. It's a cult!
DrTebi
Slide Lover
As promised, here some examples of what the 80A filter does for me.
Below are small images of each example, including the negatives. Each image is linked to a large JPG, except the negatives, which are linked to the original TIF file. I would appreciate it if someone could use this TIF and do his/her favorite negative conversion with this TIF image, and post it. Would be interesting to see what others can do with this.
I am not posting the RAW file, since it is a Sigma SD-1 file... which I don't think it supported by Lightroom (or is it?). If I am wrong, I am happy to post the X3F file as well.
So here is the first negative, shot without the 80A filter:

Here my conversion with ColorPerfect. No further editing, just the default CP settings:

Here my conversion with GIMP. I "normalized" each channel, and then tweaked the main curve ("Value") a bit:

Here is the next negative, shot with the 80A filter:

Here the conversion of this negative in CP, again just the default settings:

Here my conversion with GIMP, again normalized and the main curve tweaked a bit:

Finally, for comparisons sake, a scan with my Minolta Dimage Pro; conversion was done with CP:

A bit about the shot itself, it was taken with a Yashica Electro GSN on Kodak Ektar 100 film (35mm). The shot is of one of the metro entrances in Paris, which is a great example of Art Nouveau Architecture
My thoughts on the results:
The Minolta is a bit more detailed than the Sigma scans, which is to be expected due to the higher resolution. If I really wanted to, I could stitch two or four images with the Sigma, and would get more detail... I am pretty confident, and may just post this later.
In terms of conversions, I think the ColorPerfect one of the negative with the 80A filter is the best. I like it even better than the Minolta scan. I obviously had trouble getting the colors right in GIMP when converting the negative shot without the 80A filter.
What do you think?
Please feel free to download the TIF negative and show me your conversion, with whichever method you like best!
kaffefant
Member
As promised, here some examples of what the 80A filter does for me.
Below are small images of each example, including the negatives. Each image is linked to a large JPG, except the negatives, which are linked to the original TIF file. I would appreciate it if someone could use this TIF and do his/her favorite negative conversion with this TIF image, and post it. Would be interesting to see what others can do with this.
[....]
In terms of conversions, I think the ColorPerfect one of the negative with the 80A filter is the best. I like it even better than the Minolta scan. I obviously had trouble getting the colors right in GIMP when converting the negative shot without the 80A filter.
What do you think?
Please feel free to download the TIF negative and show me your conversion, with whichever method you like best!
Ok, here's my attempt at your negs, and the rest of the test images in the thread. I've tried before, but have now made some significant improvements in my processing.
I use the negfix8 script to do the inversion, which in turn uses ImageMagick, but I have made som changes to the script for better results. I remove a larger part of the border to avoid analyzing the edges of the negative, and I sample a larger area to get black and white points for each channel (RGB).
After the inversion i use Fred's ImageMagick scripts autogamma and autowhite before saving the final result as a .jpg file. The result is a positive image from a fully automated process. I have combined it all in a bash-script so I can process an entire folder (film) of camera scans, from raw file to positive fully automated.
The test box:
https://www.dropbox.com/s/kihl5f9wu2auffo/171004-TestBox-Fuji200-SonyNoFilter-DSC9558.jpg?dl=0
Street scene:
https://www.dropbox.com/s/vuli6xfqksqj5tk/100918-Fr19-3000k-NoFilter-DSC0004.jpg?dl=0
Tokyo scene:
https://www.dropbox.com/s/p8dtaa3bww0an4n/autowhitwTokyo.jpg?dl=0
Paris Metro with filter:
https://www.dropbox.com/s/ixhqxxbtrr5ornb/Paris-Metro-80A-filter-Negative.jpg?dl=0
Paris Metro no filter:
https://www.dropbox.com/s/5d2tt0bjhcosnj4/Paris-Metro-no-80A-filter-Negative.jpg?dl=0
Since this is done in ImageMagick and bash (and dcraw) it will work on Linux and macOS in the terminal. I don't know about Windows.
Regards,
Huss
Veteran
This is an NLP conversion of the first image. You didn't say what film it was, or more importantly gave a strip of unexposed film where one could get a WB reading from.
So here it is such that it is. Took a few moments to process in NLP
Paris by desmolicious, on Flickr
So here it is such that it is. Took a few moments to process in NLP

DrTebi
Slide Lover
Thank you for posting your results, that's all quite interesting!
Quick question, is the negfix8 custom script available anywhere? I would like to look at it, and try it out.
Of those two images, I would say the one where the 80A filter was used has slightly better colors. It does need further tweaking, but for a fully automated conversion, that's a pretty good result. I don't think I tried of that script before, I will need to check it out.
The NLP version looks quite good, although quite over-saturated, and a bit too dark in the shadows. But if this was simply the "default", it's also quite good.
I just checked the negatives, and there is actually no unexposed area in the shot... it's tightly cropped, by the film holder and camera itself. I should take another shot of an unexposed area.
The film used was a Kodak Ektar 100. 35mm.
Huss
Veteran
The NLP version looks quite good, although quite over-saturated, and a bit too dark in the shadows. But if this was simply the "default", it's also quite good.
I just checked the negatives, and there is actually no unexposed area in the shot... it's tightly cropped, by the film holder and camera itself. I should take another shot of an unexposed area.
The film used was a Kodak Ektar 100. 35mm.
It is the default setting but it really is important to get a bit of the unexposed film in the scan, as that is needed to set the base point for the colour process.
Kodak Ektar has a much deeper orange base than most other C41 films, which isn't a problem for NLP as long as it is able to get a base reading.
Your image didn't allow that.
I found the colours in your conversion to be very murky, more so now that you have revealed the film was Ektar. That film is known for punchy saturated colours.
DrTebi
Slide Lover
You may be right... let's not forget that this was DSLR-scanned with the Sigma SD-1, which is not always an easy camera when it comes to dealing with color (at least that's true for DSLR scans).It is the default setting but it really is important to get a bit of the unexposed film in the scan, as that is needed to set the base point for the colour process.
Kodak Ektar has a much deeper orange base than most other C41 films, which isn't a problem for NLP as long as it is able to get a base reading.
Your image didn't allow that.
I found the colours in your conversion to be very murky, more so now that you have revealed the film was Ektar. That film is known for punchy saturated colours.
When I get a chance, I will post a picture with some unexposed area, as well as one shot with my Pentax K-1. You may wonder why I don't use the K-1 in the first place... well, I most often liked the Sigma SD-1 scans better, more depth and crispness. Might just be a matter of taste though
DrTebi
Slide Lover
Scottboarding
Established
Ektar does have punchy colors when exposed and scanned well. The issue with flickr is the massive amount of bad film scans on there. Go to a group of any film and you'll find murky colors, faded shadows, and lots of hair and dust. Not saying your scan is bad, I do like the low contrast look.Oh, and I forgot to add... it was a murky day... overcast.
Also, do you really think Kodak Ektar 100 has very popping colors? Looking at some pictures from others on Flickr, I don't find many color-pops...
Huss
Veteran
Oh, and I forgot to add... it was a murky day... overcast.
Also, do you really think Kodak Ektar 100 has very popping colors? Looking at some pictures from others on Flickr, I don't find many color-pops...
https://imaging.kodakalaris.com/sites/prod/files/files/products/e4046_ektar_100.pdf
"KODAK PROFESSIONAL EKTAR 100 Film is the world's finest grain color negative film. With ISO 100 speed, high saturation and ultra-vivid color, this film offers the finest, smoothest grain of any color negative film available today."
mcfingon
Western Australia
I used it when it first came out and loved the colours and sharpness. But even when the local labs had considerable experience printing all the different colour films of the time, it was hard for them to get it right. I think it’s a lot less forgiving than most colour neg film.
John Mc
John Mc
kaffefant
Member
Thank you for posting your results, that's all quite interesting!
Quick question, is the negfix8 custom script available anywhere? I would like to look at it, and try it out.
Of those two images, I would say the one where the 80A filter was used has slightly better colors. It does need further tweaking, but for a fully automated conversion, that's a pretty good result. I don't think I tried of that script before, I will need to check it out.
The NLP version looks quite good, although quite over-saturated, and a bit too dark in the shadows. But if this was simply the "default", it's also quite good.
I just checked the negatives, and there is actually no unexposed area in the shot... it's tightly cropped, by the film holder and camera itself. I should take another shot of an unexposed area.
The film used was a Kodak Ektar 100. 35mm.
My version of the script is currently not available anywhere, DM me if you want to try it. I'm considering if/how to publish it.
In general I find the automated approach does not need an unexposed part of the film. Normally most, if not all shots have small areas of pure white and black in the frame, and that is enough.
Regards,
ColSebastianMoran
( IRL Richard Karash )
Thanks all for the additions in the past 24 hours.
Right. For color-negatives, the challenge is to avoid over-exposing the red channel, while avoiding under-exposure and noise in the blue.
This can be hard to assess; the key is in the raw data, and the in-camera histogram may be misleading (it's off the camera jpg, and it reflects whatever WB the camera used to create the jpg). I check things periodically in rawDigger.
One simple point: Don't try cam-scan of color negatives with a 3000°K light source.
Attention to exposure usually works for me. Interesting to see the filter experiments. I have also experimented with three-color light source (r, g, and b, not white, not continuous spectrum) where I can dial-down the red to balance the histograms. Potentially interesting, and others are pursuing this route.
... With the Sigma SD-1 as my scanning camera, I had trouble when not using the 80A filter, somehow the sensor reacts different, and the red channel was just way too strong, and too little in the blue and green channel. With the 80A filter it works quite well, I will try to find some examples.
Right. For color-negatives, the challenge is to avoid over-exposing the red channel, while avoiding under-exposure and noise in the blue.
This can be hard to assess; the key is in the raw data, and the in-camera histogram may be misleading (it's off the camera jpg, and it reflects whatever WB the camera used to create the jpg). I check things periodically in rawDigger.
One simple point: Don't try cam-scan of color negatives with a 3000°K light source.
Attention to exposure usually works for me. Interesting to see the filter experiments. I have also experimented with three-color light source (r, g, and b, not white, not continuous spectrum) where I can dial-down the red to balance the histograms. Potentially interesting, and others are pursuing this route.
ColSebastianMoran
( IRL Richard Karash )
... The result is a positive image from a fully automated process. I have combined it all in a bash-script so I can process an entire folder (film) of camera scans, from raw file to positive fully automated.
The test box:
Street scene:
Tokyo scene:
Paris Metro with filter:
Paris Metro no filter:
Thanks for posting your results. Automatic, vs. lots of handwork, was the key thought behind this whole thread starting back in 2017 (feels like pre-history now).
Starting with the test box, I like the really neutral color balance, free of casts, that you are getting.
All these feel a bit flat to me, and I wonder if there's one overall adjustment that would make all of these pop. Pretty vivid, punchy color was identified by Kodak color science long ago as marketable, and is usually what I'm seeking.
The Tokyo scene. I regret posting THAT camera scan of the negative, there's a stray light reflection. Glad you processed it, I didn't give you a good file to work with.
ColSebastianMoran
( IRL Richard Karash )
As promised, here some examples of what the 80A filter does for me....
So here is the first negative, shot without the 80A filter:
Here is the next negative, shot with the 80A filter:
I've downloaded and converted your TIF negatives with NLP.
The first thing I look at is whether a neutral WB is possible on the rebate or the cleaarest area of film. For your files, trying WB on the clearest area, the file with filter is fine; without filter the Temp slider is pushed to the extreme and the sampled area (tree trunk) is still not neutral. Usually this results in some trouble.
My conversion of the "with-filter" is excellent, looks same as Huss', and is better than without. The biggest difference I see is a cast in the pavement and shadows without the filter.

I wonder if different digital cameras are enough different in their RAW capture that the filter is a winner with your Sigma and doesn't seem needed with my Sony bodies?
Thanks again for posting the files.
Brian Atherton
Well-known
Can’t add anything technical to this discussion but I have stood in the exact same spot many times.
For the record it’s the Port Dauphine Métropolitain (Métro) station situated close to the Bois de Boulogne, Paris, and completed in 1900.
A wonderful example of the iconic Art Nouveaux entrances designed by French architect Hector Guimard (1867–1942).
Okay people, break over, back to work.
For the record it’s the Port Dauphine Métropolitain (Métro) station situated close to the Bois de Boulogne, Paris, and completed in 1900.
A wonderful example of the iconic Art Nouveaux entrances designed by French architect Hector Guimard (1867–1942).
Okay people, break over, back to work.
brbo
Well-known
I am not posting the RAW file, since it is a Sigma SD-1 file...
Interested in raw file. I've never seen Sigma raw file, but dcraw apparently has support for Sigma...
DrTebi
Slide Lover
Great to see so many responses, this is a true community effort for converting negatives to positives, I have learned so much already!
I have now played around with the negfix8 script and got some really nice results. They were not "done", needed some tweaking, which was most easily accomplished in GIMP, after which the image looked very good. I will post that later.
@brbo: I will also post the Sigma raw file for you to play with.
Regarding using filters, to me it seemed a necessity when DSLR-scanning with the Sigma. With other cameras I tried, it didn't seem to make a huge difference. I believe the red channel of Sigma files is a bit "confused", for lack of a better word, when scanning negatives.
Personally, I don't think there exists just one single method that can successfully convert every image to a perfect result. A bit of further tweaking is always necessary. If that wasn't the case, then where would be the fun to post-processing anyway?
Also thank you for the detailed information about the Paris Metro entrance. Truly a work of art from the past! I wish we could see more of that today, instead of those shoebox buildings as my grandfather would have called it
meloV8
Established
DrTebi, this is my conversion in full auto, Photoshop and CNMY actions
https://www.dropbox.com/s/bmtiz4roqykhho8/Paris-Metro-80A-filter-Negativ.jpg?dl=0
Share:
-
This site uses cookies to help personalise content, tailor your experience and to keep you logged in if you register.
By continuing to use this site, you are consenting to our use of cookies.