Color Skopar & Summitar good friends

spiderfrank

just a dreamer
Local time
6:52 PM
Joined
Apr 8, 2007
Messages
567
Location
Savona (Italy)
Hi guys, last saturday I was in Torino to meet some friends, and made some shots with my Bessa R.
Here you have two of them: one made with the new CV 35mm f2.5, the other with the old Summitar 5cm f2... I think they can be good friends, and enjoy them very much.
I hope you like my shots: Torino is known for Fiat, but it's also a beautiful old city, with a lot of history in its rocks
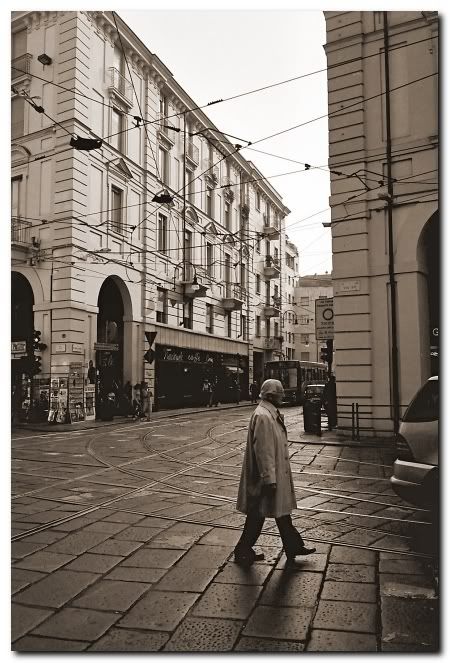
Torino07_0009web.jpg

Summitar


Torino07_0003seppia_web.jpg

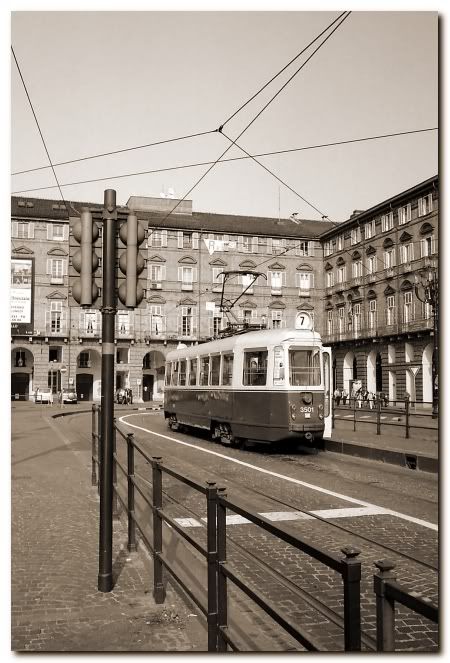
Color Skopar "classic"
 
A very interesting comparison. Both lenses produce v. pleasing images, IMO. The skopar often gets rapped for being "too contrasty" but I don't find the contrast in second shot to be problematic at all. In fact, both photos show a pleasing range of tones.
 
Ciao Spiderfrank,
Two great pictures with lovely tones. Your first picture exemplified perfectly that the Summitar is very sharp when stopped down. BTW I've got the same winner combo: Summitar and Color Skopar Classic; I love simply those lenses. Post more pictures!
Best,
Marc-A.
 
back alley said:
i'm curious if the shots were taken hand held or with a tripod mounted camera?

joe
Me too ! The first shot shows a tonality and details I would have expected from MF. Very well done ! The Summitar is a nice little lens 🙂
 
vrgard said:
Nice shots, spiderfrank. Can I ask, how did you create that matting/raised background effect?

Thanks,
Randy


Matting/raised ? What does it mean? Sorry, I don't understand...

This is what I did, hope this can answer the questions :

film is Kodak bw400cn, developed at a minilab. I scanned the negs with a flatbed scanner, at 150dpi for a dimension of 20x30 cm, made a bit of regulation with Picasa (overall light and shadows - not sharpness), removed the dust with the "clone" of Photoshop, then I opened the files with Faststone, regulated sharpness (cursor near 3), then resized it, added the borders, and made the sepia effect.

I made the sepia effect by increasing saturation (the scan didn't produce a real greyscale image, there is still a bit of colour) and regulating the "colour tone"
( put the cursors near 15 for saturation and near 30 for tone)

Ciao
Franco
 
Back
Top Bottom