Nokton48
Veteran
 Dawes Cypress Wet by Nokton48, on Flickr
 Dawes Floral by Nokton48, on Flickr
Sinar Norma 4x5, 8x10 RC Aristo #2, Multigrade dev
Dawes Cypress Wet by Nokton48, on FlickrDawes Floral by Nokton48, on Flickr Printing with new E3 by Nokton48, on Flickr
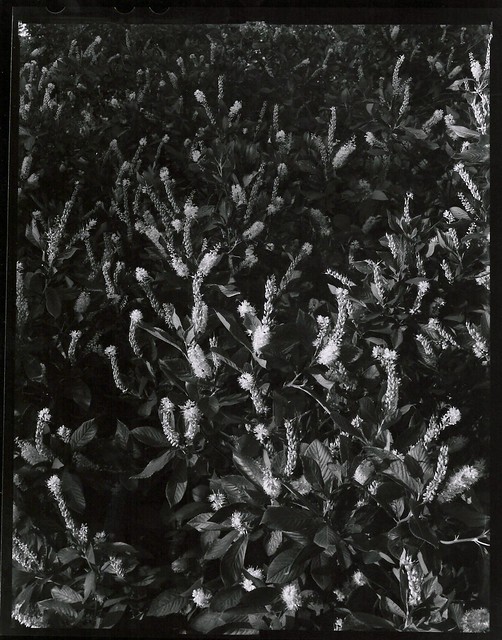 5x7 E3 LED test 1 Norma TMX100 PMK+ by Nokton48, on Flickr
 5x7 E3 LED test 2 Norma TMX100 D76 by Nokton48, on Flickr
 Rock Bridge E3 180mm Arista #2 58 Grandagon Norma by Nokton48, on Flickr
 Rock Bridge #2 E3 Arista #2 RC 58mm Grandagon Norma by Nokton48, on Flickr
 Darkroom Sink Finally Plumbed 2 by Nokton48, on Flickr
 8x10 Norma 480 Apo Ronar by Nokton48, on Flickr
 Reprint DII Rock Bridge 1 by Nokton48, on Flickr
 Reprint DII Rock Bridge 2 by Nokton48, on Flickr
 Reprint DII Rock Bridge 3 by Nokton48, on Flickr
 Reprint DII Rock Bridge 4 by Nokton48, on Flickr
 Reprint DII Rock Bridge 5 by Nokton48, on Flickr
 Eagle Drain Tubs by Nokton48, on Flickr
 Poor Mans JOBO Film Processor by Nokton48, on Flickr
Hey Dan-
I remember reading someplace that Federal had a problem with a center "hot spot" with their model 450 4 x 5 diffusion enlarger. They solved it by sandblasting the center and "feathering" it out towards the edges of the diffusion ground glass.
 Completed E3 5x7 Glass Carrier by Nokton48, on Flickr
 How not to ship AN Glass overseas by Nokton48, on Flickr


