fiddle
Established
I believe focalpoint does custom cut ANR glass. Also scan-tech will cut to your measurement. Might be easier than finding the specific Durst glass.
I believe focalpoint does custom cut ANR glass. Also scan-tech will cut to your measurement. Might be easier than finding the specific Durst glass.
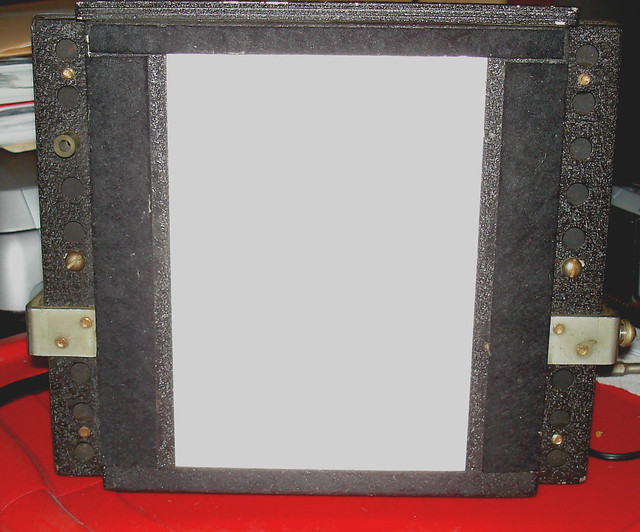
 Reworked Automega E3 5x7 LED Head 1 by Nokton48, on Flickr
 Reworked Automega E3 5x7 LED Head 2 by Nokton48, on Flickr
 E3 Fully Renovated 2 by Nokton48, on Flickr
 E3 Fully Renovated by Nokton48, on Flickr
 Washing and Drying Side Sink Preinstallation by Nokton48, on Flickr
 JOBO Cascade Washer End by Nokton48, on Flickr
 Petersons Photographic Roll Film Washer 1 by Nokton48, on Flickr
 Petersons Photographic Roll Film Washer 2 by Nokton48, on Flickr
 Automega E4 Omegalite Head 5x7 by Nokton48, on Flickr
 Automega E4 Omegalite Head 5x7 2 by Nokton48, on Flickr
 Automega E3 Condenser Head 4x5 by Nokton48, on Flickr
 Automega E3 LED Head 5x7 by Nokton48, on Flickr
 E3 LED Head 5 by Nokton48, on Flickr
 E3 LED Head 4 by Nokton48, on Flickr
 E3 LED Head 3 by Nokton48, on Flickr
 E3 LED Head 2 by Nokton48, on Flickr
 E3 LED Head 1 by Nokton48, on Flickr
 Old Mans Cave Upper Falls 1 by Nokton48, on Flickr
 Latest Darkroom Renovation 3 by Nokton48, on Flickr
 Latest Darkroom Renovation 4 by Nokton48, on Flickr
 Yellow Springs Falls by Nokton48, on Flickr
 OCCS 1998 Exhibit 1 by Nokton48, on Flickr
 OCCS 1998 Exhibit 2 by Nokton48, on Flickr
 OCCS 1998 Exhibit 3 by Nokton48, on Flickr
 Cleveland Falls 1 by Nokton48, on Flickr
 Cleveland Falls 2 by Nokton48, on Flickr
 Cleveland Falls 3 by Nokton48, on Flickr
 E3 150 F9 G-Claron 5x7 Lens Board Custom 1 by Nokton48, on Flickr
 E3 150 F9 G-Claron 5x7 Lens Board Custom 2 by Nokton48, on Flickr
 E3 240mm F5.6 Componon 5x7 Custom 3 by Nokton48, on
  First 5x7 Norma Test 75f8 SA CF E3 150F9 Aristo2 Perfection 3.5min by Nokton48, on Flickr