sanmich
Veteran
Hi all
I am in the process of repainting my M2.
After de-chroming, there are small craters that appear in the brass.
Would someone know what should I do so they don't appear on the finale finish?
Thanks!
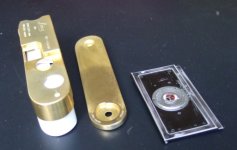
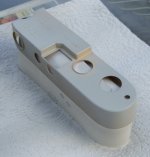
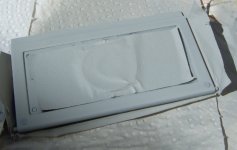
I am in the process of repainting my M2.
After de-chroming, there are small craters that appear in the brass.
Would someone know what should I do so they don't appear on the finale finish?
Thanks!