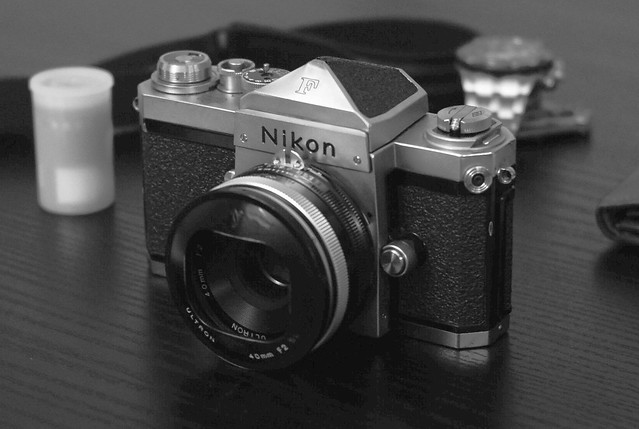
swoop
Well-known
So I purchased this sheet of griptac at the same time I ordered my M9 about 3 years ago and finally got around to applying it. It seemed about time as the actual leather was starting to become a bit worn and was actually peeling a bit in one corner.
I have previously recovered my M7 and my M8 with griptac and loved the feel of it. The griptac is a bit thinner than the leather so it gives the camera a more solid feel. In addition it's rubbery and course, so even just holding it makes the camera more secure in your hand. It also makes you feel like you don't need a death grip on the camera which can slightly improve your camera shake resistance.
So on to the guide. It didn't occur to me to document the process until I was well into it. But I figured maybe someone out there would appreciate it.
First, these are the tools you will need.

A disposable wooden chopstick shaved to a wedge. Available at any sushi place. You just have to widdle it down yourself. It's used to help pry up the old leather and to push down the edges of the griptac into the nooks of the camera.

A flat painters brush. I had a hard time finding just the one, so I bought one that came as an assortment for $5. The flat one is the most useful. It's used to apply the adhesive remover in a thin even coat.

Adhesive remover. It needs to be a certain type. I forget the primary ingredient but this is the brand I purchased at home depot for about $8. It needs to be the gel/paste kind so that you can control its application. The liquid is a big no. You'll destroy your camera. The sad part is you literally only need about a cap full. My M7 had really bad residue and I imagine some older film M's will as well. My M8 and M9 had barely any residue left over after peeling off the leather.

So first things first. You need to peel off the leather. It's not hard. The digital M's are really easy. They won't give you any trouble just prying up the corner and pulling. If you find yourself in trouble use the chopstick to scrape up a corner.

So once you have the cover off you're going to have some spots of sticky residue. This is where you'll use your brush and the adhesive remover to slowly apply the remover. Let it sit for a bit and then gently wipe it away.

The griptac I purchased for my M7 and M8 came in two pieces. The new ones come in one piece. It's really difficult to apply in one piece. Save yourself the frustration and buy two if you want to do it as one piece, or cut it in the middle and do it as two pieces.

It's really easy to do as two pieces. You just line it up against the mount and slowly peel back the backing. The covering is cut to very precise specs and there's little room for forgiveness so be precise. if you don't press down, you can pick it up and try again if you mess up the alignment. But once you press down on it it's solid on there. In fact I'm pretty sure if it ever needed to be changed again I'd have a tough time getting it off as opposed to the original leica leather.


This is where the chopstick is really useful. Pushing the new covering down against the edges of the camera body. The frameline lever is the trickiest part of the whole operation and why I recommend doing it in two pieces. If you've ever played the game operation it's just like that. You have to wrap the griptac around the lever without touching it.

This is the result of doing it in two pieces. You'll have a little line beneath the camera mount. it's barely noticeable once you push it down a bit with the chopstick.

The griptac covering isn't as pretty as the original leather but it makes the camera feel so much better in your hands. The difference has to be felt to be believed.
I have previously recovered my M7 and my M8 with griptac and loved the feel of it. The griptac is a bit thinner than the leather so it gives the camera a more solid feel. In addition it's rubbery and course, so even just holding it makes the camera more secure in your hand. It also makes you feel like you don't need a death grip on the camera which can slightly improve your camera shake resistance.
So on to the guide. It didn't occur to me to document the process until I was well into it. But I figured maybe someone out there would appreciate it.
First, these are the tools you will need.
A disposable wooden chopstick shaved to a wedge. Available at any sushi place. You just have to widdle it down yourself. It's used to help pry up the old leather and to push down the edges of the griptac into the nooks of the camera.
A flat painters brush. I had a hard time finding just the one, so I bought one that came as an assortment for $5. The flat one is the most useful. It's used to apply the adhesive remover in a thin even coat.
Adhesive remover. It needs to be a certain type. I forget the primary ingredient but this is the brand I purchased at home depot for about $8. It needs to be the gel/paste kind so that you can control its application. The liquid is a big no. You'll destroy your camera. The sad part is you literally only need about a cap full. My M7 had really bad residue and I imagine some older film M's will as well. My M8 and M9 had barely any residue left over after peeling off the leather.
So first things first. You need to peel off the leather. It's not hard. The digital M's are really easy. They won't give you any trouble just prying up the corner and pulling. If you find yourself in trouble use the chopstick to scrape up a corner.
So once you have the cover off you're going to have some spots of sticky residue. This is where you'll use your brush and the adhesive remover to slowly apply the remover. Let it sit for a bit and then gently wipe it away.
The griptac I purchased for my M7 and M8 came in two pieces. The new ones come in one piece. It's really difficult to apply in one piece. Save yourself the frustration and buy two if you want to do it as one piece, or cut it in the middle and do it as two pieces.
It's really easy to do as two pieces. You just line it up against the mount and slowly peel back the backing. The covering is cut to very precise specs and there's little room for forgiveness so be precise. if you don't press down, you can pick it up and try again if you mess up the alignment. But once you press down on it it's solid on there. In fact I'm pretty sure if it ever needed to be changed again I'd have a tough time getting it off as opposed to the original leica leather.
This is where the chopstick is really useful. Pushing the new covering down against the edges of the camera body. The frameline lever is the trickiest part of the whole operation and why I recommend doing it in two pieces. If you've ever played the game operation it's just like that. You have to wrap the griptac around the lever without touching it.
This is the result of doing it in two pieces. You'll have a little line beneath the camera mount. it's barely noticeable once you push it down a bit with the chopstick.
The griptac covering isn't as pretty as the original leather but it makes the camera feel so much better in your hands. The difference has to be felt to be believed.