Ben I took a close look at your negs in photoshop, drag and drop, and they appear a bit flat, low contrast to me. If you're printing on a grade 2 paper and fully developing 2-3 minutes then you need to adjust your development for your paper and enlarging system. I would increase development by about 10% and see how they print. It depends on the lighting of your scene, your enlarger and just how you want them to look.
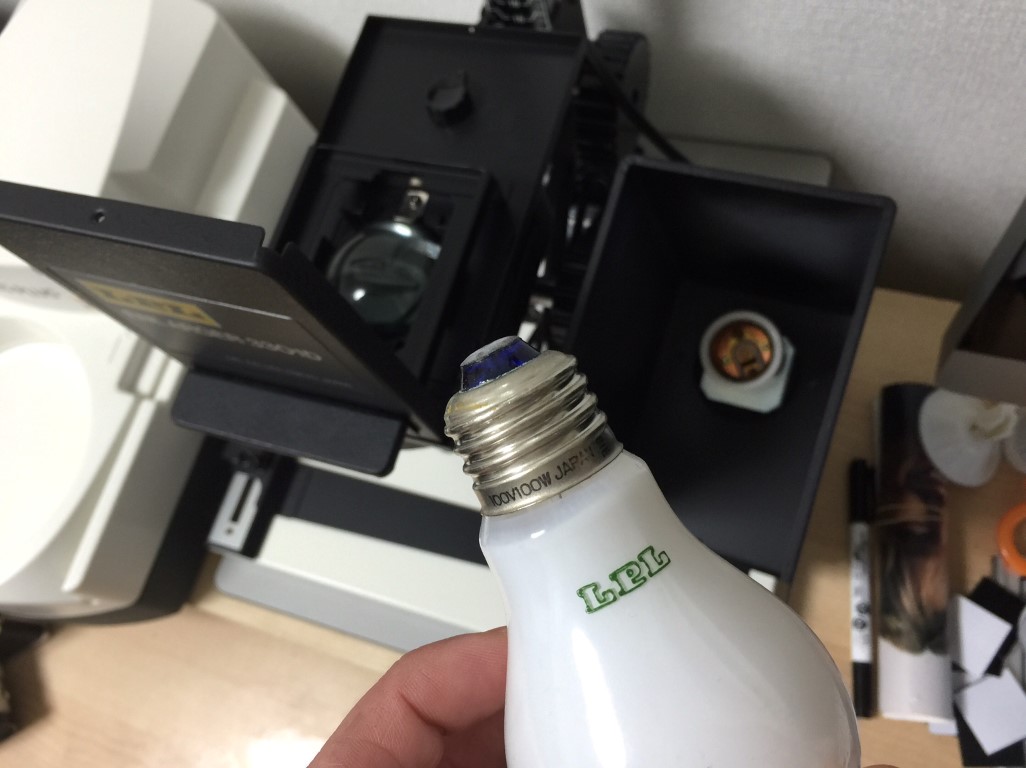
Condenser enlargers generally print about 1 grade higher or more contrasty than diffusion enlargers. I negative that prints on a grade 2 on a condenser will usually take a grade 3 on a diffusion enlarger. There are exceptions like my Ilford Multi Grade head prints more contrasty than the Durst 5x7 Laborator I had which is condenser.
As mentioned the times and ISO ratings are just a suggestion. Everyone that processes by hand will agitate different. I can give you my times and temps and Iso ratings and they probably won't work for you. You agitate different, your meter may be different in exposure than my meter and your camera shutter speeds may be more or less out of tolerance than my shutter. For example I rate my Fomapan 200 at 160 in my Leicas but in my 4x5 and 8x10 I rate it at 200. My development is different for 8x10 foam 200 because I contact print it and that's totally different than enlarging. My 5x7 foam is even different because I contact platinum prints and platinum needs an extremely contrasty negative for a normal print.
I'm not familiar with Fuji B&W paper but have used many papers over five decades. Every paper even if it's marked grade 2 will be different in printing speed and contrast. I use variable contrast papers almost exclusively. Every brand of MG paper and every different kind within a brand will print different. Matt surface will print flatter than luster and that will print less contrasty than gloss. A silver gelatin glossy paper air dried will be flatter than if you gloss it on a ferrotype sheet.
It takes hundreds if not thousands of prints and a standard to judge your work against before you will get good prints. It's not as easy as people think. Yes you can make an acceptable print but a really fine print is something very few people can make.
I taught photography in a university environment in the 70's. One class was a darkroom class. Honestly I don't think I ever had a student that could print worth a darn even at the end of the semester. They improved and thats what I was looking for but still they weren't good printers.
At one point in my career I estimated I'd printed over 100,000 prints. That was many years ago so who knows how many now, 250,000 possibly. I have about 100,000 negatives in one of my archives and I've printed probably 700-900 of them. Out of this negatives I don't think I've had more than two or three negs that print without dodging and burning to some degree. Some take extreme dosing and burning and others just a little but virtually every neg is improved buy manipulation.
I've thought about teaching again and have thought about what I would do now as a final test for someone in the darkroom. I have a couple of negatives that are some of my best images that are nightmares to print. A couple of negs require 14 times the base exposure to burn in certain areas. The same neg requires dodging certain areas too. It takes dexterity to print something like this and concentration. My ex boss in the early 70's was a fantastic printer and he always said anyone can make one really good print given enough time and materials but try to make 100 prints exactly the same. It's tough to do this but I can do it now.
I'd duggest taking a roll of the film you plan to use. Expose all of it on one subject at the same exposure. have a friend sit and just hammer away until the roll is exposed. Take the roll in the dark and clip about 8 inches and develop it as you normally would. Mark it as to what you did and then take another 8 inch clip and run it 10% longer. Mark it with details. Do this again but 20% longer than the first. Be sure to make what you did on the film or a note so you can identify what you did. No do it again and cut develop meant 10% from the first.
Print a frame from each clip test and see how the prints look. Be sure to mark the print as to what negs and what you did. If the negs are thin in the shadows reduce the ISO by 1/2 or 1/3 stop and try the same development test as before. If they are too dense then increase ISO and repeat the test by exposing another roll and developing clips at different times. Be sure to keep accurate notes.
This is the way t do this unless you have a step scale and densitometer.
I do my testing this way. I find the NEW (as of 8 years ago) TriX doesn't work at box speed for me. I rate it at ISO 250 when developing in HC110 B. Don't be afraid of adjusting ISO and development. It's the first step to becoming an excellent printer. Everything starts with an excellent negative.
Good luck!