Okay, Dan. I solved my problem by ordering another 101 today, this time with the 1.4/58. I was actually looking for a 201 body, but when I saw the price on the 101 combo, I just had to get it instead. It was cheaper even with the Canada Post than any other 101-1.4/58 I've seen. Or even just the 1.4/58 by itself.
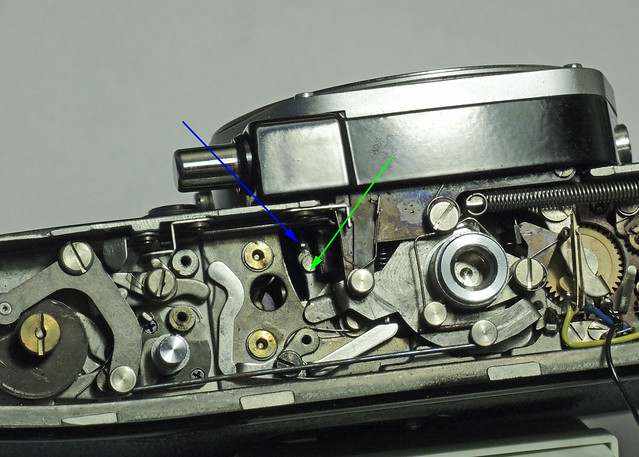
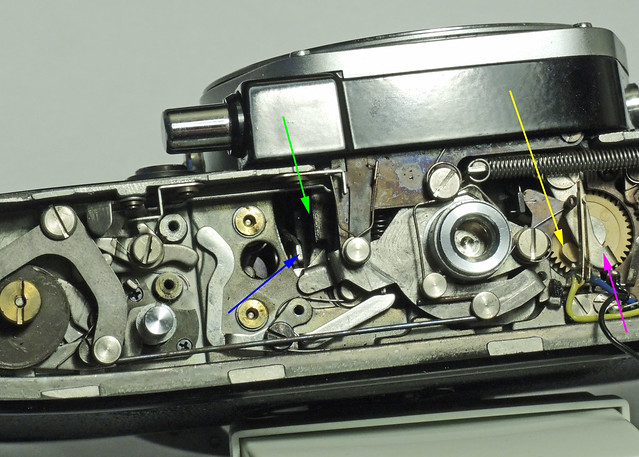
I'm not the fastest repairer either, because I'm usually going in with no knowledge of the construction of the particular unit I'm working on. Some cameras just don't have a lot of information available on them. And then one has to take a photo of each step, to be able to find the way back out of the woods. The manual Colyn supplied the link for has good information, but nothing on repairs of specific problems.
I like my cameras older than me, so they aren't so complicated.
PF