I promised Steve I’d explain my scanning workflow for Instax prints so here it is. I don’t do anything special, and others might have better ideas. I use an Epson V700 flatbed scanner with Epson Scan software. I scan the prints to TIFF format and then open them in Lightroom 6, where I usually don’t do much. Sometimes I make small adjustments to contrast. I add keywords for my LR Library so I can find the image easily in future.
Next I export a copy of the TIFF with LR adjustments to Photoshop CS6 to do retouching, mainly dust and small hairs from the scan, and cloning out any Newtons Rings where the print surface has touched the scanner glass. These can be difficult to remove - I keep thinking of creating a print holder that raises the print about 1mm or less above the scanner glass to avoid the problem, as long as raising the print doesn’t take it outside the scanner’s DOF. After retouching I save the TIFF.
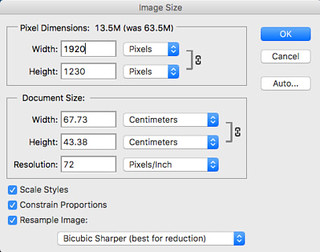
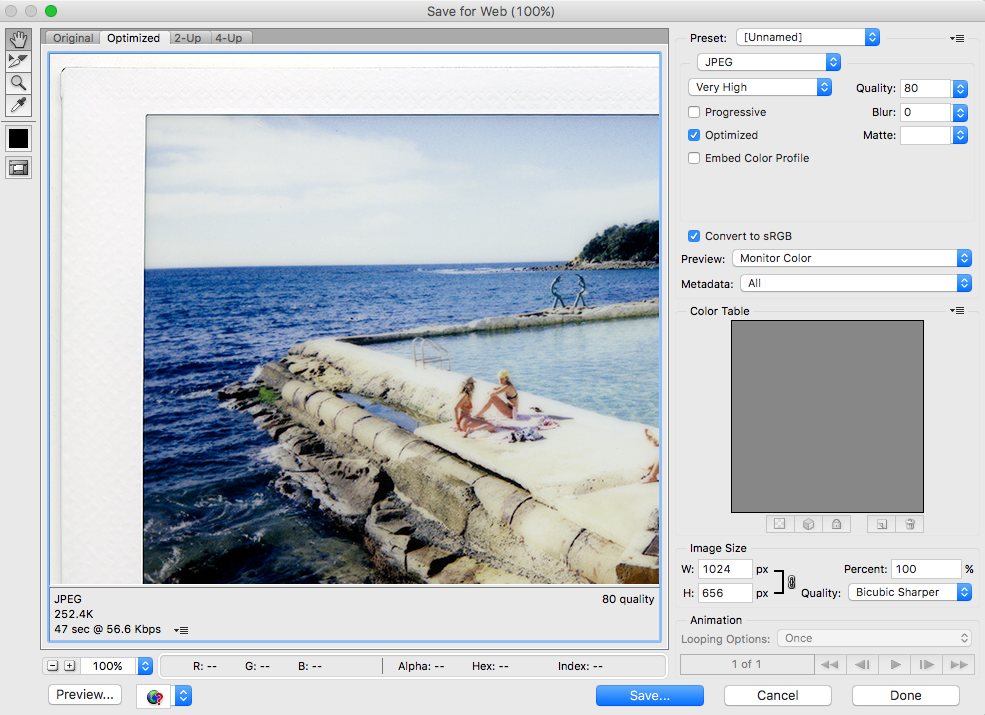
At this point I sometimes I also try Autotone to see what CS6 suggests, but as that always changes colour and contrast I usually ignore it. Once I’m happy I resize to create one large JPG at 1920 pixels and one at 1024 pixels for the RFF Gallery.
This all leaves me with the original scan and the retouched version (both TIFF) in the LR Library, and two JPEGs in a separate file directory suitable for uploading to the web.
Here it is in pictures:
laying the prints on the scanner glass:
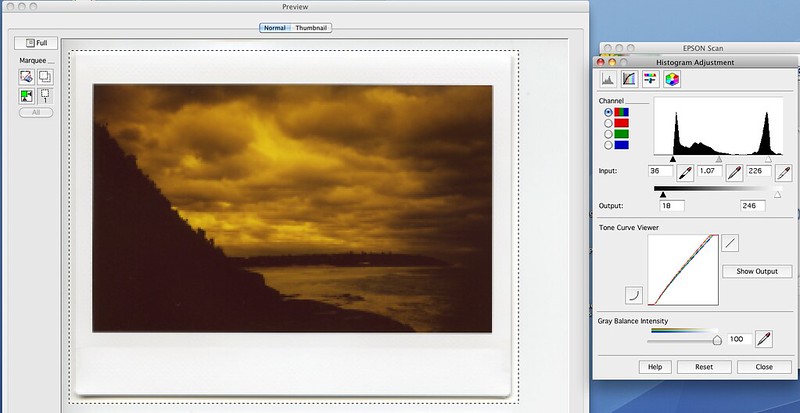
scan preview in Epson Scan. Setting scan area (dotted line):
Zoom preview in Epson Scan with Histogram dialog open. In this case I’m happy with the black and white points, and also the mid-point (1.07). Sometimes I adjust the midpoint if the scanning software default looks a little light or dark. In those cases 1.00 is often better.
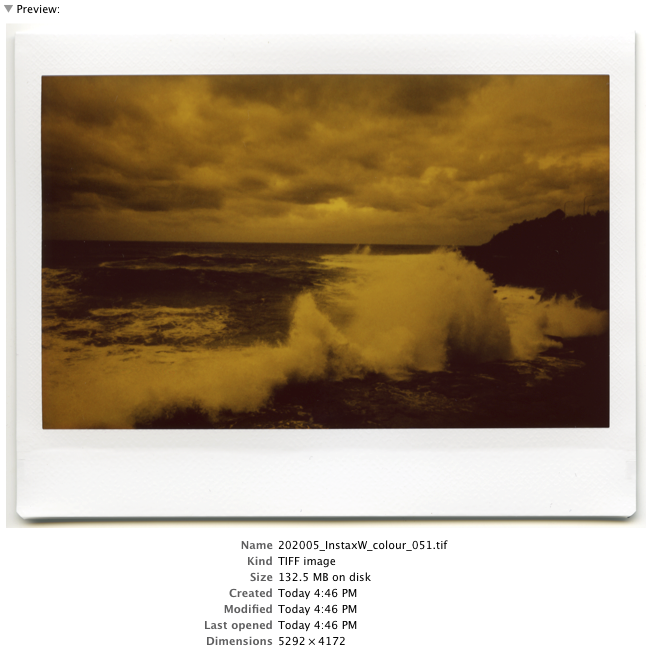
I scan Instax prints with these settings, which yield a ~60Mb TIFF file for Instax Mini prints and a 130Mb TIFF file for Instax Wide prints.
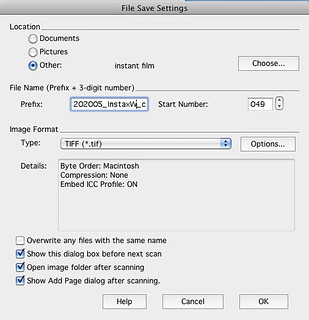
Choosing file save settings. I save original scans as TIFF files to give maximum flexibility in post processing.
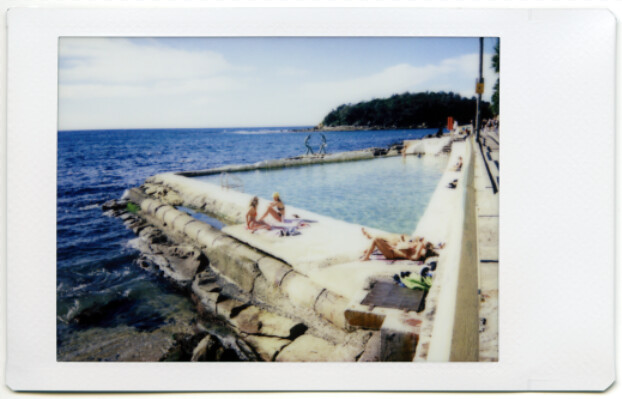
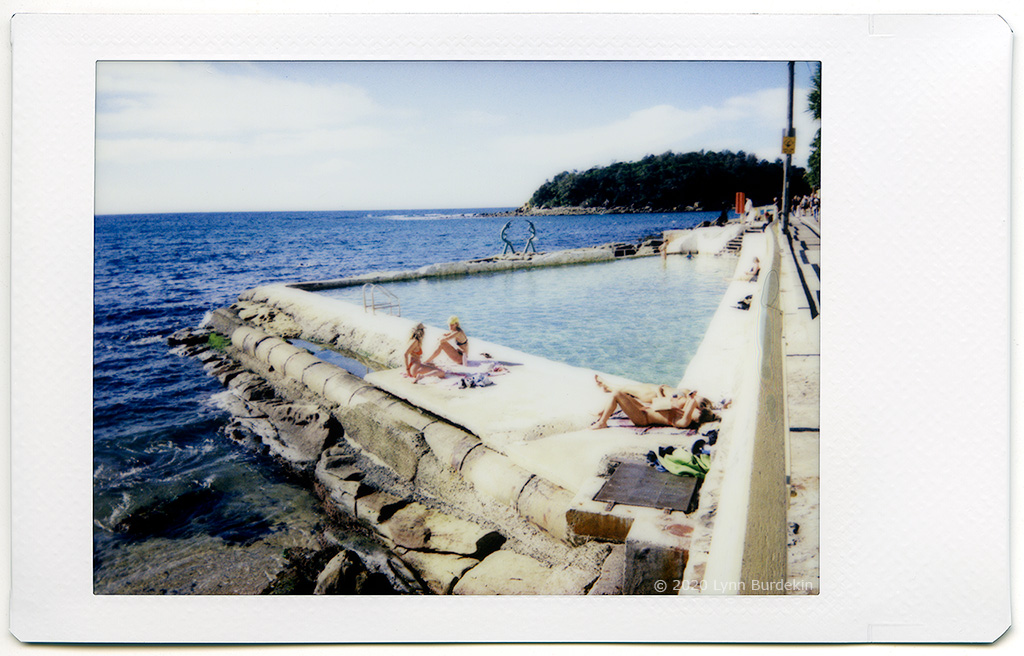
The unprocessed scan TIFF file, in this case Instax Wide. This is orange because I used color film with an orange filter held in front of the lens, for artistic effect
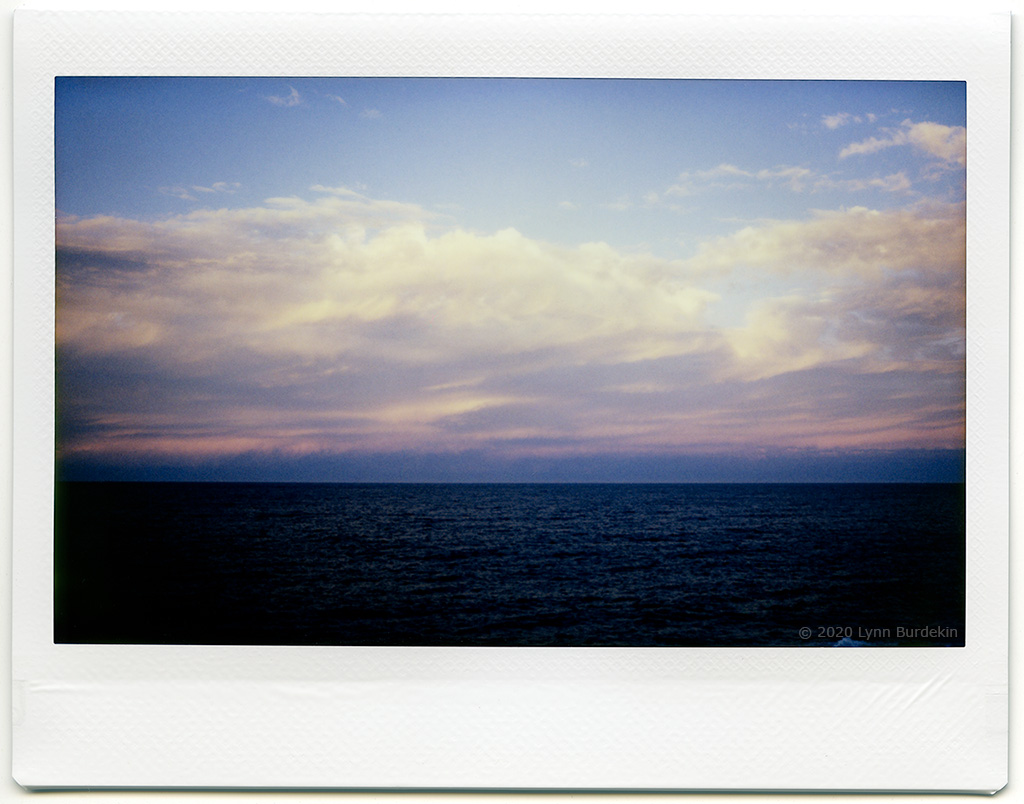
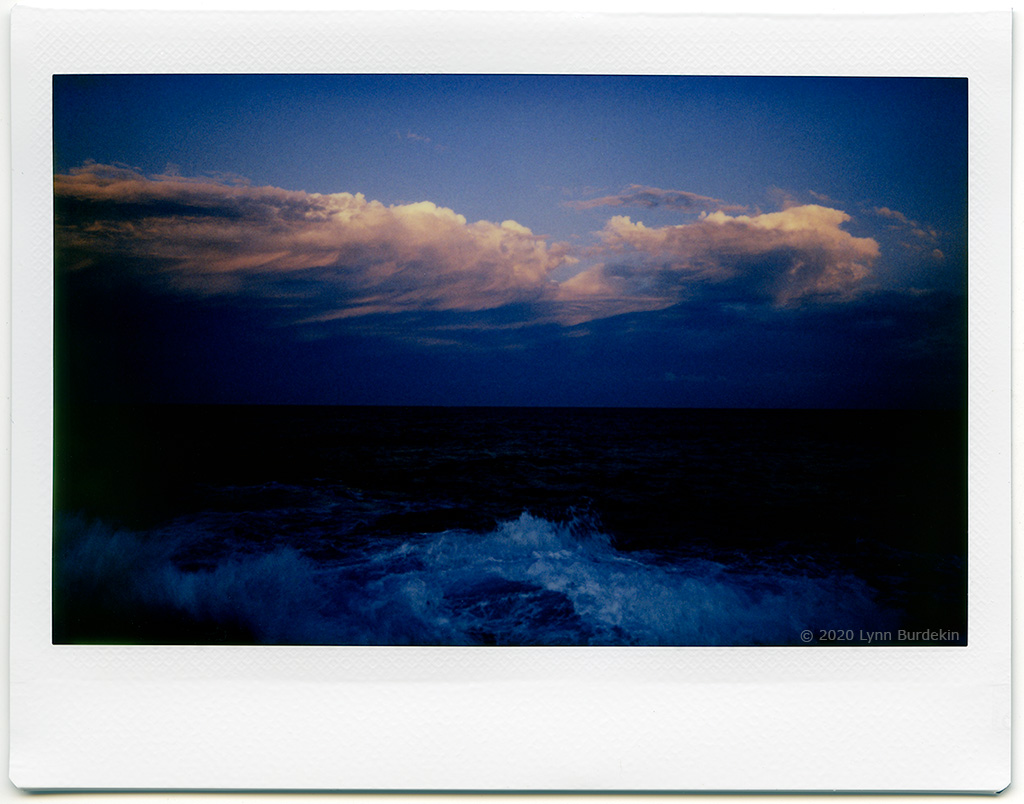
🙂. I was shooting color film as if it was black and white. I like the results but your mileage may differ. I'll use a more "normal" looking color print for the remainder of this tutorial.
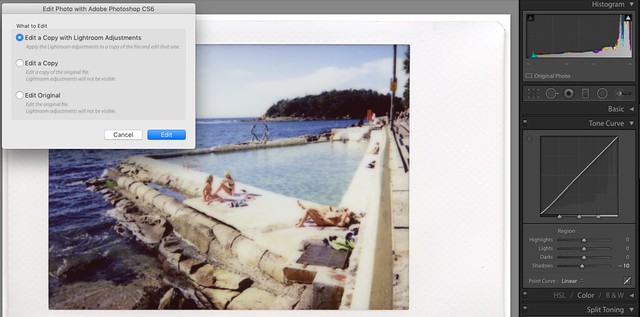
Editing a file in Lightroom and exporting to Photoshop.
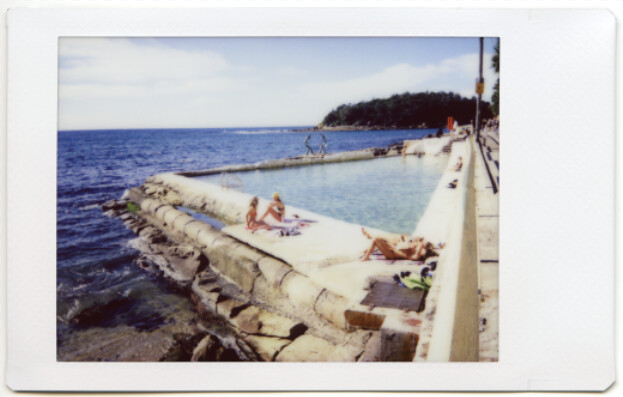
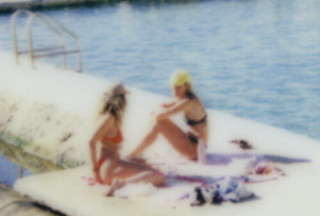
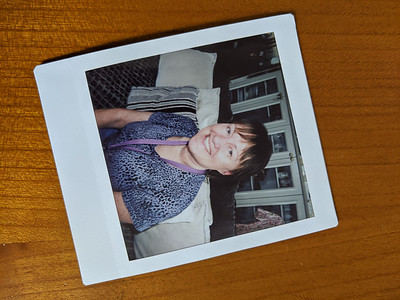
From here I'm using a scan of a picture taken with the Instax Mini 9, which has a 6 x 4.5cm picture area, half the size of the Instax Wide print above. All I’ve done here is darken the Shadows (see slider lower right set to -10), no other adjustments were necessary. I've got the dialog box open to export a copy including LR changes to CS6.
[/url]
Here is how the TIFF file looks after importing to Photoshop. Quite fuzzy. That will change after resizing and unsharp masking. The first thing I do is to retouch all the dust and hair from the scan. Wiping the prints with a microfibre cloth before placing them on the scanner glass reduces this workload.
Here is the scan after applying CS6 Autotone. In this case I preferred the result and so saved this version.
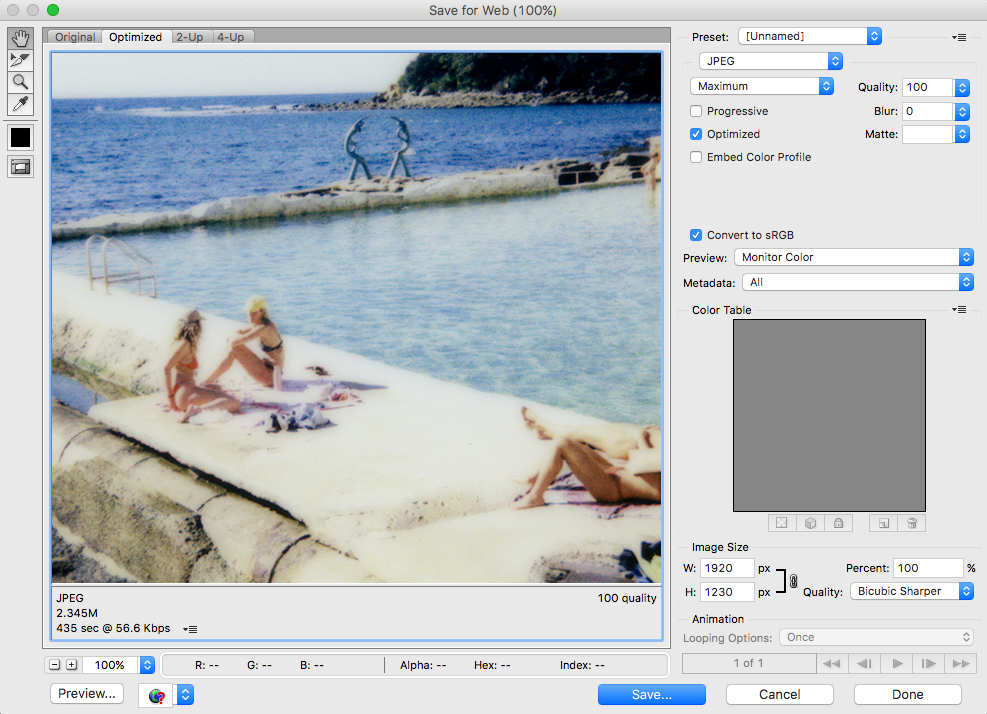
Now for resizing to JPG, starting with a large version 1920 pixels wide @72 ppi using Bicubic Sharper
This is how it looks before unsharp masking
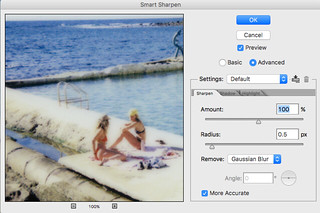
Now we have one pass of unsharp masking at 100% and 0.5 pixel radius
And then another pass, this time I adjusted it to 0.3 pixel radius as that seemed the best compromise between sharpness and noise. I judge how much by eye.
Enlarged view after the second unsharp masking: