Negative Lab Pro

Blows the other techniques out of the water.

No, it doesn't. But the reason is less the Plugin itself and more the correction algorithms in LR which are (not only im my opinion) still not the last word on the subject. But yes, it's quite close to CP. I stay with CP as I don't like LR for post processing and scan as Tiff and work in PS anyway. I usually don't have to mess around with additional color correction in post after batch converting all files wit CP based on my own profiles, some final contrast and sharpening, done. Fast & perfect. And you can't blow perfect results out of the water. Biggest advantage in comparison to CP is the saved disc space as you don't have to create 2 files in case you want to keep the original scan as well. And of course in case of camera scans, you don't have to create tiff files in the first place.

Anyway, it is definitely a really good solution for the RAW and LR user around and based on the posted examples obviously also better in comparison to the out of the box results you get with a Pakon, Noritsu or Fuji Frontier. I like it and will follow the development for sure. Nice to see that film shooters still get some attention :)

Juergen
 
Three questions:


1. When I first run the demo plugin, the option to choose the colour profile (Frontier, Noritsu etc.) is greyed out. But if I 'unconvert' the option becomes available. Is this a bug, or part of the limits of the demo, or am I missing something?


2. I'm scanning raw files with an Epson V550 flatbed, but there are no profiles included for scanners, only digital cameras. Should I be changing something in Lightroom to account for this?


3. Any recommendations for how to use colour profiles through the whole flatbed scanning --> editing in Lightroom --> NLP conversion process?
 
I am interested, but I dont' use Lightroom like mod2001.
Why don't they make a standalone or a PS plugin?
And, with an apology for the dumb question, what is CP?
 
I am interested, but I dont' use Lightroom like mod2001.
Why don't they make a standalone or a PS plugin?
And, with an apology for the dumb question, what is CP?


A standalone would be very difficult because this plugin taps into all the functionality built into Lightroom. A PS plugin would be easier, I guess, but you would then lose all the cataloging and non-destructive editing benefits of Lightroom. This seems to be the best of both worlds for me.


CP = ColorPerfect
https://www.colorperfect.com/colorperfect.html?lang=en
 
Hi Nate, or anyone else who has the facility to try this, will the plugin work with a Vuescan DNG file from a C41 scan with the scanner in Transparency scanning mode?
Pete

I've not scanned in DNG before but I just did. I set Vuescan for a raw Tiff DNG file from a Portra 400 negative in slide mode and it worked very well.
 
Ok, whew, let me see if I can respond to everyone so far...


i'm pretty impressed so far. the "noritsu" mode, linear, with some minor tweaking creates a fantastic starting point for colors. great job Nate.

Great! Thank you!

I've tried the fix you mentioned for the reds and get drastic improvements.

Perfect! I'll probably add this red fix into the plugin itself in a future version, because I find I do it a lot now with scenes that have saturated reds...

Would it be possible to get a white balance dropper in the plugin, before the conversion? As I've mentioned, I'd prefer to keep the workflow on the raws, without copies, and the white balnace dropper from lightroom does not work well after conversion.

I don't believe there is a way in the SDK to make a selection in the original image while the plugin is active... and yes, using the neutral selector after conversion will not work well on the raw (although you may be able to get away with small changes) That's why I added the "auto-color" and the color balancing section to Negative Lab Pro, (though I do find myself wishing I could use a neutral point selector). One trick with the auto color is that you can adjust the strength of the correction... 9/10 I can just adjust the strength and be done with color correction. In my video guide (https://www.negativelabpro.com/guide) I have a section on color balancing at about 27 minutes in, that explains the color balance section of Negative Lab Pro and how to use the mid/highlight/shadow color balancing to get better color results.

And what are your plans for the plugin? Will it be a single release, or will updates keep coming. And would they be "included" with the original license or bought separately? (And I gladly invest money for such a great and useful thing).

As long as photographers like it and purchase it, I will continue developing it and making it better. My plan is that core updates would be included in the original license (thing like compatibility updates, better calibrations for scanners, new camera profiles, etc). I'm not sure if I would ever have a paid update or add-on... haven't ruled it out, but it would have to be something really worthwhile.

At the moment it is not possible to zoom in or out in the plugin.

Unfortunately, Lightroom's SDK doesn't allow me to do this at the moment.

Will the plugin work with a Vuescan DNG file from a C41 scan with the scanner in Transparency scanning mode?

Yes, it will work. A word of caution though, even though it is a DNG file, it is not the same thing as a RAW camera DNG file... I believe it's basically a DNG wrapper around a linear tiff. So when you use Negative Lab Pro, I would recommend at least for now setting the "color model" to "none" - otherwise it will try to treat it as a RAW camera profile, and you may get some unexpected colors.

When I first run the demo plugin, the option to choose the colour profile (Frontier, Noritsu etc.) is greyed out. But if I 'unconvert' the option becomes available. Is this a bug, or part of the limits of the demo, or am I missing something?

This is a bug :)

I'm scanning raw files with an Epson V550 flatbed, but there are no profiles included for scanners, only digital cameras. Should I be changing something in Lightroom to account for this?

The biggest thing with flatbed scanners is getting a good, linear TIFF with high bit-depth. If you are using Epson Scan, make sure to use the neutral area selector (inside the histogram tool) to white-balance off of the film mask before scanning. This should get you a very accurate conversion in Negative Lab Pro. (and I'm working on scanner profiles that will let you use the Frontier / Noritsu color models as well).

A PS plugin would be easier, I guess, but you would then lose all the cataloging and non-destructive editing benefits of Lightroom. This seems to be the best of both worlds for me.

Exactly... would have been easier making a photoshop plugin (and maybe I still will), but the cataloging and non-destructive editing benefits of Lightroom just make it such a pleasure to edit negatives with! I've also invested a TON of time and research into the color science behind it, so really thrilled to see other film photographers loving it and helping make it better :)
 
"The biggest thing with flatbed scanners is getting a good, linear TIFF with high bit-depth. If you are using Epson Scan, make sure to use the neutral area selector (inside the histogram tool) to white-balance off of the film mask before scanning. This should get you a very accurate conversion in Negative Lab Pro. (and I'm working on scanner profiles that will let you use the Frontier / Noritsu color models as well)."

If you could create a profile for the last generation of Nikon Coolscans (Coolscan V, 5000, etc), that would be incredible. Right now I'm creating positive linear scans in Nikon Scan using this method:

https://www.youtube.com/watch?v=fBICO5Nsl3E

If your plugin had a profile for this linear scan process, I'd be ready to throw money at you.
 
Bought it and love it! I do have one suggestion though!

In the new Lightrooms you're able to apply what is basically a LUT on any raw file regardless of what camera you use (just as long as it's a raw image). RNI made some film emulation ones that I can apply easily to my Silverfast raw scans since they're a DNG file. If you could create one for Negative Lab Pro, it would (in theory) work for any camera and any film scanner raw images. You wouldn't even have to make new profiles for new cameras when they come out since the profile isn't camera specific.

I have absolutely no idea how difficult that would be, or if it would even make sense for something like this, but it was just a thought I had.

Great work on this!
 
Bought it and love it!

You are awesome.

In the new Lightrooms you're able to apply what is basically a LUT on any raw file regardless of what camera you use (just as long as it's a raw image). RNI made some film emulation ones that I can apply easily to my Silverfast raw scans since they're a DNG file. If you could create one for Negative Lab Pro, it would (in theory) work for any camera and any film scanner raw images. You wouldn't even have to make new profiles for new cameras when they come out since the profile isn't camera specific.

It's a good idea, but the problem is that the LUT is just applied on top of an underlying DCP camera profile (it doesn't replace it). So if I didn't make the custom DCP camera profile, the LUT would just be applied on top of Adobe Standard, which is not ideal because it has an embedded tone curve and hue twists, which are both the enemies of proper negative conversions. So in any case, I still need the Negative Lab Pro camera profiles to be made for proper conversions. I may end up using LUTs for other purposes though...
 
It's a good idea, but the problem is that the LUT is just applied on top of an underlying DCP camera profile (it doesn't replace it). So if I didn't make the custom DCP camera profile, the LUT would just be applied on top of Adobe Standard, which is not ideal because it has an embedded tone curve and hue twists, which are both the enemies of proper negative conversions. So in any case, I still need the Negative Lab Pro camera profiles to be made for proper conversions. I may end up using LUTs for other purposes though...
Interesting, I had no idea how it worked, just saw that they could be applied to my film scans. I also notice that, despite not having the camera profile, I can choose Noritsu or Frontier and the histogram changes very slightly. I don't notice much of a difference between them, but I'm glad it still does something on film scanner files!
 
If you could create a profile for the last generation of Nikon Coolscans (Coolscan V, 5000, etc), that would be incredible.
Yes, it is high on my priority list. :)

Don't be afraid to try it out now though. In theory, the tones profiles should already work great (since both the camera profiles and flatbed scans you have are linear) and the colors should already be "accurate" – what the color model profile will do is basically give it the same color biases you see on those particular lab scanners models (noritsu and frontier)... but you should still be able to get killer results as is. :)
 
I also notice that, despite not having the camera profile, I can choose Noritsu or Frontier and the histogram changes very slightly. I don't notice much of a difference between them, but I'm glad it still does something on film scanner files!

Oops... this may be a little bug... if it is a scanned file, your color model should be set at "none" - but if you have a "DNG" or "NEF" file from a scanner, NLP thinks it is from a camera and allows you to apply the camera calibration settings... you will probably see some weird colors (very turquoise and pink). If you unconvert the negative and set your color model to "none" on the scanned file, you will likely see better colors.
 
I'm getting a weird behaviour where if I click on Auto Colour - the text not the check box or the % level, it corrects the colour. And makes it look great. But if I click on the check box it reverts to the un corrected. And if I uncheck it it remains un corrected.
Then if I click on the text again it corrects it again. But if I try to save (or make any other changes), it reverts back to the uncorrected version.

Try this. Go to "Lightroom > Preferences > Performance" and make sure to DISABLE the "Use Graphics Processor" option. (The graphics processor acceleration can cause issues, both with Lightroom itself and plugins). Can you see if that fixes your issue?
 
Here's a comparison of Negative Lab Pro versus Adrian Gabor's CN Scan Inversion Photoshop plugin (http://eigakai.ro/ps-action/cn-scan-inversion) using a flatbed RAW scan.

This is a RAW scan of a Portra 400 negative, using Vuescan and an Epson v550. The file was tagged with an Adobe RGB colour profile.

First up, the NLP linear conversion. The standard conversion was a bit too contrasty, hence I'm showing the linear version here:


44922789704_e91ca8585f_o.png


And here's how it looks with autocolor switched on:


43829511400_0dfb4bc8d1_o.png


Next, I opened up the same scan in Photoshop, and assigned the Adobe RGB colour space (note: assigned, not converted):


44922789994_5c6aaa271e_o.png


This is the straight conversion using Adrian's plugin:


43829511820_9b504100f8_o.png


My thoughts:

I realise this is an unfair comparison, because NLP isn't yet designed to work with RAW flatbed scans. It's also worth says that NLP is way more convenient to use being integrated with Lightroom and non-destructive.

Having said that, I much prefer the out-of-the-box colours generated by Adrian's plugin over NLP. 
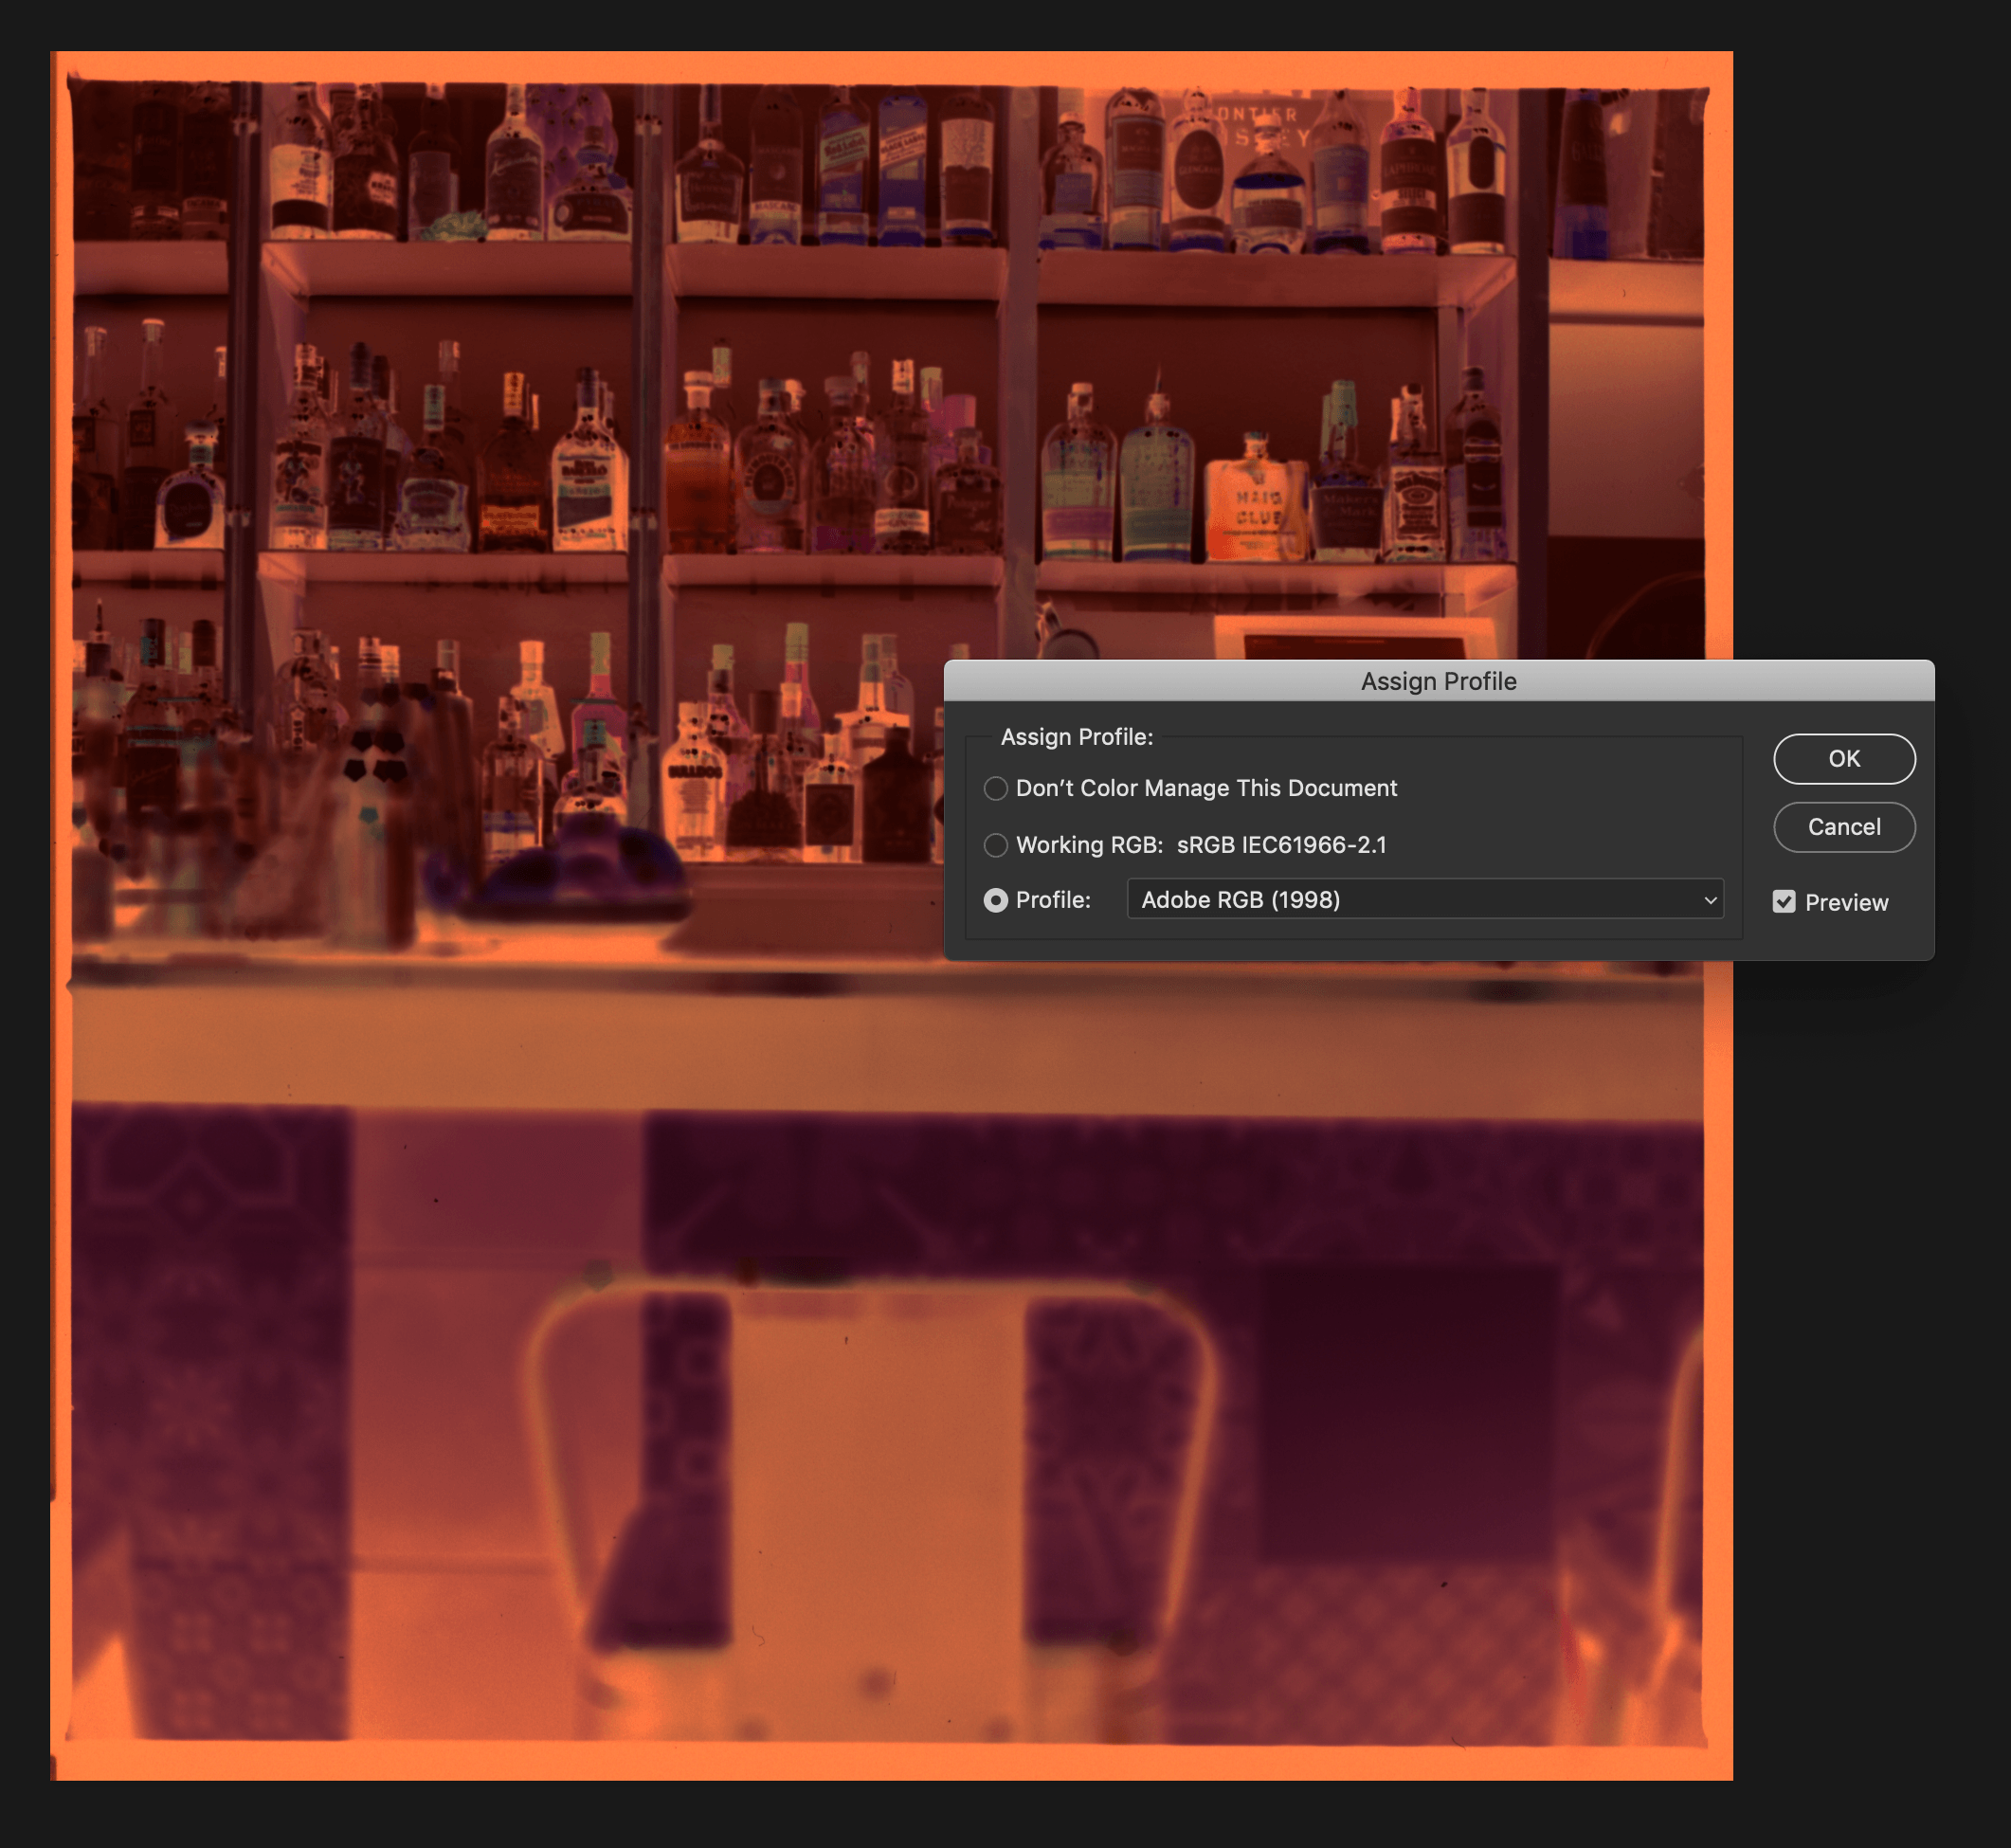
They are closer to what I remember seeing when sat in that Barcelona bar, particularly the colour of the green tiles below the bar. It's warmer, more saturated, and for me, would be a better starting point to create the final image.

NLP's curves seem to pick out more detail in the shadows and generally gives a much lighter 'airy' look.
 
Thanks for the images and comparisons, Fujilove!

Yes, once I have better scanner calibrations, this should improve. I also need to make some videos and guides showing more about preferred options during scanning.

Part of the power of NLP is that it is about WAY more than just the initial conversion, because it gives you the ability to edit it to exactly the way you'd like it. I plan on adding the ability to "save profiles" too so you can save your preferred starting settings.

A few tips if you want to get similar results with NLP to what you are currently using:

1) Set "pre-saturation" to 5... the other options are reducing saturation to compensate for effect of contrast. Since you are using linear profile, there is no contrast added, so you will end up with desaturated images if less than 5 (I recognize this isn't intuitive... working on a way to make this simply).

2. Pull down the "midtones" quite substantially to add depth to the scenes (instead of the "bright and air" look Portra naturally tends towards). You can also experiment with pulling down the blacks and shadows a bit.

3. It looks like Auto-Color has overcorrected the scene... I would suggest leaving off in this case (or changing strength of auto-color to something like 10-25%), and making further adjustments to color balance in the color balance section.

Just posted a video to YouTube showing in-depth how to think about and use the controls (are youtube links allowed here?) - https://www.youtube.com/watch?v=sY8aow54Uyw

And if you have any scans you are having trouble with in NLP, feel free to send to me at nate @ natephotographic.com and I will take a look!
 
Back
Top Bottom