--s
Well-known
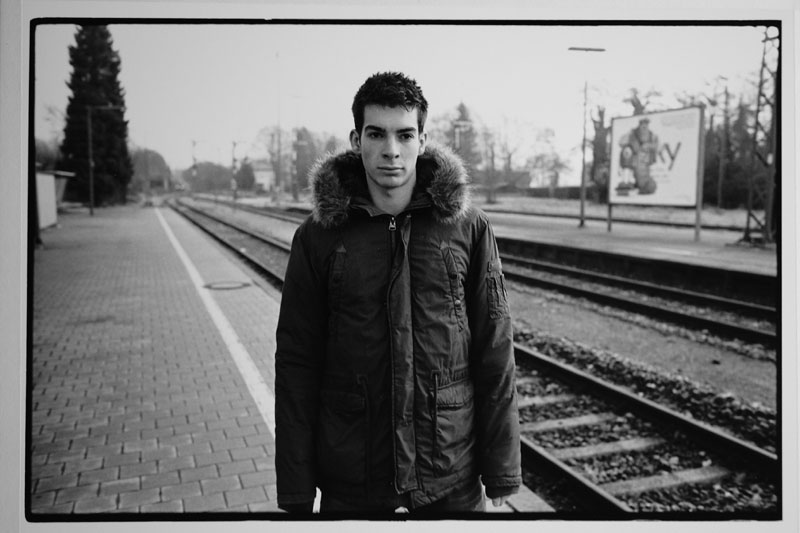
First print on a new paper, Bergger fb warmtone. I must admit it took me two waste sheets to dial in with the developer I use. The first print was too light, the second too dark and not contrasty enough, the third, the one before your eyes, was to my liking. Praise the Heiland!

--s
Well-known
WAITIN' FOR THAT TRAIN,
TO TAKE ME FROM THIS LONESOME TOWN
And an available bulb shot; man heavily clinging to his family:
TO TAKE ME FROM THIS LONESOME TOWN

And an available bulb shot; man heavily clinging to his family:

Schlapp
Well-known

Lith print on Slavich Unibrom
dogbunny
Registered Boozer
Nice
Nice
I really like that, it has a similar feel to a woodcut print.
db
Nice
Lith print on Slavich Unibrom
I really like that, it has a similar feel to a woodcut print.
db
benji77
@R.F.F
Impressive vision in the shot where many others would have discarded it, you have gone against conventional wisdom and went for the kill. Well done!
Lith print on Slavich Unibrom
shortstop
Well-known
Hi,
I've printed several copies of the same subject taken at various apertures (Helligkeit or H as called by Rodenstock) of my Imagon to study its characteristics.
Unfortunately I've only registered the data on my App Photo Tool Pro. It would have been better I included a cartel with the data in every shot (more simple and "analogic"). Now I don't know the correlation from data and the negatives (I can only imagine from the softness) 😬😩.
Anyway here are the photok I took with my only digital camera, my iPhone.
One of them is a strip test done in an exponential way following the excellent book "Way beyond monochrome" by Lambrecht and Woodhouse and usin an App I suggest you (Darkroom), that gives the values of the strip in exponential manner (I'chosen increments of 1/3 EV).
Any comment, question or suggestion?
Thanks,
Antonio


Moto-Uno
Moto-Uno
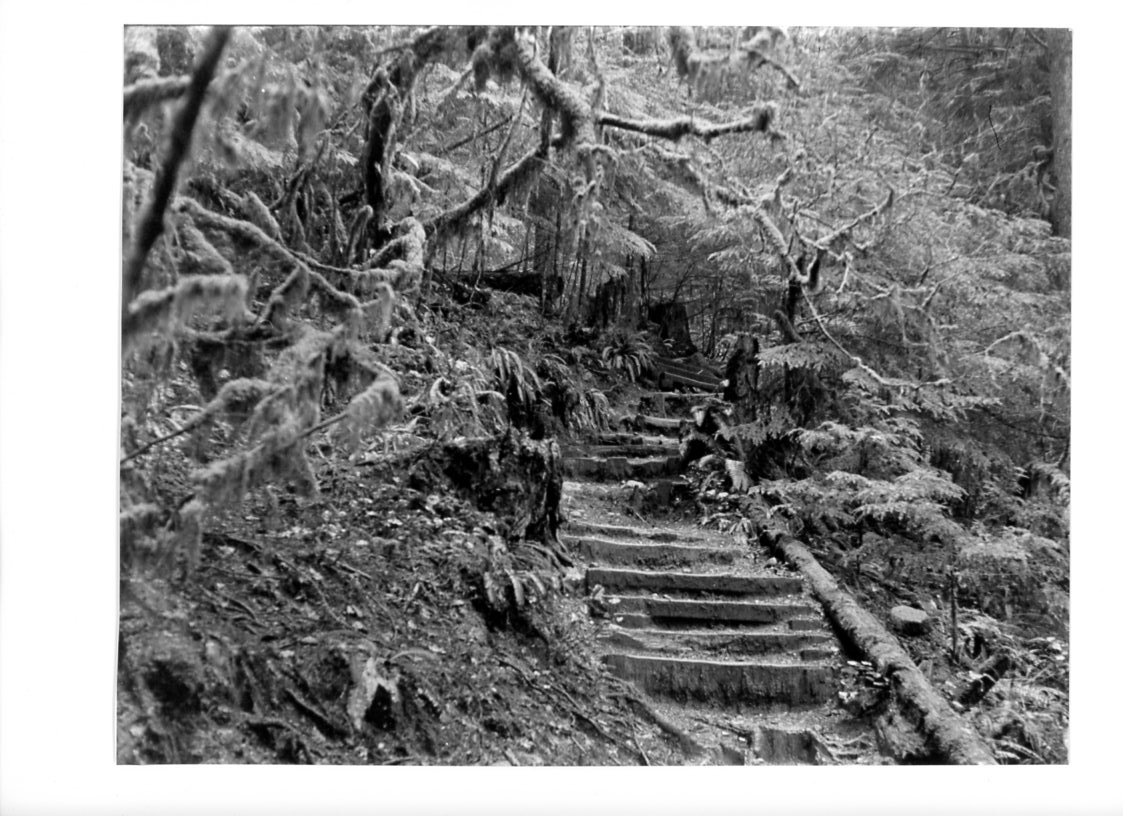
Straight scan from an 8x10 shot with a Chinon CM-3 and an Industar 61 l/z
And they call this a trail !!! Peter

And they call this a trail !!! Peter
mbisc
Silver Halide User
One of the pictures from my latest darkrrom session (in December):

Qutb Minar - Pillared Cloisters of Quwwat-ul-Islam Masjid (8x10 Print) by nbg90455, on Flickr

Qutb Minar - Pillared Cloisters of Quwwat-ul-Islam Masjid (8x10 Print) by nbg90455, on Flickr
semrich
Well-known
Benjamin, when I started printing not to long ago, I got the Book "Way Beyond Monochrome" it had a section on presentation including matting and mounting photos, I also knew about fiber paper and keeping it flat, so I used 2cm on the sides and top. I also learned about non-permanent mounting, and leaving a 5mm edge of the print paper showing and 1.5cm at the bottom to sign the print. Now that I've matted and framed one using a "T" mount of self adhesive linen tape, only on the top of the print to tape the print to the back board I will reduce the sides to 1.5cm, it should still keep the print flat.
shadowfox
Darkroom printing lives
One of the pictures from my latest darkrrom session (in December):
Qutb Minar - Pillared Cloisters of Quwwat-ul-Islam Masjid (8x10 Print) by nbg90455, on Flickr
Mike, that's a lovely print with a lot of details.
I like it.
mbisc
Silver Halide User
Mike, that's a lovely print with a lot of details.
I like it.
Thank you very much!
benji77
@R.F.F
Benjamin, when I started printing not to long ago, I got the Book "Way Beyond Monochrome" it had a section on presentation including matting and mounting photos, I also knew about fiber paper and keeping it flat, so I used 2cm on the sides and top. I also learned about non-permanent mounting, and leaving a 5mm edge of the print paper showing and 1.5cm at the bottom to sign the print. Now that I've matted and framed one using a "T" mount of self adhesive linen tape, only on the top of the print to tape the print to the back board I will reduce the sides to 1.5cm, it should still keep the print flat.
I'm really bad at getting consistent borders, especially when I want to get the entire composition of the film, but at the same time want to 'fill the paper'.
tsiklonaut
Well-known
Exellent work above - always adored hand-coloring.
You guys made me horny as well and yesterday I decided to go back to the darkroom. Running Moersch chemistry with me own recipe mixtures and used Foma Fomatone 132 MG baryta paper for the first time and really impressed with it so far.
Some work drying using a new-to-me taping method (shot with a crappy digital p&s):
Margus
You guys made me horny as well and yesterday I decided to go back to the darkroom. Running Moersch chemistry with me own recipe mixtures and used Foma Fomatone 132 MG baryta paper for the first time and really impressed with it so far.
Some work drying using a new-to-me taping method (shot with a crappy digital p&s):


Margus
maddoc
... likes film again.
Well ... after a 8 month break I gave it a try again in my make-shift darkroom / bathroom combination. Initially, the biggest problem was focusing onto the grain using a grain magnifier. It took me about one hour to "see" the grain (and only after the trick to make a scratch with some sharp knife into the emulsion of a black frame and use that scratch as focusing aid came to my mind again). Next problem was light, I had only one (portable) safe-light that I change between a place closer to the enlarger and closer to the trays to control developing. While developing the first print the safety-light slipped and the bulb broke, no spare at home....
semrich
Well-known
Will, thank you for your comment, considering the signature is at the end of the process and easy enough to ruin a print if you are to slow or fast doing it.
Chris101
summicronia
Exellent work above - always adored hand-coloring.
...
Thanks Margus! It's been about 15 years or so since I painted prints. Surprisingly, the bottle of PM solution (linseed oil and solvent?) was intact! I will have to give your tape drying/flattening method as well. Multigrade fiber prints seem to take months to self flatten!
Michael Markey
Veteran
Lovely prints ,Richard.
semrich
Well-known
Michael, thank you. There is a lot to be said about framed prints hanging on the wall compared to viewing on a monitor.
shortstop
Well-known
Well ... after a 8 month break I gave it a try again in my make-shift darkroom / bathroom combination. Initially, the biggest problem was focusing onto the grain using a grain magnifier. It took me about one hour to "see" the grain (and only after the trick to make a scratch with some sharp knife into the emulsion of a black frame and use that scratch as focusing aid came to my mind again). Next problem was light, I had only one (portable) safe-light that I change between a place closer to the enlarger and closer to the trays to control developing. While developing the first print the safety-light slipped and the bulb broke, no spare at home.... That is the result: Now I only wonder abut the reason for the bright stripe in the middle of the print.
Hi Maddoc,
I don't know the reason for the bright strip. Try to print it again, if the negative doesn't have any gray-black strip. May be the problem disappear without finding the cause. Who cares. The image is very good and original. Next time I'll be in a bus here in Italy I'll shot a similar one (with your permission😉).
Thanks
Antonio
shadowfox
Darkroom printing lives
Now I only wonder abut the reason for the bright stripe in the middle of the print.
I usually got those when the ambient temperature is cold (and therefore developer too) and then I hesitated when I put the paper in the tray, so it is unevenly submerged for a short period of time.
Print it again.
Share:
-
This site uses cookies to help personalise content, tailor your experience and to keep you logged in if you register.
By continuing to use this site, you are consenting to our use of cookies.