I have disassembled this lens multiple times, so maybe I can give some tips. I don't know your experience level so let me say this: You need a good lens spanner to work on this lens, a good set of small screw drivers and proper helicoid lube of different strengths.
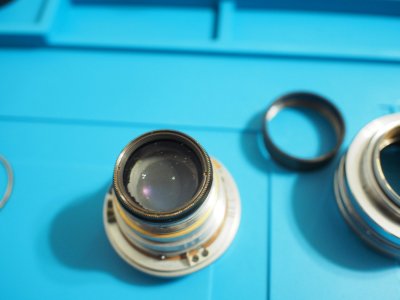
The optical block separates from the helicoid via the slotted retaining ring which you see around the rear element. Only remove this very carefully and with said spanner, otherwise you risk damaging the rear element.
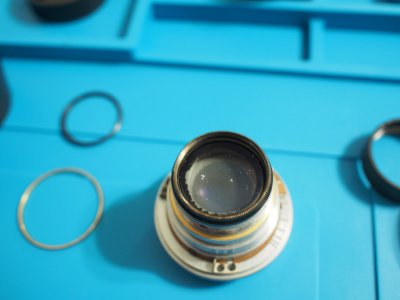
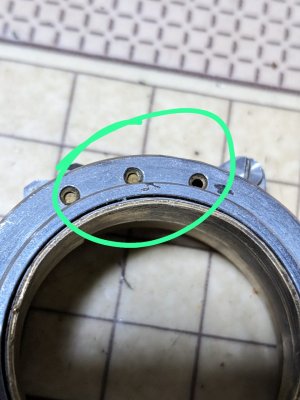
Once separated, there are many screws to remove: The screws on the mount side of the lens let you release the guide pin/helicoid key that regulates the movement of the helicoid between infinity and 1m. But there are additional stopping pins accessible from the front of the helicoid, which let you fine-tune infinity and 1m (see photo below). When you assemble the helicoid again, you need to calibrate the front guide pins so that the lens reaches infinity again.
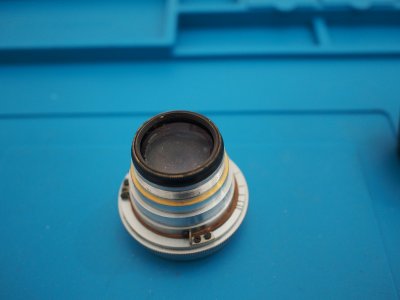
After removing the screws at the front, you can take the chrome focus ring off in order to access the bare helicoid. There is another retaining ring on the front side which holds everything together. Again, use the spanner to remove it.

The lens has an interesting construction, it is a single helicoid, not a double helicoid. This makes it a little easier to find the correct setup of the helicoid when putting it back together. But make sure you document where the helicoid separates. You'll know when you put it together wrong because you won't be able to fit the helicoid key back into its slot when the helicoid is off.
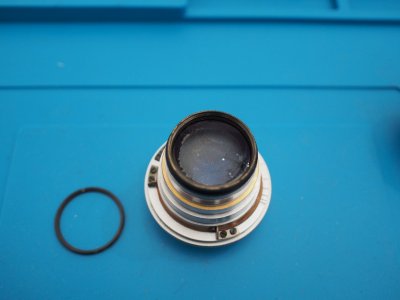
The photo below shows the holes of the screws that hold the main helicoid key in place. The pin rubs against the inside of the helicoid tube, so for smooth focusing you have to lubricate the lower part of the inside of the helicoid tube, and underneath the front retaining ring. Use small amounts of medium thickness lube. The helicoid itself can take a lighter lube.

The aperture ring has even more screws which all have to be removed as well. Do not lose the small ball bearing held in place by the brass clip (the bearing sets the click stops of the aperture). Also keep track of the screws. When everything is removed, there is a thin brass ring which sits halfway tucked into the optical block. You need to remove it carefully, not bending it too much. After that the aperture ring should come off. I recommend not taking apart the aperture any further (i.e., don't remove the aperture blades). If the blades are greasy, remove all the optics (VERY carefully, of course!) and flood clean with lighter fluid. I am not sure if the aperture requires much grease, maybe grease the surface on which the little ball bearing moves and clicks into place...