Contax I ribbons

This should also work on "B" ("Z"). In the sports group you'll get a clicking B and in the night group a slow buzzing B.

(In the sports group set the white dot on the spot of "B").

Erik.

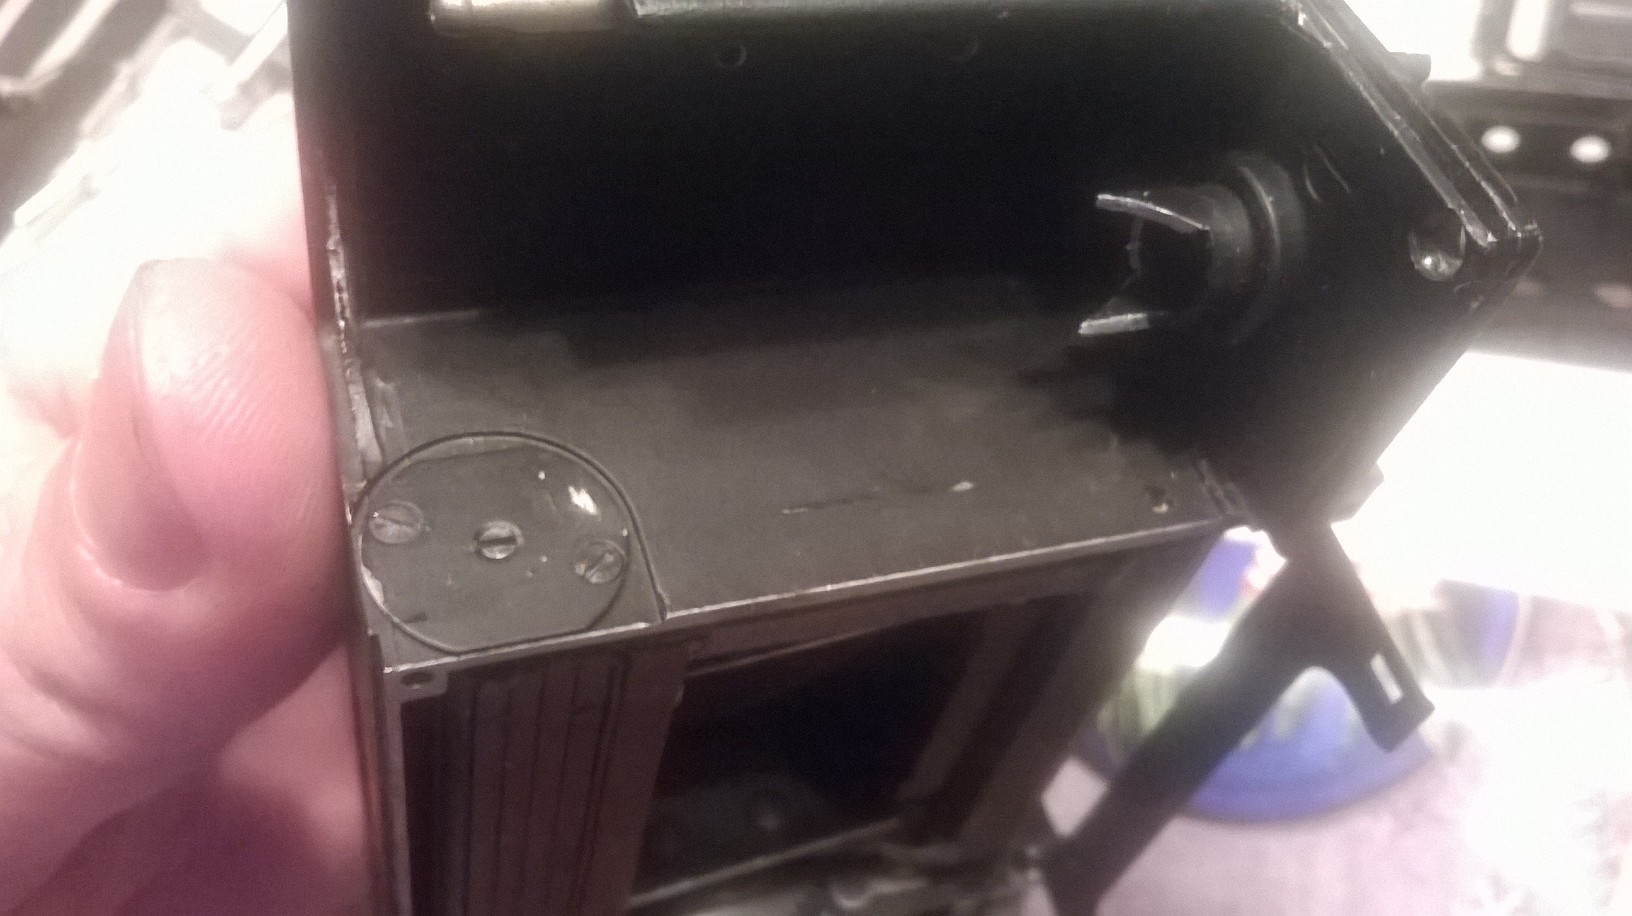
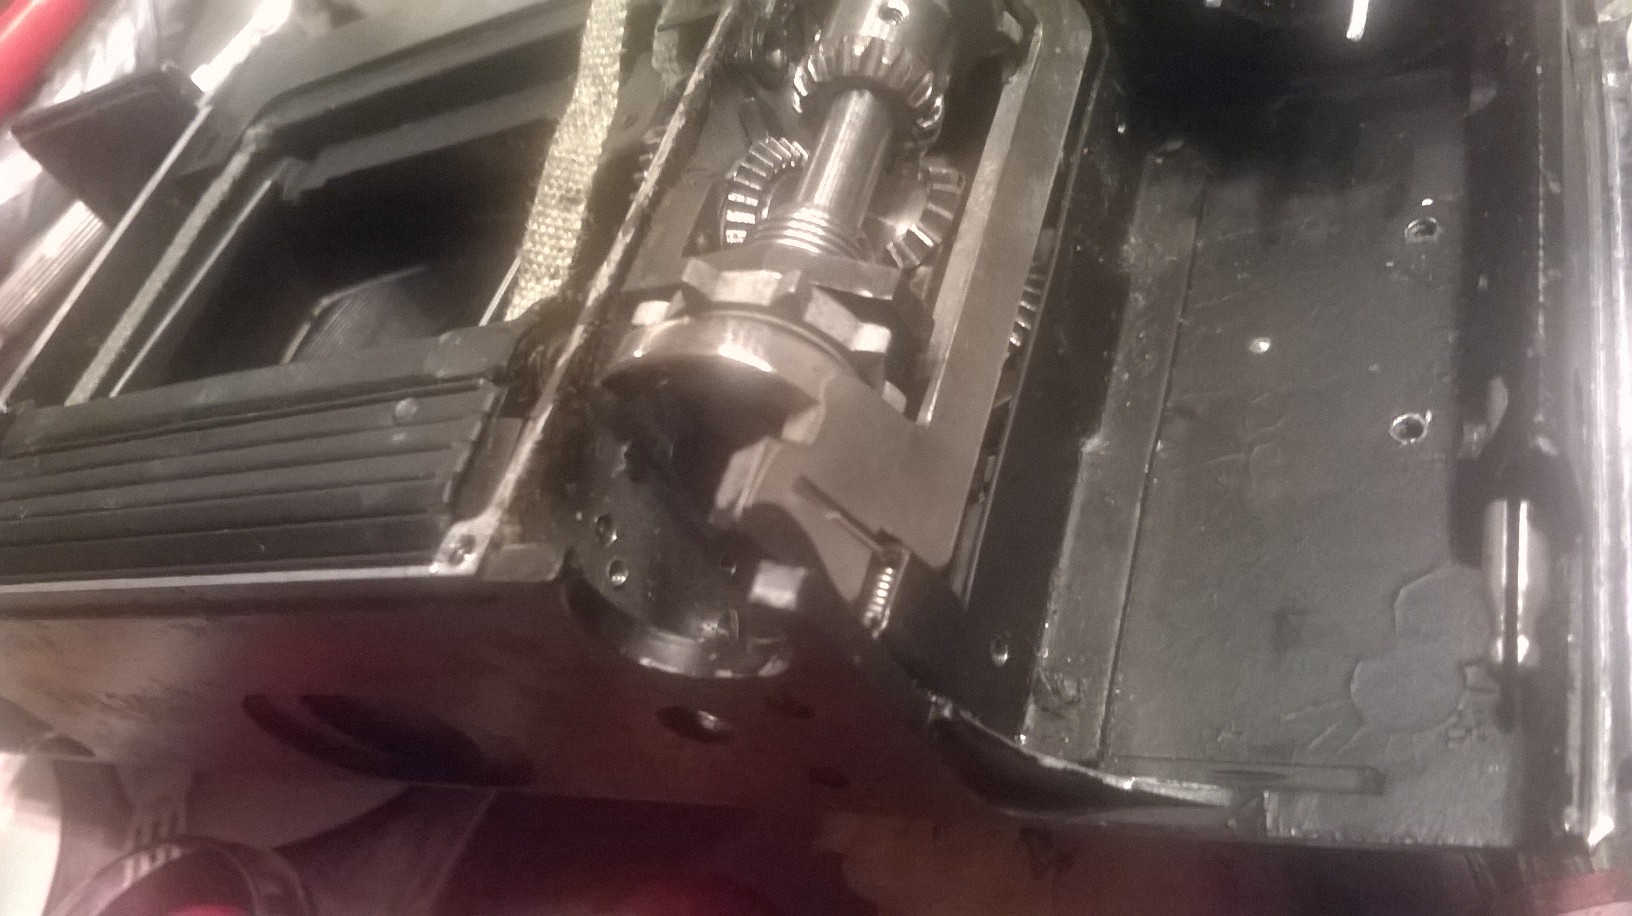
I have measured distance between curtains on Contax III 1/1250=0.85 mm. After two hours playing with gears on Contax I I got 1/1000 =1mm 1/500 = 3mm... I have done shutter speed test, all "sport" group show very accurate results. For lower speed I got working 1/50, 1/25, 1/8 (instead 1/5), 1/2. I think it is the best what I can do on this camera. Do anybody test they god working shutter on speed accuracy? I realize what some of my "god" working modern camera not so accurate.
 
Never did this as, like Erik, I go meterless with B&W film only with my vintage RF cameras. Everything works well so far according to what I see on the negatives.

B&W film will compensate shutter error.
Also for some on my shots I see longer exposure at the bottom of the shot
img525.jpg
 
B&W film will compensate shutter error.
Also for some on my shots I see longer exposure at the bottom of the shot
View attachment 105146

Maybe the second curtain is stopped by something; I've seen with my v5 that when the camera is closed, the second curtain is sometimes decelerated by something, when I open the camera, the curtain runs free. I don't know why this happens.

Erik.
 
Also for some on my shots I see longer exposure at the bottom of the shot
This is quite annoying and rather makes the camera unusable more than some shutter speeds not being very accurate.

This can be caused by a bump at the sewing point of the ribbons (bottom roller side) or some corrosion of the metal sliders inside the shutter cover casting or by an uneven motion of the shutter curtains due to the leather cords under the curtains blades ends folds having turned themselves into dust.

This is happens in my first setting (when 1/1000 give me only 1/300). My guess, curtains slow down at the end. I have a new setting now, will look if this happens again.
 
Well...I'm at this stage now. Looking for replacement shutter ribbon material

contax004.jpg


Boy, that top cover did not want to give up easily. Did everything according to Erik's little list but it did not want to budge. Oxidation of the aluminium was to blame.
 
Rick, you are lucky that one strap is still OK. Just leave it where it is. You'll have a model for the exact length of the new strap on the right.

Erik.
 
Well...I'm at this stage now. Looking for replacement shutter ribbon material

Boy, that top cover did not want to give up easily. Did everything according to Erik's little list but it did not want to budge. Oxidation of the aluminium was to blame.

Be very careful with loosing the bottom spring tension (!)
In most of case breaking the central spring happens when screwdriver loosing a tension screw.
 
Be very careful with loosing the bottom spring tension (!)
In most of case breaking the central spring happens when screwdriver loosing a tension screw.

Okay, is there another way of restoring the strap and resetting the tension without removing the spring rollers from the body?
 
The top roller must stay in the camera at all times. If you remove that one, you'll loose the synch of the gears.

The roller at the bottom you can remove, but you have to be very careful with the spring setting device on the left. This is secured by small screws into aluminium.This aluminium is very soft, so the thread for the screws is easily damaged.

It is very hard to mount a new ribbon without loosening the tension of the roller. Be careful, do not break the ribbon that is still good, because it is your example how to mount the new one. The ribbon that is still good will break too in the near future, so when the new ribbon is OK, you can renew the old one too.

So, take the roller on the bottom out. Study the mechanism. Mount a new ribbon in exact the same way as the ribbon that is still OK (with the same length!). Then renew that ribbon too. Then, replace the roller into the camera and give the shutter some tension. But beware, this all sounds easier than it is.

Erik.
 
I'll leave it alone for now until I've got new curtain strap material.
Are the straps for the KIEV cameras a better option or worse than Aki-Asahi?

I could ask Milo if he has any alternatives available.
 
If I knew then what I know now...

When thinking about loosening the tension in the bottom roller this needs to be done, as Deklari says, very gently to save the springs.

When I do it again I would make sure I am holding the circular plate carefully, holding it in. I would then undo the two retaining screws and gradually unwind tension by turning the plate AND NOT PULLING IT OUT! Look at its construction the earlier photos.

It is easier said than done but try and count the turns as you go. Others say that around 5-8 turns is what it should be but chances are that in the past someone has increased the tension by adding more.

When I think I may have removed all tension I would stop and double check that it is all gone before doing anything or pulling the plate out. This was my first mistake.

It is worth having a screwdriver in the slot at the end of the axle in the tensioning plate just as safety measure but for this you may need three hands. Helpful aren't I?!

The principles of what needs doing are fairly straightforward. In practice however the thing is delicate, the metal soft and everything is fiddly.

And finally, others often have a better way of describing things than I. Make sure everyone agrees!
 
I'll leave it alone for now until I've got new curtain strap material.
Are the straps for the KIEV cameras a better option or worse than Aki-Asahi?

I could ask Milo if he has any alternatives available.

In my opinion (and I have only done this once and not very well at that) I think the Kiev tape was really too coarse/thick and I found that I needed to bend the sliding buckles so much that I was afraid of breaking them...so I changed to A-A. Having said that, my shutter now doesn't open at the fastest speeds.

Michael

PS, second time round I glued the tapes rather than sew them.
 
The spring roller is secured on the left side of the crate with a black painted disc like Dralowid's Dimple Contax with the spring setting device on the right side. (shown in post No. 197-ish).

Could mine be an upgraded older model? I'm inclined to think so as the Serial number starts with a U.

I'll take some better detailed photographs when I get home this evening.
 
In your writing it is not clear if the tensioning device is left or right. When it is on the right it is difficult to reach. The plate with the screws is the tensioning device. When you remove that plate, you can take out the roller. When you only loosen the screws you can tension the spring with a screwdriver and hold the plate with your thumb. You can fix the tension by fastening the screws.

Erik.
 
As I understand it 'U' denotes 1931 (the same as both my cameras).

An 'A' prefix (in front of 'U' etc) is said to be for 'back to the factory for repair/modification'.

Pictures would help, it would be interesting to see if it is the same way round as my 'dimple' camera (which is AU).

It is quite straight forward to get to a right hand side tensioner, but the importance of a very good screwdriver to hold it increases.
 
Noted.
Well, mine's just plain U20xxx, no repair prefix on either the serial number on the bottom of the shutter crate or the one on the back cover.

As said earlier, I'll post photos when I get a better look at my crate.
I only noticed it now because I came across Dralowid's photos when I was reading through this thread again....in anticipation of removing the bottom roller.
 
Aaaaand, I was wrong

The disk has been painted black yes.
Contax007.jpg


But the right side of the crate only shows the small hole for the drum axle to rest in
Contax006.jpg


And a shot of the serial numbers. The one on the crate is barely legible but it's the same as on the back.
Contax005.jpg
 
Back
Top Bottom