Nokton48
Veteran
 OCCS Camera Set Test 1 by Nokton48, on Flickr
Most of the waterfall shots in this thread were made with this Norma setup.
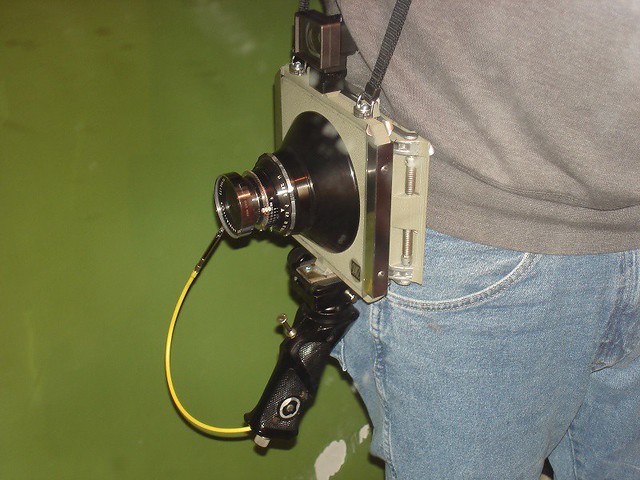
 OCCS Camera Test 2 by Nokton48, on Flickr
Rapid View Camera Photography due to Sinar Norma Sliding Roll Back and 120 film.