Hi,
I had a similar "problem" when I started using my V500, the software of which is the same (Epson hasn't changed it for ages).
What you show is
one technique for selection, but it may only but used under certain conditions which I shall explain further on.
Under normal "weather", there are two things you need to do:
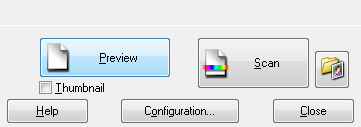
- tick the box "thumbnail" under "preview/scan"
-Go in the configuration menu. You'll find a part allowing you to select, for MF, the size of the film. The default setting is 4.5x6 so it will crop you negs. Just select 6x6 (you can go up to 6x9)
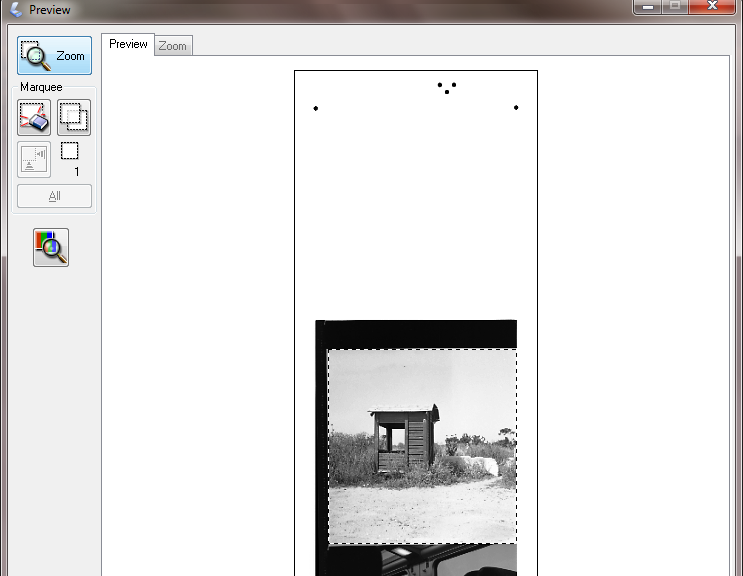
You can use the "no thumbnail" option, in the case of very dark photos, as the software wont find where the borders of the picture are, what I did for that picture, for instance :
http://www.flickr.com/photos/stephanedennery/4462201368/in/set-72157623565368735/
That should ease the work a little!
Best,