Darkroom Renovation Phase 1

And that's why I scanned the plans for the enlarger table and send them to anybody who wants them!

I really like the metal trim on the front, Dan !


I hate the thought that valuable info like the plans for stuff like this is vanishing.


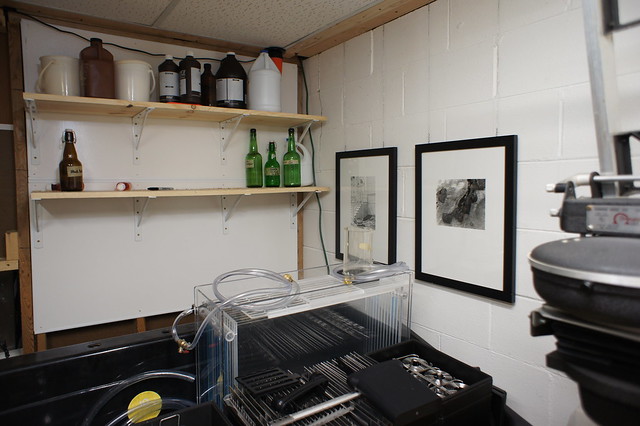
Omega DII Drop Table no 2 nearly completed by Nokton48, on


Today I put this second Omega DII Drop Table together. I think it came out rather well, I used the plans right of an old Peterson's Photographic book about making photo equipment. I used an expensive sheet of oak plywood wood (might as well!), and some oak strips, from the local pro woodworking store, and they even cut the pieces for me in the store. All I had to do was put it together.

A few more embellishments and it's ready to use. And some good quality heavy locking casters as well.
 
Dan, how much did they charge for the cutting?


No charge since I bought the sheet of stock there. That wall size radial saw of theirs is impressive! Do you have Home Depot in you area? They also cut no charge with a wall size vertical saw. I did have to cut the two braces from a small square, I did that with my mini band saw. The 45 aluminum "L"s came from Home Depot, only ten minutes from me. I need to buy three or four more pieces to finish this, I like the metal angle too.

I'd have to borrow or rent a truck if they didn't cut for you. Everything fits in the back of my Ford Fusions.
 
Yeah, but most of the guys at Home Depot could care less if the cut isn't square or measured right..

I think that guys at a pro woodworking shop would be far more careful and understand that it needs to be cut right.
 
I guess I'm lucky but they quarter 4x8 sheets for me pretty accurately.

You're right; Woodwerks takes great care cutting stock; I'll go back there :)
 
Dan, if you go over to Large Format Photography Forum and go to page 83 of the thread "Let's see your darkroom", you can see how I adapted a strange desk I found on Craigslist into an enlarger table.

Not as elegant, but it works and has 3 drawers!
 
woodwerks by Nokton48, on Flickr

These Guys get my business from now on, regarding wood procurement and solid advice for a novice like me.
This place is a candy store for woodworking, with MILLIONS in inventory and stuff you can't even imagine! :)

WOW!

I'm headed back there (soon) for more stuff.
 
Matte Print Dryer and Film Dryer by Nokton48, on Flickr


Two more projects nearing completion. On the left, a 16x20 matte print dryer. Built from marine plywood, $189 a sheet. Cut for me at the Woodwerks store. On the right, a "ten minute film dryer". I built this same unit when I was 17 years old. Everything for that came from Lowes.

Both from Peterson's Photographic articles.
 
I recently bought (24) 20x24 Blotter Sheets from Freestyle Photo, and I'll cut them done to the interior size of the print dryer. Also a pile of corrugated cardboard on the interweb, which will also be cut down to fit. I am trying to be conservative and very archival. Wow does that marine plywood smell good :smile: Now I am working on the interior building, now that I have the shell constructed. I'm still on the fence about whether to add heat to this unit (or not!)

I've always wanted to build this print dryer! And I will build a small table to support it (I am thinking at this point).
I've always used a Kodak Blotter Roll to dry up to 11x14s. Just bought a second one on Ebay.
 
Darkroom Shelving Over Sink by Nokton48, on Flickr

Today I completely finished the "Matte Print Dryer" and the "Ten Minute Film Dryer" And I installed this shelving over the new sink. Another three foot section of stacked shelving will go just to the left of this. The Kreonite Waterboard will come in during phase II. Some of this will eventually change.

All of the bottles are empty but not for long :)
 
Sink Area Done! by Nokton48, on Flickr

Today I cut panels and trim finished them, then finished filling out the hole in the wall. All Good and light tight now. Then finished shelves and rearranged processing equipment and chemicals.

I'm ready to start using the darkroom :)
 
New Focus Mounts 150mm 180mm Rodagon by Nokton48, on Flickr

Today I worked on the Omega DII enlarger. First I carefully leveled the drop table using shims, then carefully leveled the carrier section of the enlarger. Then I went out to the shop and rebuilt these two DII lens mounts, adding three-point adjustments for absolutely parallel planes in regards to the enlarging axis planes. I drilled and tapped the cones, and added mouse pad and machine bolts for tight adjusting of the lens plane.

I will use my Laser -Align tool for the final calibrating. On the easel looking with my Omega Micro Focuser the grain is quite sharp at F5.6.

I love my 180mm f5.6 Rodagon for 4x5, I was produced many sharp 16x20s with it. I just bought this 150mm F5.6 Rodagon (identical lens in terms of age) a few days ago, for when I need more magnification of the image. Nice to have both!
 
Big Componons for future by Nokton48, on Flickr

I have some classic 60s vintage Big Componons, too.

Ken Ruth suggested I get a full set of Componons, which I have done. Very useful, cheap, and plentiful. Ken suggested taking out the inner elements, and washing the glass in your kitchen sink, with dishwashing detergent. Has worked for me :)

The 240mm f5.6 and 300mm f5.6 have been in use and are usuable as is on my Plaubel Makiflexes. The mounts are set up for that.

Eventually I will add an 8x10 Enlarger :)
 
Back
Top Bottom