Nokton48
Veteran
I agree that dry mount press design is sketchy! I'll find a commercially made unit. They are around.
After I've used the photo blotters for air drying for a while, I will build the matte print dryer.
Nokton48
Veteran

Today's progress, the drop ceiling is about half done! The difficult part of the work is over. Rerouting ducts, cutting around disconnected gas pipes, and various interesting construction roadblocks. The other half of the ceiling will be easy-peasy, and go quickly! Then on to installing the sinks, new electricals, and plumbing. Much more fun and interesting than this part of it. But WOW I'm glad I went for the drop ceiling. Really finishes the space!
I hope to have EVERYTHING completed by middle of spring.
MrFujicaman
Well-known
Mailed your muffin fans yesterday.
Nokton48
Veteran


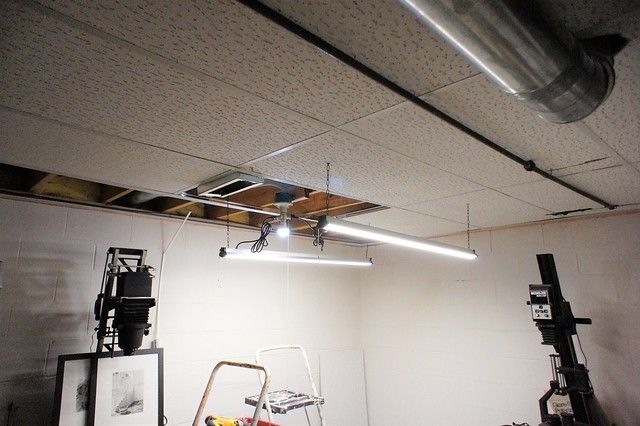
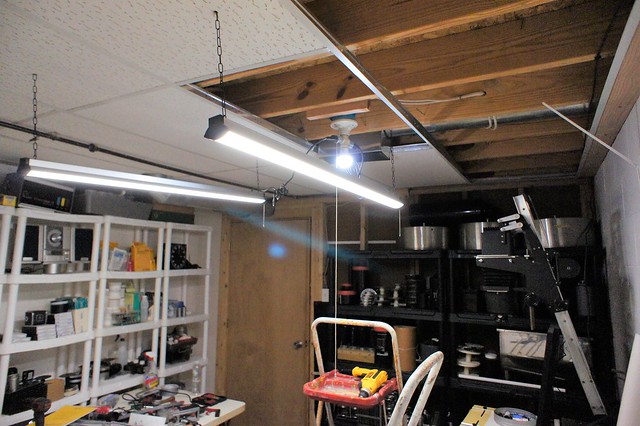
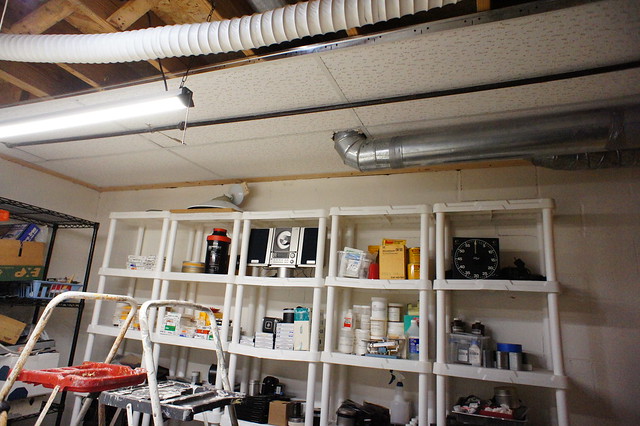
As you can see, we are making progress with the drop ceiling. Note the new heat duct in the ceiling, and we relocated the overhead light so now it fits into the drop ceiling. Also the black wire shelving is gone (and all the construction stuff that was on it!), which makes a lot more room for everything darkroom related.
Between now and Monday I need to decide where I want everything to go (equipment placement), including the electricals. Lots of cleaning and planning between now and then.
Nokton48
Veteran
I think I will finish the wall to the right of the door, there is room to spare to put the six foot long Delta darkroom sink there. Electricals already in there (to a point), water lines already run just on the other side of the same wall, also the Kreonite Water Board is right there, just needs to be flipped into the new work space. And the Kreonite CPT16 drain line is right there too. I think this is the easiest way to get the new long sink up and running. Next to the new sink on the white concrete wall will go the 4x4 foot Kreonite Plate Washing Sink, and the Calumet 16x20 Archival Print Washer.
Plenty to consider this weekend. Start again on Monday.
Nokton48
Veteran
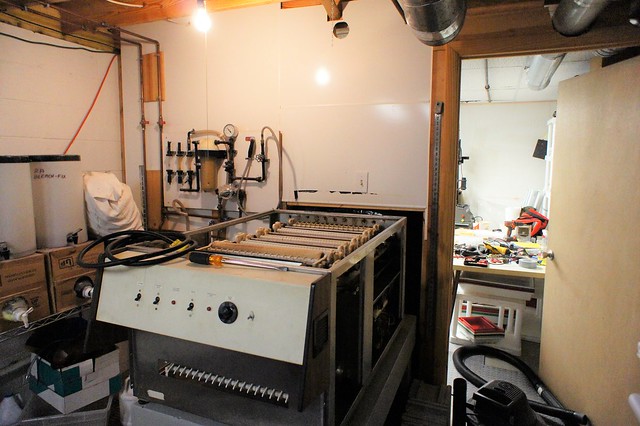
The Kreonite CPT16 color paper processor is in the process being stripped down, as it warms up, it will go into the garage. It has been sold, so that that will give me some extra operating funds.
You can see the water lines upper left and the Kreonite Water Board right there.
Kreonite CPT16 Stripdown Removal Water Board Flipped by Nokton48, on Flickr
You can see the water lines upper left and the Kreonite Water Board right there.

Nokton48
Veteran

Here you can see we have completed installing the drop ceiling. It really does finish the space. It took about six four hour sessions to finish it, WHEW!! Glad we are done with that and I'm super pleased. And as you can see, this part of the basement now has a heating duct. Cost me about $200 to do this work.

Here you can see I am starting to put up laminated paneling to finish the inside wall space. This is where we will be doing plumbing and electricals, and this is where the sink and Kreonite Water Thermostat/Water Board will go. The six foot sink will also be mounted here, with the 4x4 Kreonite sink just along this side of the concrete wall. Building the base for the sink shouldn't take long.
Nokton48
Veteran

Here I've moved in the big stuff, to get a sense of best gear placement, and to see how it fills up the space. The darkroom is only 10x12 feet so it is now filled up, but not badly so, perfect for one worker (me!)
This will be cool when everything is buttoned up.
Nokton48
Veteran


I worked hard all day yesterday and just finished this darkroom sink base. It was not so easy to create, but this one fits my Delta 6 foot Sink II like a glove. And solid as solid can be. Now I will calculate how long to make the legs, so it sits perfectly. I will also install leveling feet on each leg. And a storage shelf under the sink.
This whole sink new at B&H is $1350 plus freight. I'd estimate I have about $150 for everything total for this part of the project.
B-9
Devin Bro
Looking good so far!
I’ve still got wood sinks spinning around my head lol.
I’ll just have to make one and maybe it’ll go away.
I’ve still got wood sinks spinning around my head lol.
I’ll just have to make one and maybe it’ll go away.
Nokton48
Veteran


After puzzling around for a bit I figured out how to put legs on the sink frame. It's totally solid. I'll cut plywood for the lower shelf, and I might put in a second shelf. And add super heavy duty leveling feet under the legs. Have to take the legs off to get it into the darkroom, then re-assemble it. Almost done!
When this one is done I'll start on renovating the Kreonite plate washing sink.
Nokton48
Veteran

The darkroom sink is finished!
I'm proud of this, I made it completely by myself. This morning my Son and I took it apart out in the garage, carried the parts down, and put it back together. I had contemplated buying a Delta steel Sink II stand, that would have been about $450. This cost total about $225 including the old Delta Sink II. I am putting HEAVY DUTY leveling feet on it, so I can adjust how it drains.
Now will move on to renovating the green Kreonite Plate Washing Sink.
Calzone
Gear Whore #1
Dan,
"I love it."
"Crazy good," I say.
Cal
"I love it."
"Crazy good," I say.
Cal
Nokton48
Veteran


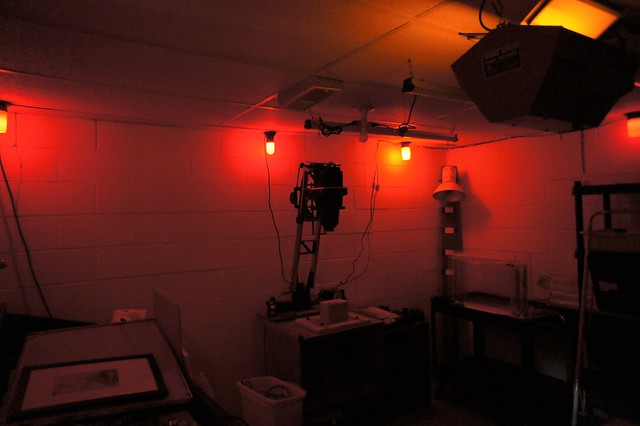
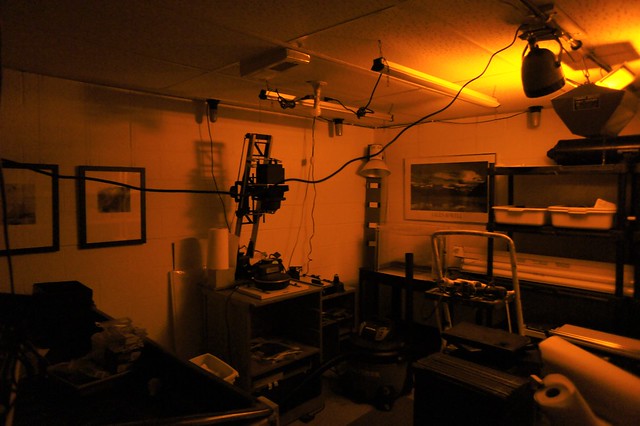
Setting up lights and other devices today, now it looks like a darkroom. Will start using it this weekend, I am hoping.
Phase II will be bringing in electrician and plumber. I want to use it for a while in case I want or need to make changes (which I will).
Will be dusting and cleaning for the next few days, and putting away tools and extra materials.
ptpdprinter
Veteran
You sure do have a lot of bits 'n' bobs in your darkroom. All the clutter would drive me crazy.
Nokton48
Veteran
The formica work table and darkroom sink still have construction tools/things on/in them. Cleaning for the next few days in my plan
Nokton48
Veteran

My Thomas Pro Sodium Vapour Safelight was dismally dark fired up, until I took it apart and thoroughly cleaned it inside and out. Cut new gel filters and replaced any that had faded. There was dust and humidity marks inside the filters. Now fresh and pristine.
I can read small print on a label, standing all the way across the room,. I love this new safelight!
Now I am pleased. THIS is more like it!
Nokton48
Veteran
I am getting a second Omega 4x5 DII enlarger, and I'm in the process of building a second homemade enlarger drop table. One enlarger will have the "Omegalite" saucer-like B&W enlarging head (for smaller print making). I love printing with the Omegalite, it's my old friend. The second DII will have the brand new Modern Enlarging Systems Model II head, which is a modern LED enlarging head. Equivilent to 150W this will be great for printing 16x20s with shorter exposure times. Having two identical enlargers side by side will be pure luxury for me 
Nokton48
Veteran

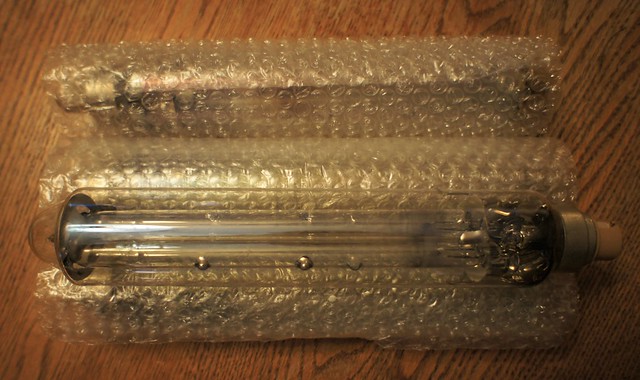
I bought some spare sodium vapour bulbs for the Thomas Super Safelight. I will keep one or two and sell the rest.
Nokton48
Veteran

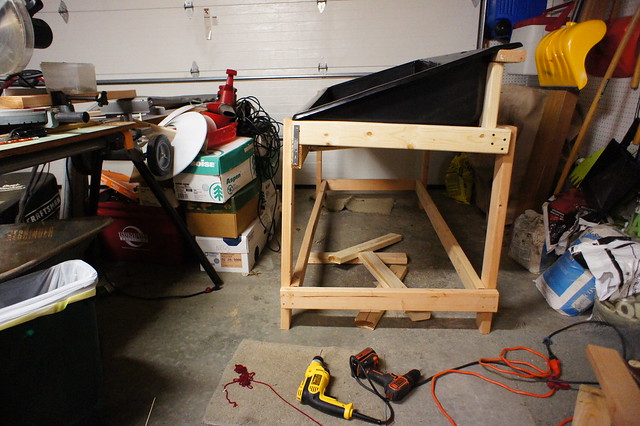
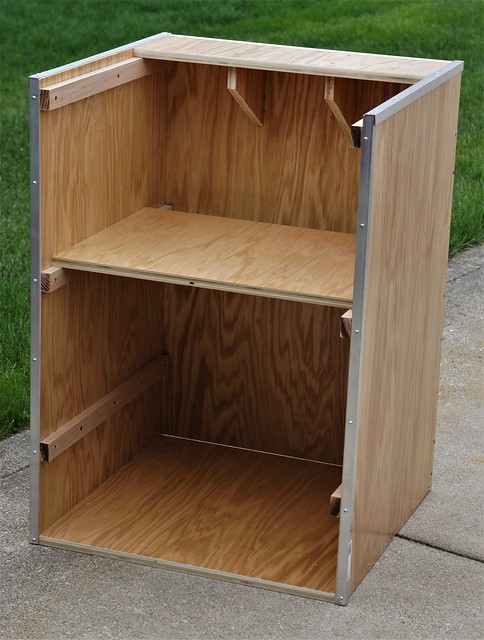
Today I put this second Omega DII Drop Table together. I think it came out rather well, I used the plans right of an old Peterson's Photographic book about making photo equipment. I used an expensive sheet of oak plywood wood (might as well!), and some oak strips, from the local pro woodworking store, and they even cut the pieces for me in the store. All I had to do was put it together.
A few more embellishments and it's ready to use. And some good quality heavy locking casters as well.
Share:
-
This site uses cookies to help personalise content, tailor your experience and to keep you logged in if you register.
By continuing to use this site, you are consenting to our use of cookies.